Okay, so on August 1st the Finnish government ended its recommendation to work from home if possible and many of the Covid restrictions were relaxed. I was able to get to my workshop to pick up some stuff after I healed up from surgery. (I’m pretty much all okay now! Yay!)
My plan was to just get together the prototype for my most recent witchlight attempt, finalize any decisions about that design, and then get back in the workshop and start turning out some swords.
Why do I even make plans anymore? Seriously.
Well, the number of Coronavirus cases has increased again in Finland and it seems that we are heading into our Second Wave. The government has, as of August 13th, reinstated the advisement to work from home if possible and here we are. I am, once again, doing what I can on my kitchen table.
Well we knew this was a possibility. I just thought I’d have a little more time in between First and Second Wave to maybe turn out a sword or two. It hurts my heart that I have to answer all you nice people who have messaged me about buying a sword with uncertainty and vague timelines.
The truth is: I don’t know when I’ll be able to get back to ‘business as usual’. I don’t have a vehicle of my own and it isn’t safe to be taking public transportation every day. It’s not safe for me to be working in an industrial building with recycled air and people who don’t wash their hands nearly enough. I don’t even have water access to my room. I have to get it from the bathroom down the hall or the communal kitchen.
What can I say? I’ll try to keep you updated.
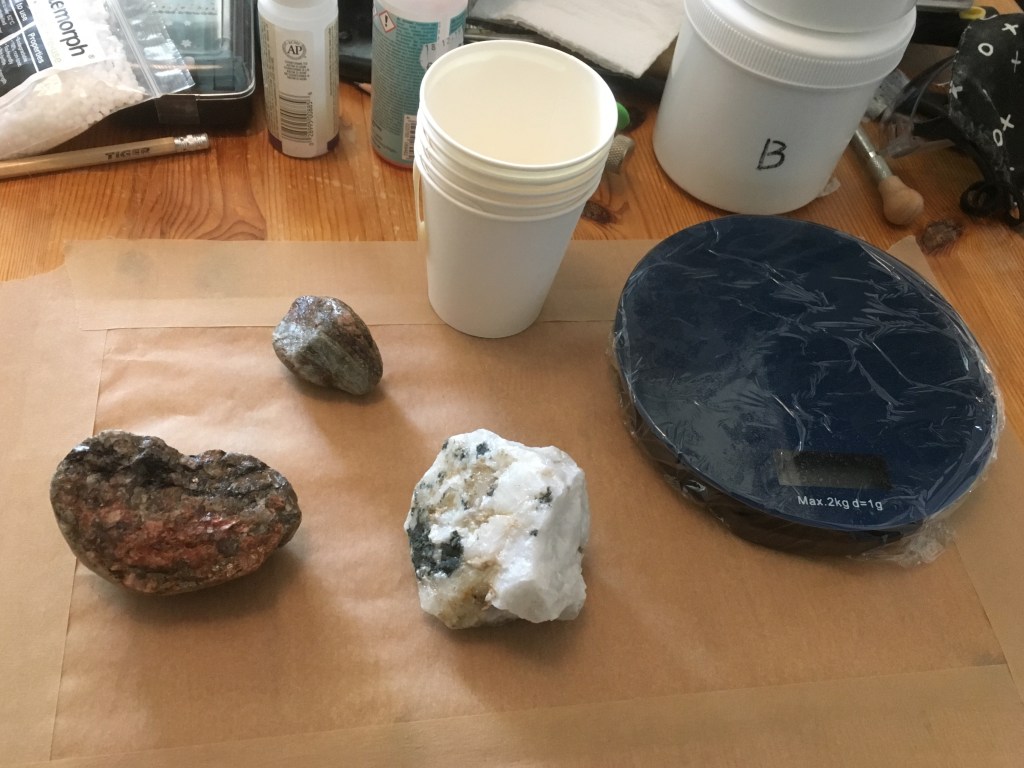
I mentioned witchlights, yes.
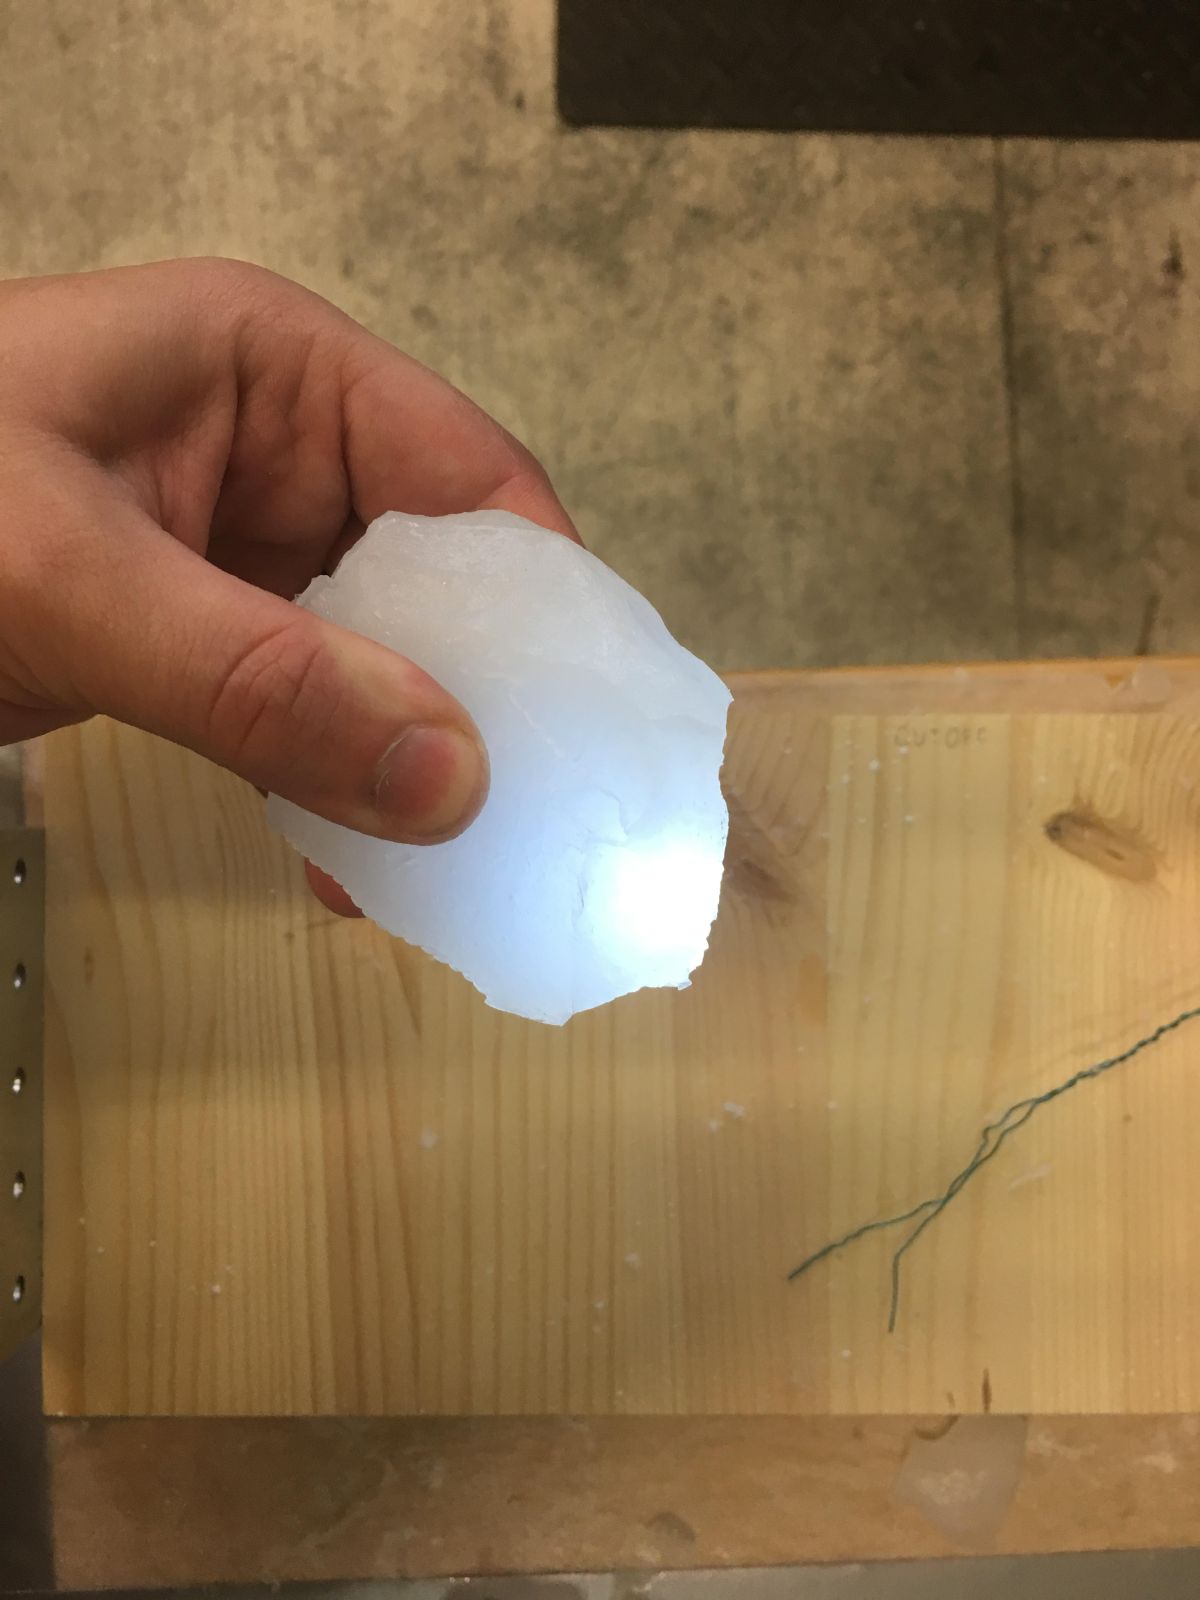
My 3 candidates.Sealed and ready to go.And covered with boogers!
The translucent silicone I have looks … well it looks like snot and handles pretty much the same. Yuck. Hopefully it’ll do what I want it to do and I will finally get a method for making these things that actually works.
So uh, if anyone needs me, I’ll be in the kitchen smearing snot on rocks. Stay safe out there.
Yep. I’m still hacking away at this project. I’m frustrated, but also very, very stubborn. I managed to mess up my first casting of the year and ended up having to clean uncured, sticky resin goo out of my mould. Hopefully that was just a derp in measuring the quantities of part A and B.
Yesterday, I had a bit of excitement while re-doing that casting. When I started pouring in the resin, it began leaking out of the mould. I realised I had not tied the cord around it tightly enough. Now, because the resin had already been mixed and I had only about 10 minutes left before it gelled, I couldn’t go pull the box of ties down from the shelf, fish out the ball of string, wind it around tight and cut it before the whole operation was ruined.
I stood there, holding onto both sides of the mould, pressing them together, trying to problem solve on the fly. Aha! If I could run into my dust tent, grab a clamp, and get back before too much resin leaked out, I could save the casting! So I did. I dashed into my dust-containment tent, grabbed the first clamp I could get my hands on and ran back to the mould.
Yes, the first clamp I could get my hands on … was about 3 times bigger than the mould itself. LOL! You gotta do what you gotta do eh?
Well, it stopped the leakage sure enough! Today, we will see if the resin cured and, if it did, if the casting will line up correctly with the other half of the witchlight. If it does, I can install the magnets and get to work on the electronics!
If it doesn’t … uh … well I learned something from the experience? Yeah, it will be back to the drawing board for the witchlight project. Well, if it was easy, it would already be available on the market. It isn’t. I know because I want one and I’ve hunted everywhere. I think my company motto is going to be: “Screw it; I’ll do it myself.” Hahaha!
Hello everyone! Sorry I’ve been quiet. I’ve been struggling with various things. Briefly: illness (I’m better now!), research (you don’t wanna see pics of me reading; BORING), annnd finding out that my new tiny workshop is too hot in the summer for me to do my work properly or be at all comfortable.
I’m hunting for solutions to that last problem there. Looking for a new workshop, or a house to rent that has a garage or some outdoor space I can work in, or an air conditioner at a reasonable price, or a refrigerator to at least keep my silicone and resin at a proper working temperature. It needs to be about 21 to 23 degrees. My workshop is currently 27 degrees so everything is curing way too fast.
I have a wee electric cooler, but it drips water continuously from its cooling fins inside. So much so that it actually grew mold on the wooden backing of my thermometer that I had in it.
Ew.
That’s no good. 1. I’m allergic to mold, and 2. urethane resin is really really sensitive to moisture. It can’t sit in a puddle and then be expected to work.
NEXT! I am currently moulding a brand new witchlight model.
It’s a rock!Or is it?Into the moulding box it goes!
At this point, I have the silicone done and an outer jacket made of the usual burlap and plaster. I’m practising the brush-on method of silicone moulding even though this piece is clearly small enough to get away with a pouring mould. Practise is important to refining technique and I can’t let the opportunity go to waste!
The benefit of the brush-on method is that you can use less silicone which is crazy, crazy expensive. The downside is that you have to make a hard jacket to keep the mould stable because it’s going to be thinner and clamping it can squish the mould. The other downside of brushing on is that there’s a risk you won’t get the silicone into all the little details of the piece you’re working on, especially if there’s undercuts or weird textures.
I will find out today if it worked all right! I’d show it to you now but someone forgot to take a picture of it. I blame Cool Kevin.
Dammit Kevin!
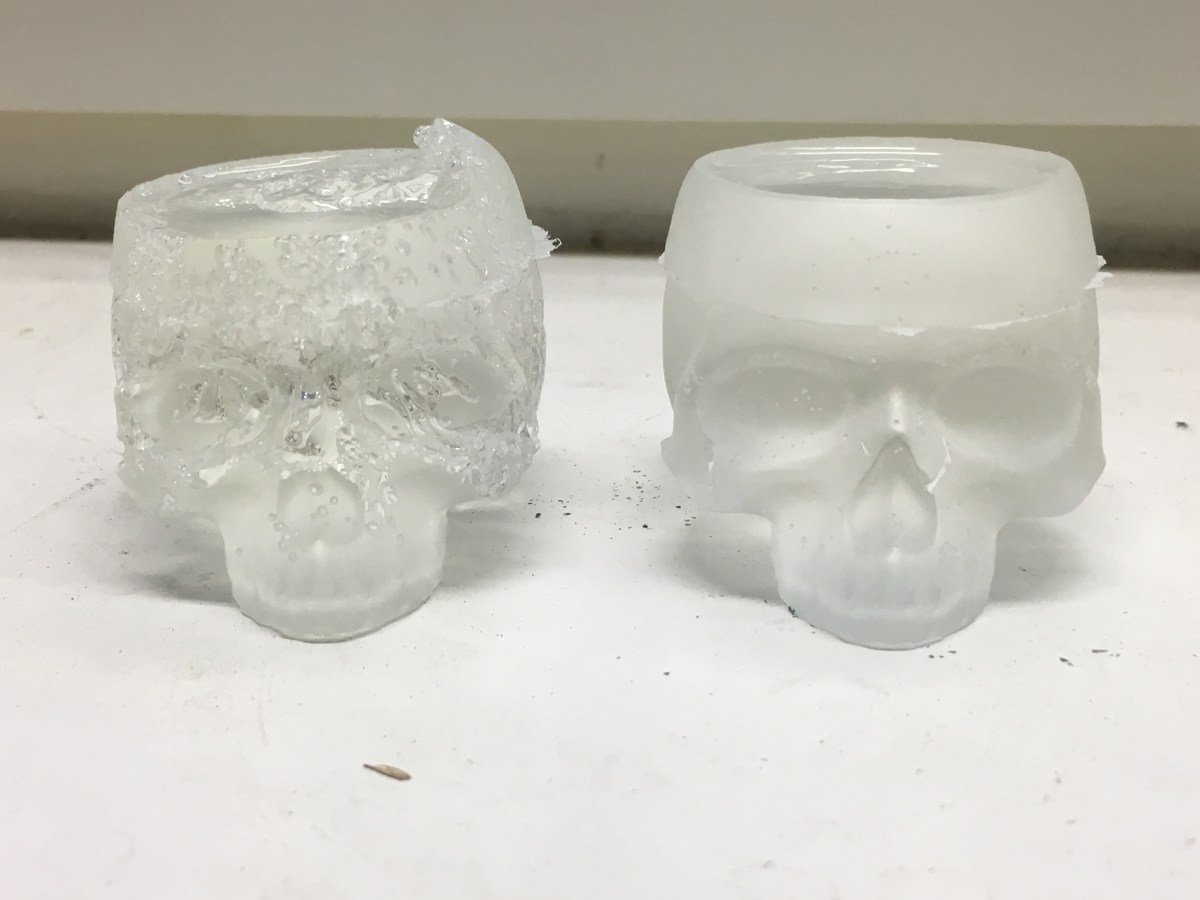
NEEEEXT! I’m conducting experiments on different types of resins and epoxies in an effort to find a cheaper material to make my swords. I’m using a little silicone skull mould for the test.
Let’s see what we ha … ew.He’s having a real bad day.
Okay so this is TFC EP Casting Resin Epoxy from TrollFactory. I have tried casting witchlight parts, roses, and this skull here with it. All of them had at least part of the casting fail to cure. This test actually damaged my mould. It will be disposed of. Maybe some people can get it to work but I find it far too finicky. That, and it comes out a pale pink, making it unsuitable for swords or witchlights.
Well … it LOOKS cool but that’s not what I wanted.
This little fail is made of ZDS epoxy resin. I discovered that I accidentally added the wrong amount of hardener so while it did harden completely, it also went bonkers all over the outside. I tested it again adding the correct amount of hardener this time!
Well! What do you know? It works better when you follow the instructions! The better version still has some bubbles and flaws in it though and this presents a problem. In order to ensure that there won’t be bubbles, I’d have to put it into my pressure pot while it’s curing. But it needs to be kept at 70 degrees while it’s curing or it won’t harden fully. How to keep it warm while under pressure? I don’t know! And that really won’t help with the swords because I don’t have a pressure pot big enough to fit a sword inside it.
The next test is going to be using polyester resin. I really don’t want to, because it smells bad and wearing my respirator all day is stuffy and annoying. But I don’t really see another option at this point. I literally cannot afford to lower my prices any more than what they’re at now unless I turn to a less expensive material.
It’s a difficult situation. I want to make my stuff more affordable to more people so everybody can have the pretty things they want but ultimately, I also have to pay rent on the workshop, buy materials to make the art, advertise my stuff so people can actually find it, and also … y’know, eat food. Otherwise, none of this can happen at all.
The long weekend was nice and restful. I needed that. The photo shoot had to be postponed because of the paint-eating disaster. … No I didn’t eat the paint. The sealant ate the paint. I’m not that crazy. Yet.
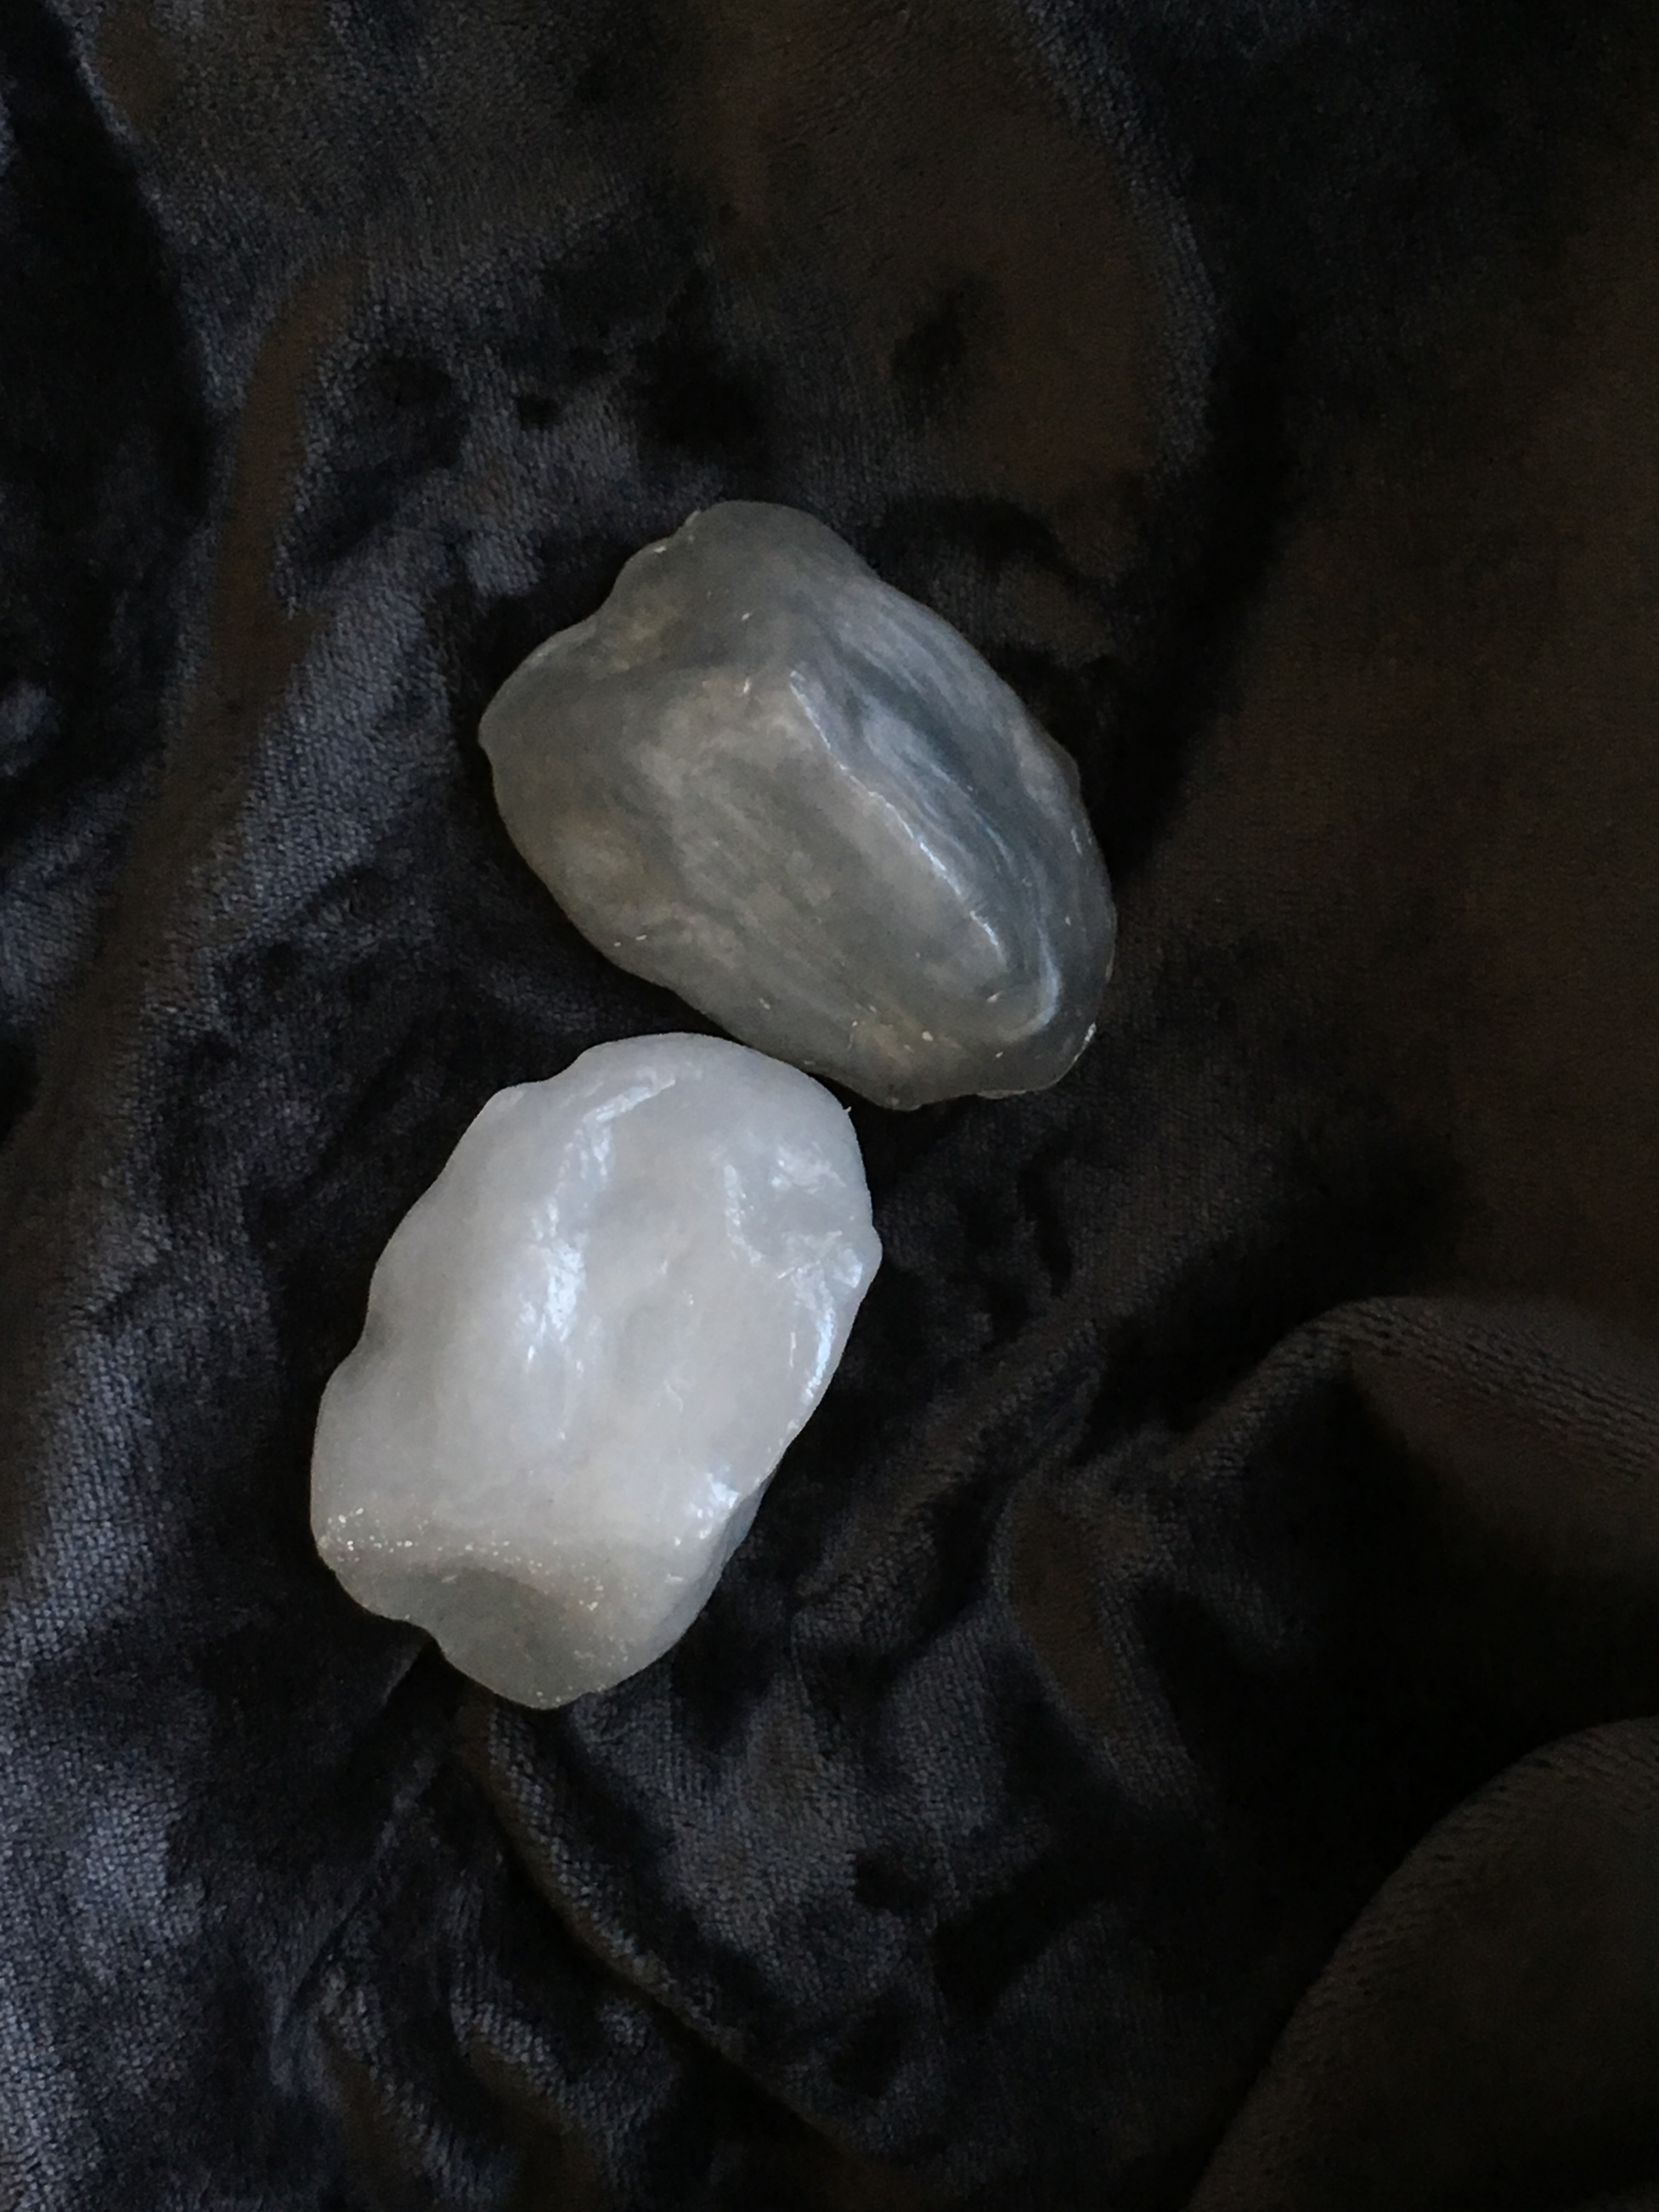
So the transparent silicone from SeMost worked beautifully for the witchlight mould. I’m in the process of negotiating future orders. Hopefully we can get it all worked out for an agreeable price!
I did a kind of whitish one and then a kind of silvery one. I think the whitish one looks better.
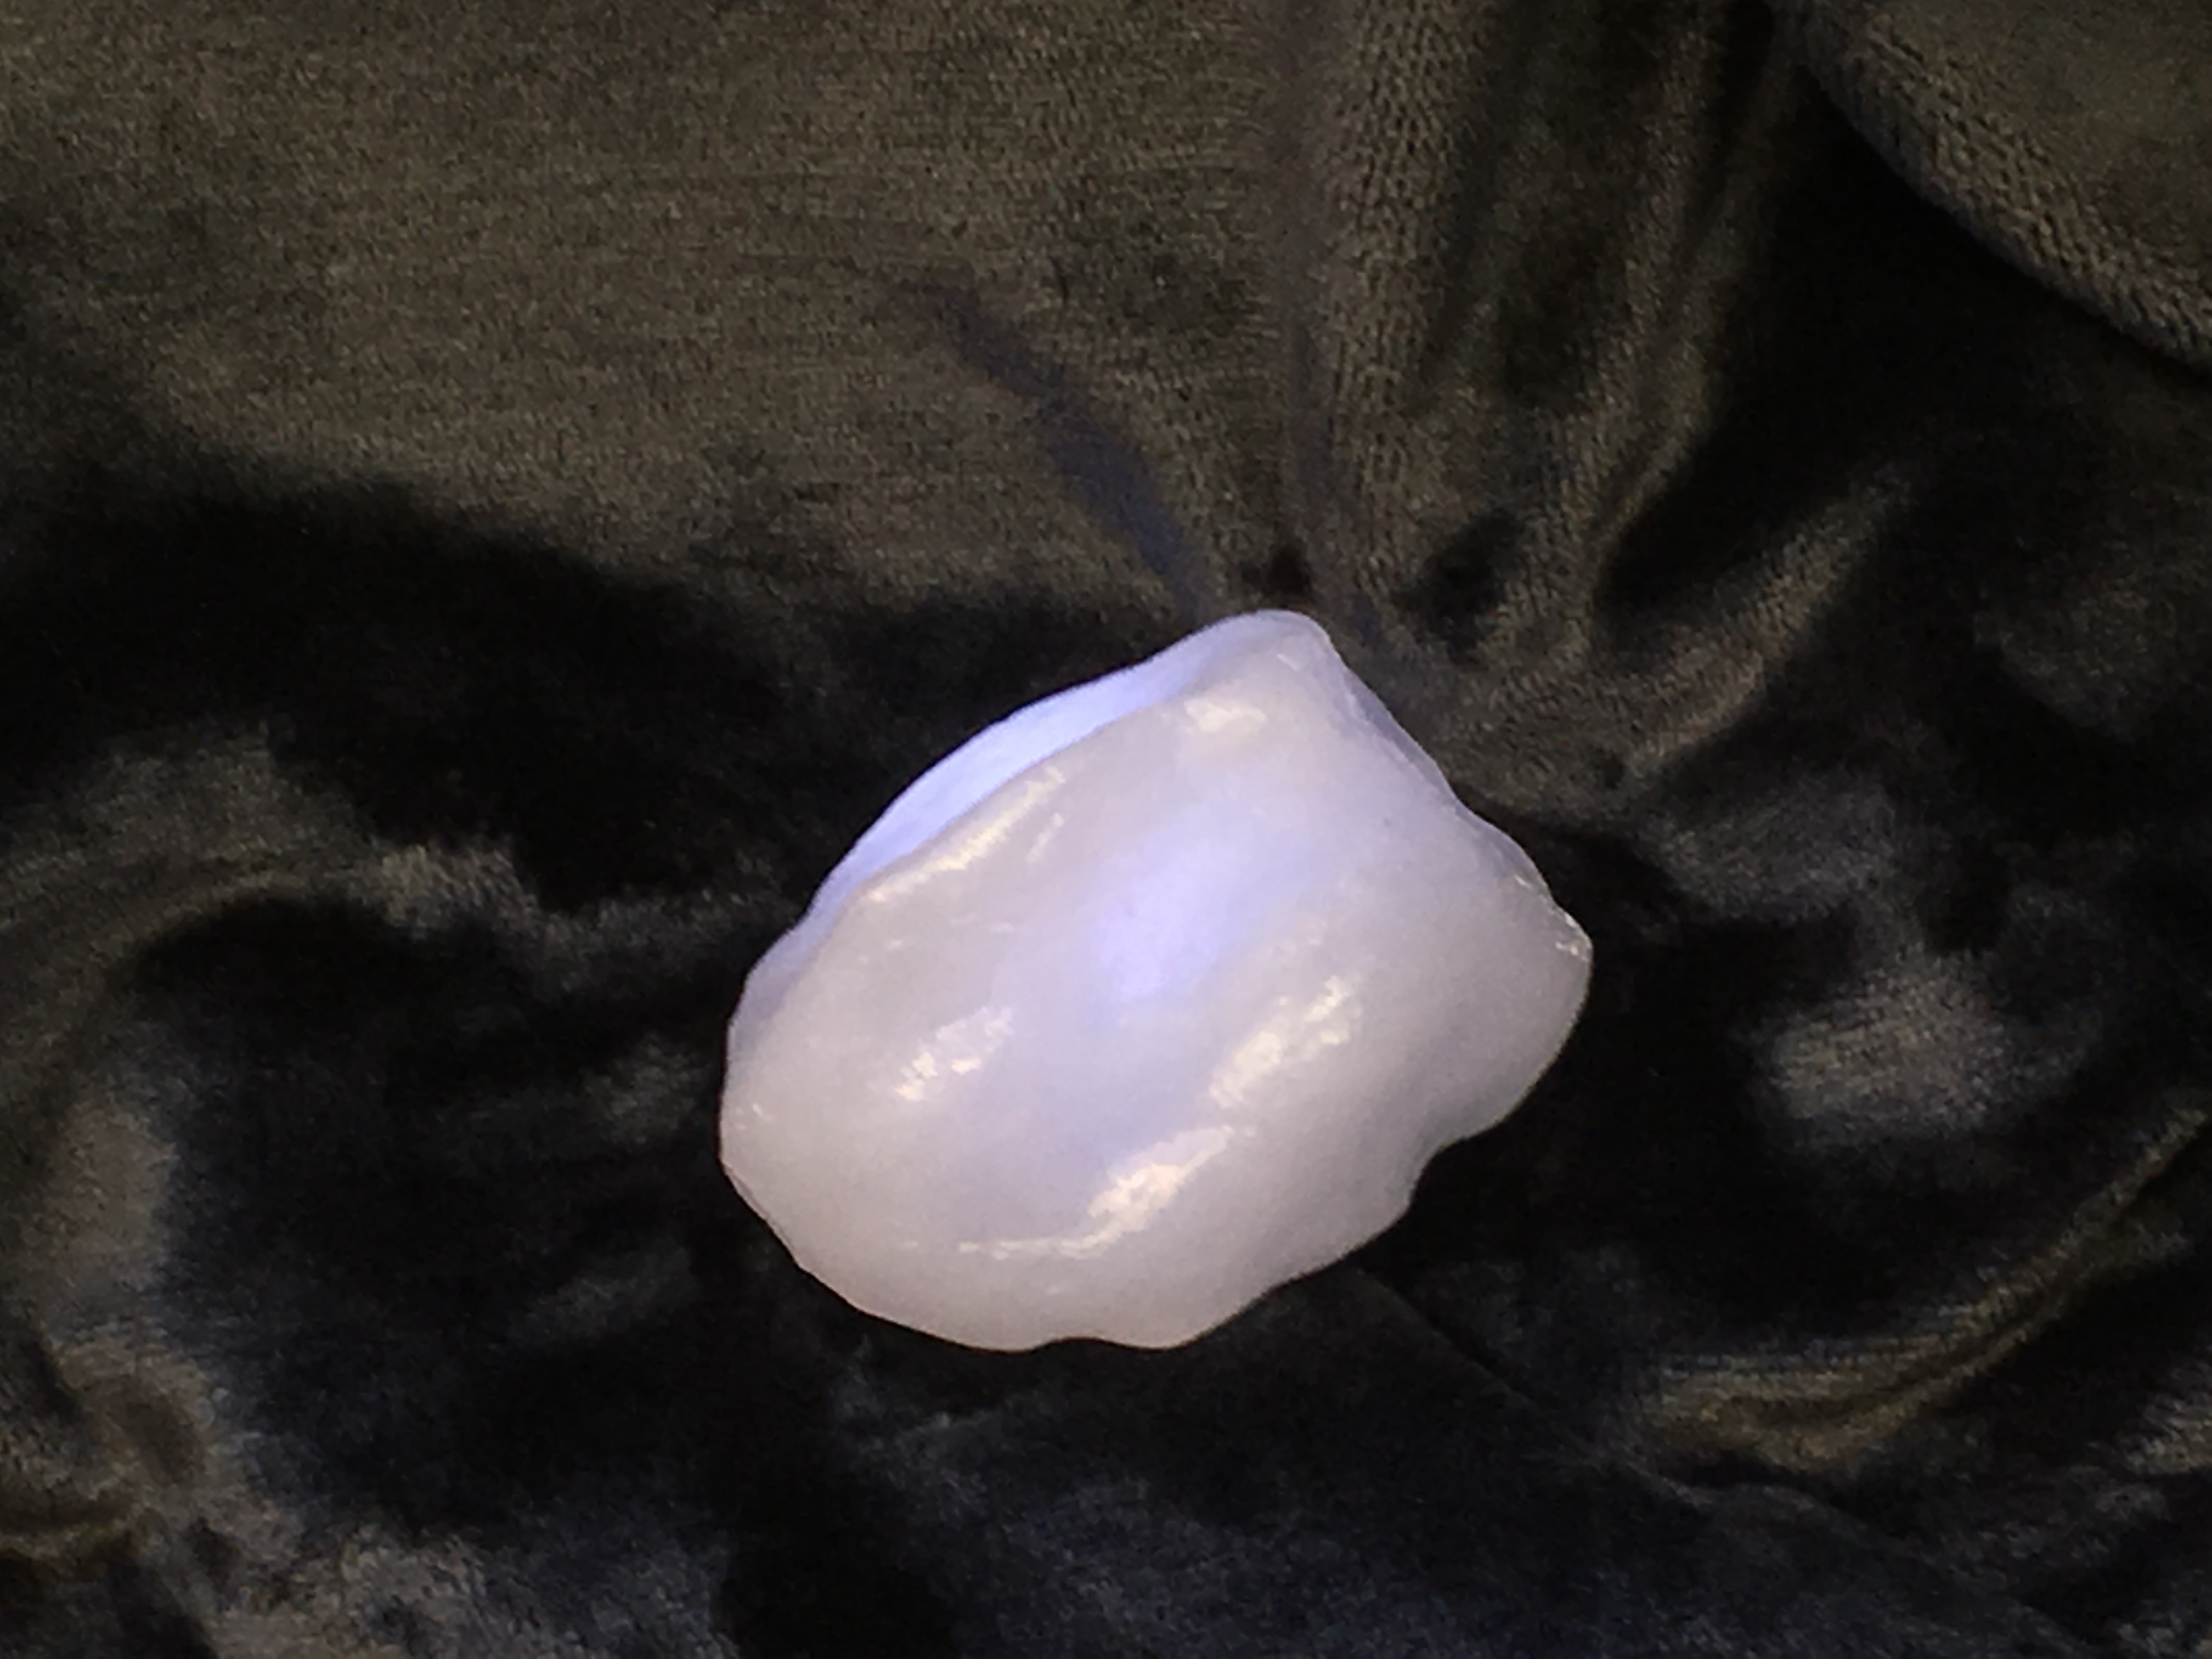
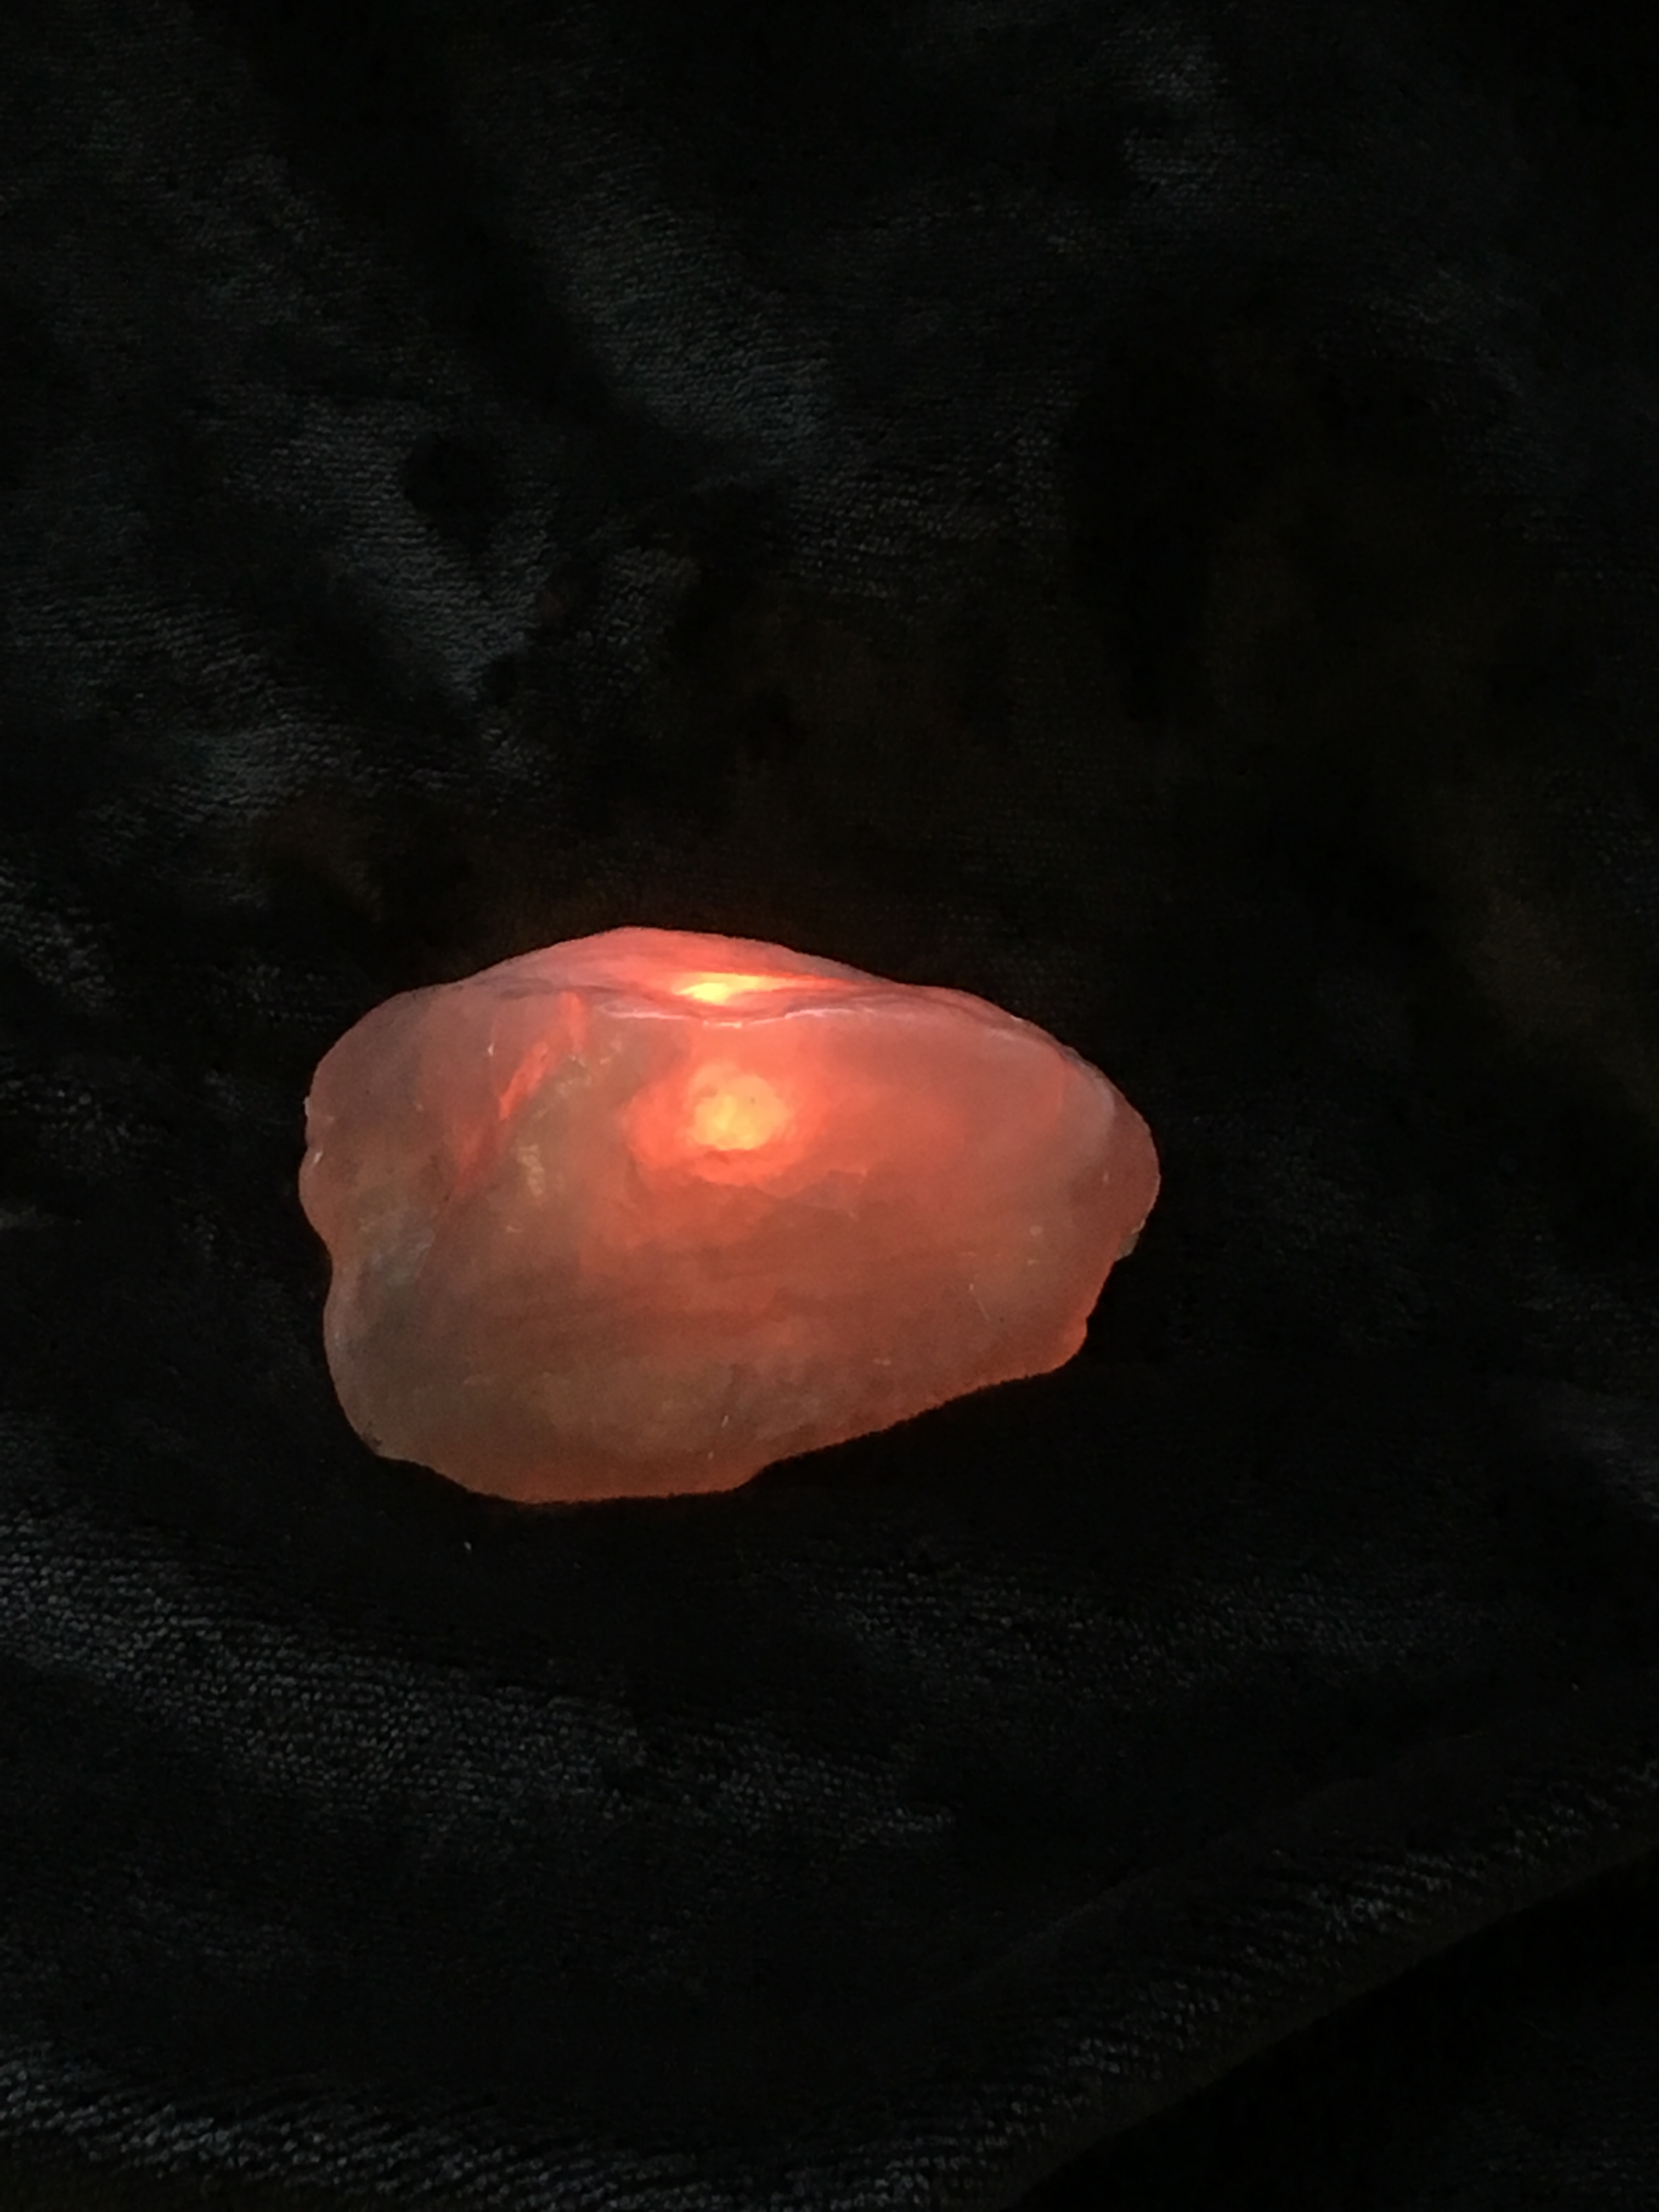
Stuck a light under one to get a feel for how it will look once I can get the lighting rigged up properly.
And a red one just for fun. 🙂
Yes, that’s Cool Kevin in the background being too cool to appreciate my hard work.
I got some more green paint on the sword and got the initial sculpting done on the light cover in the pommel.
Don’t worry, it’s not going to stay white and marshmallow-looking. I just needed some initial structure to work with and support the design I want to do.
Now I’ve got to hustle off to the workshop and get the next stages going. Hopefully everything goes as planned and nothing breaks. Wish me luck!
So I have a photo shoot coming up with a photographer who just moved into my building this week. Cool! This will give me high quality photos of my stuff that I can use on my website. It’ll also give him more stuff for his portfolio and it will give the model stuff for her portfolio as well. All-around win right?
So the sealant that I put on the sword ate the beautiful solvent paint I had on the handle. The solvent paint that takes 3 days to harden fully. Yeah. That solvent paint. Photo shoot is on this upcoming Sunday. I still have to do the light fixture in the pommel and the seaweed wrap for the handle.
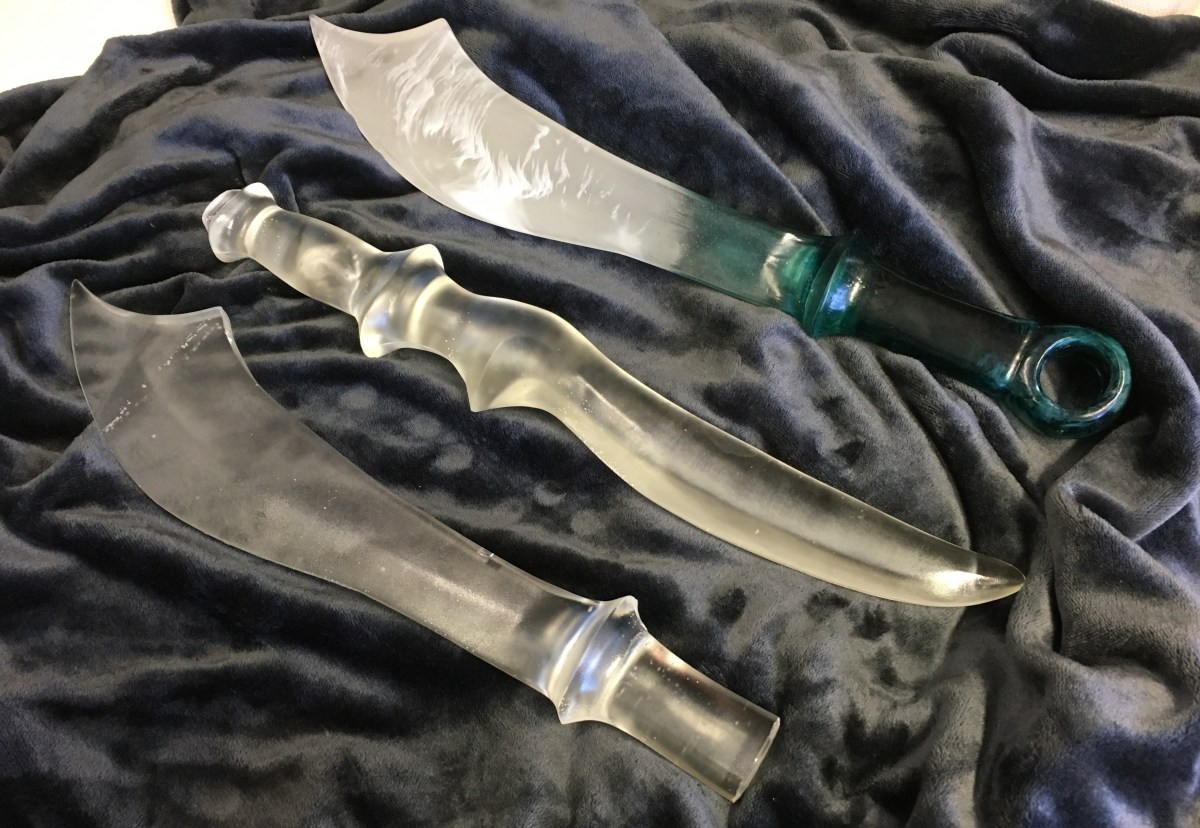
Did I mention I’m also working on these? Yeah. The Clariel there needs to be polished and have its handle sculpted, painted, light fixture in place and magnet closure installed.
Did I also mention the new witchlight mould I’m testing? Yeah. So this is gonna be a short update. I have to run this entire week or this all is not going to get done.
First stop: Hobby Point to get a sealant that won’t eat the solvent paint. Plus some casting resin if they have any on hand. Probably only the stinky crap but I’ll have my respirator on all day from the solvent paint anyway so I might as well. Then try to finish the light fixture while the paint is drying. When I come home, I get to look forward to wet-sanding the Clariel blade cause my apartment has running water and my workshop does not. Obvious choice there.
Tomorrow, will be sculpting the handle for Clariel. Hopefully I can get it done early in the morning so I can get it sanded in the same day. Then it’s on to carving the runes, painting, installing the light … you get the idea. It’s gonna be bonkers.
Yep, you read that right. The beautiful, exotic Zaapiel is coming to my Etsy shop. Possibly as early as this week!
The person who ordered this beauty requested a frosted look for a brighter glow.
Does it light up? Pffft, guys. You’re at Inklbade Studios. Of course it lights up!
Shiiiiney *o*Obligatory sauna pic. LOL
Why does the sword have a couple wires sticking out of it? This beauty is a custom job, designed to be decorate a pinball machine, so it needed to be modified to hook up directly to the machine. If you need any kind of custom modifications for power sources, you need only ask. I’m quite flexible.
Now everybody likes to see the insanity of my crafting process so let’s have some pics!
Draw!
Carve!
Carve more!
Box it!
Mould in alginate!
Smells gross!
Make a huge mess!
Crappy plaster prototype!
Break it while sanding!
Fix with Milliput and swearing!
Break it again!
*censored for profanity*
Start a religion worshipping Milliput!
Finish sanding!
Cover your trauma in black paint!
Box it!
Make a silicone mould!
Pour in resin and pray!
Sand it and fit in the lighting!
MORE MILLIPUT! *_*
Paint it! Wrap it! Act like you knew what you were doing the whole time!
Yeah! Never had a doubt. 🙂 … Not for a second. Nope.
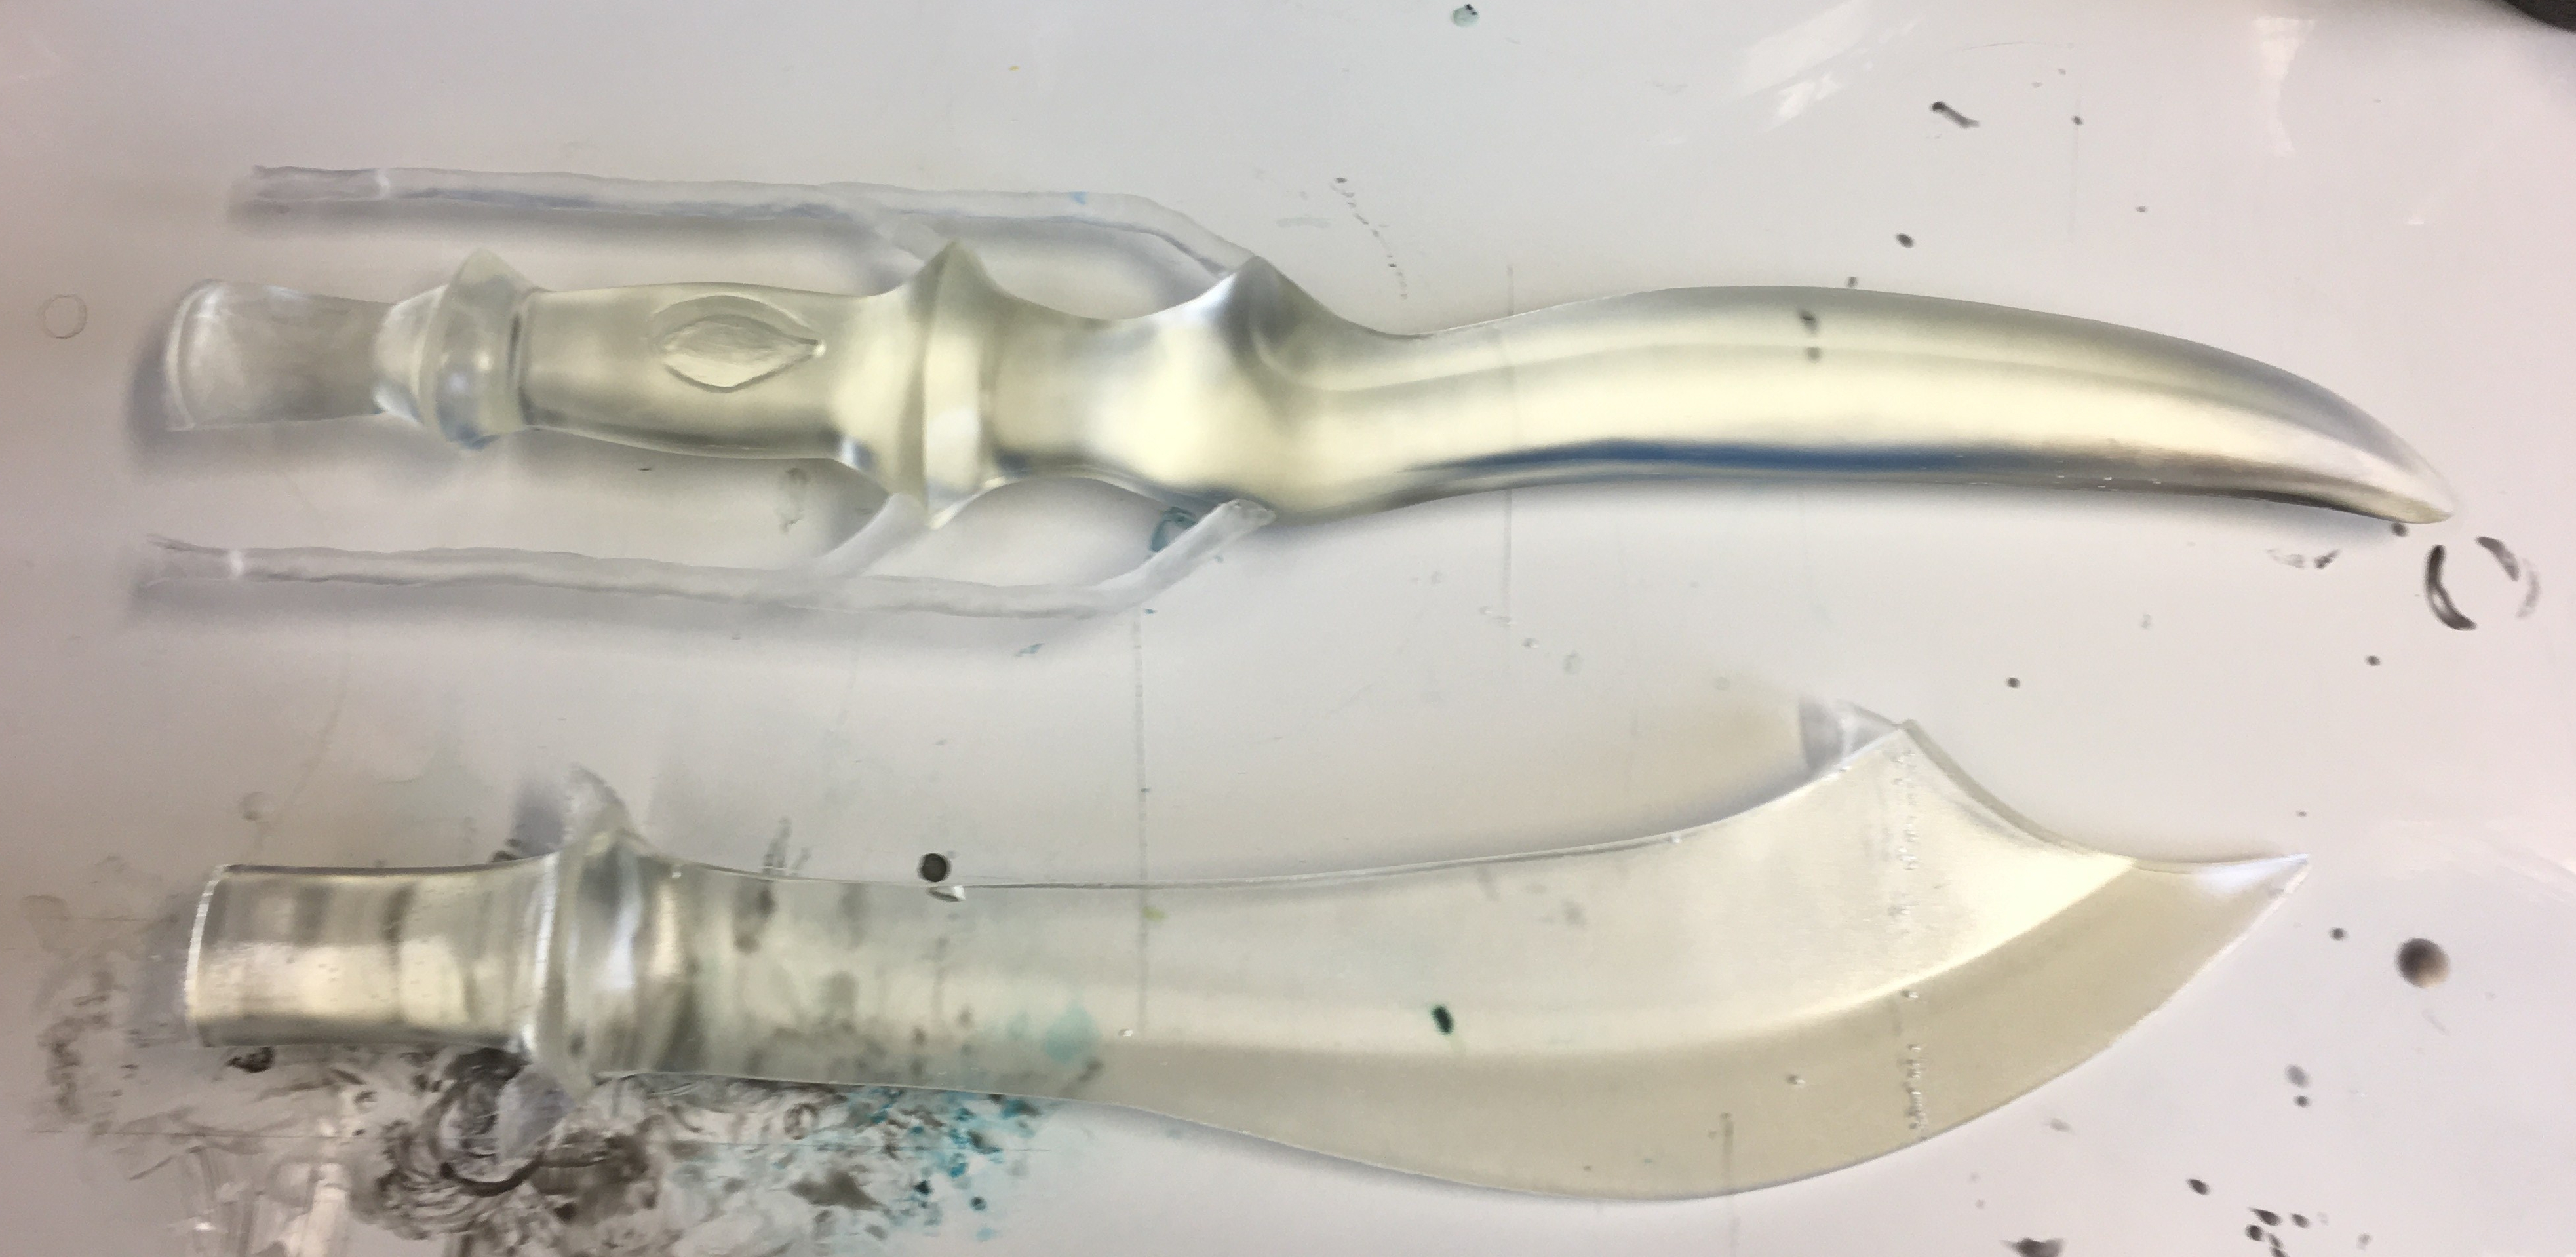
So I’ve got one of these Zaapiels in the mould at work. I just have to go get it out and start sanding. The next question is: who would like a lovely glowing scimitar?
In other news, I am still working on the witchlights. The thing that I’m having problems with is getting the lid to line up properly and look like it’s part of the whole rock. I know how I want it to work but how to get it to that point is a real brain-twister.
Here’s what the underside of the witchlight looks like right now on my prototype. The lid at least sits flush on the opening and extends a few millimetres into the body of the rock so it doesn’t rattle around. But how to get it to look like there isn’t a seam? Hmm … still working on it. Thanks to everybody who’s been patient so far! I’m close to the solution.
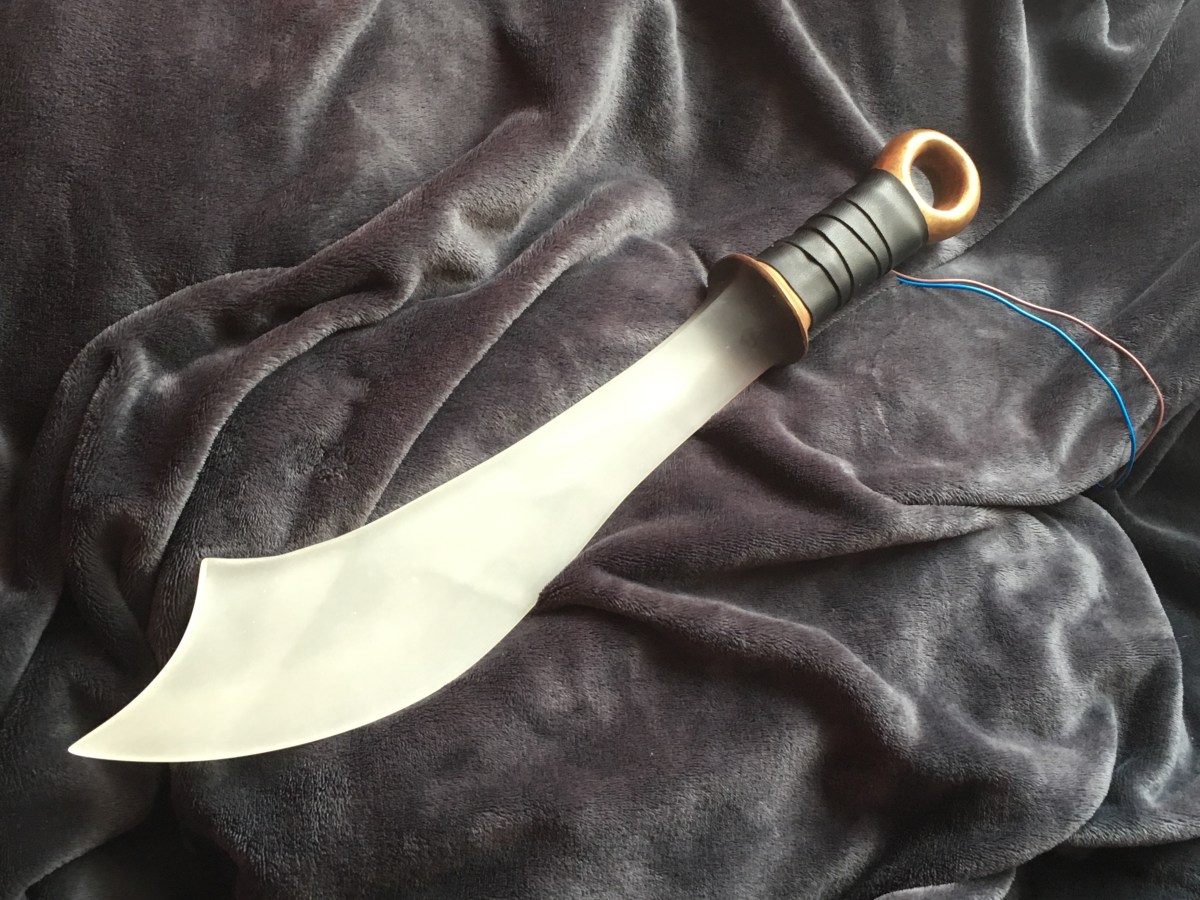
I got really in the swing of things last week and totally forgot to take pictures of most of the stuff I was doing! Silly me. Anyhow, I sanded and buffed the Arabian Nights sword. It’s ready for its light to be installed! I just have to go pick up the electronics this morning and then mill the slot for the electronics into the handle. I cannot wait to show you this project once it’s completed. I have some really great ideas for the handle.
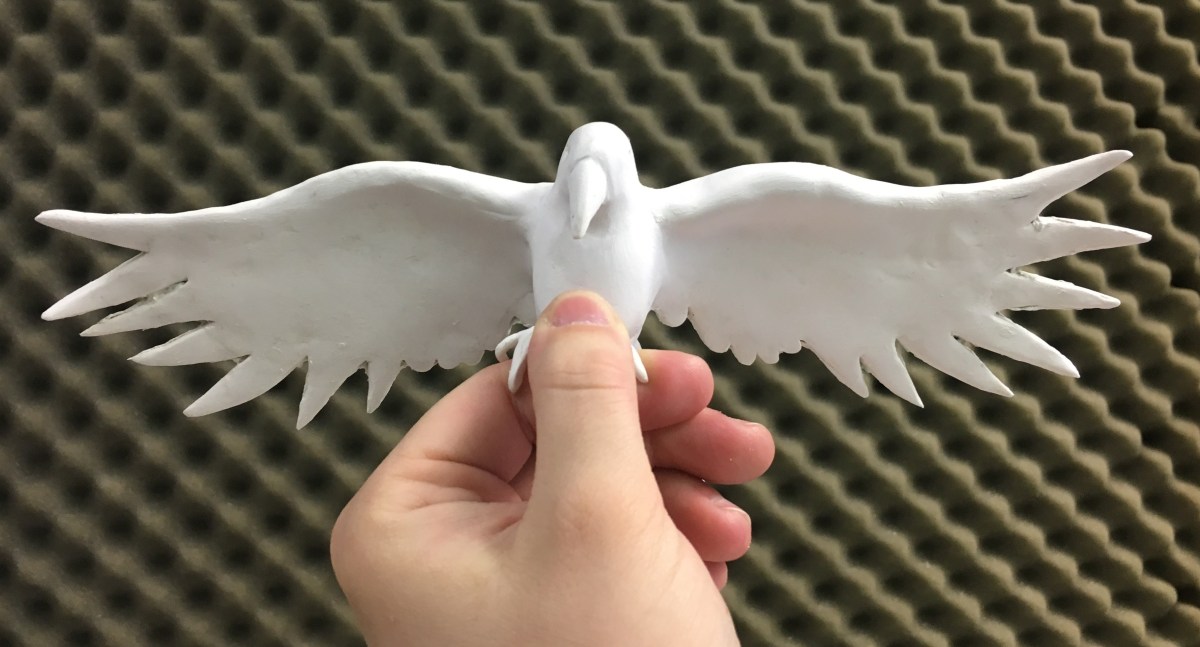
I also got the first layer of air-dry clay on the Raven’s Landing annnd …
You can see the problem can’t you? Yep. I mounted him too far back. He looks like he’s falling off backwards! The handle of the knife needs to be in line with the blade or the middle part there will just bend and snap when it’s used. No good!
So I simply sawed off the top portion of the stick where the raven is perched, cut a diagonal piece out of the blade, and re-mounted it with epoxy. It took a couple tries to get the angle right. Now it has a second layer of clay on it and is awaiting my attentions when I arrive at the workshop today. 🙂
I did a little more work on the witchlight prototype. I’ve been having issues with getting the “lid” to fit on it nice and flush so it’s not clear where the divide is. *grumble* Lots of tinkering because I have to wait for the air dry clay to dry in between each thing I change. Oh well. At least I should be done before the series ends. 😦 And here I thought the electronics were going to be the hard part! I figured that out ages ago.
Anyway. I’ve got to figure out where this electronics shop is so I can go get my lighting stuff. Wish me luck!
So! My vacuum pump has finally bit the dust. Poor thing. 😦 I am going to try to get the filter cleaned and looked at and maybe something replaced but I wasn’t willing to take the thing apart until I knew I had a nice new pump on the way that I could be sure would work. Cause let’s face it, it’s better to have a pump that sort of works for a short period of time than a pump that doesn’t work at all.
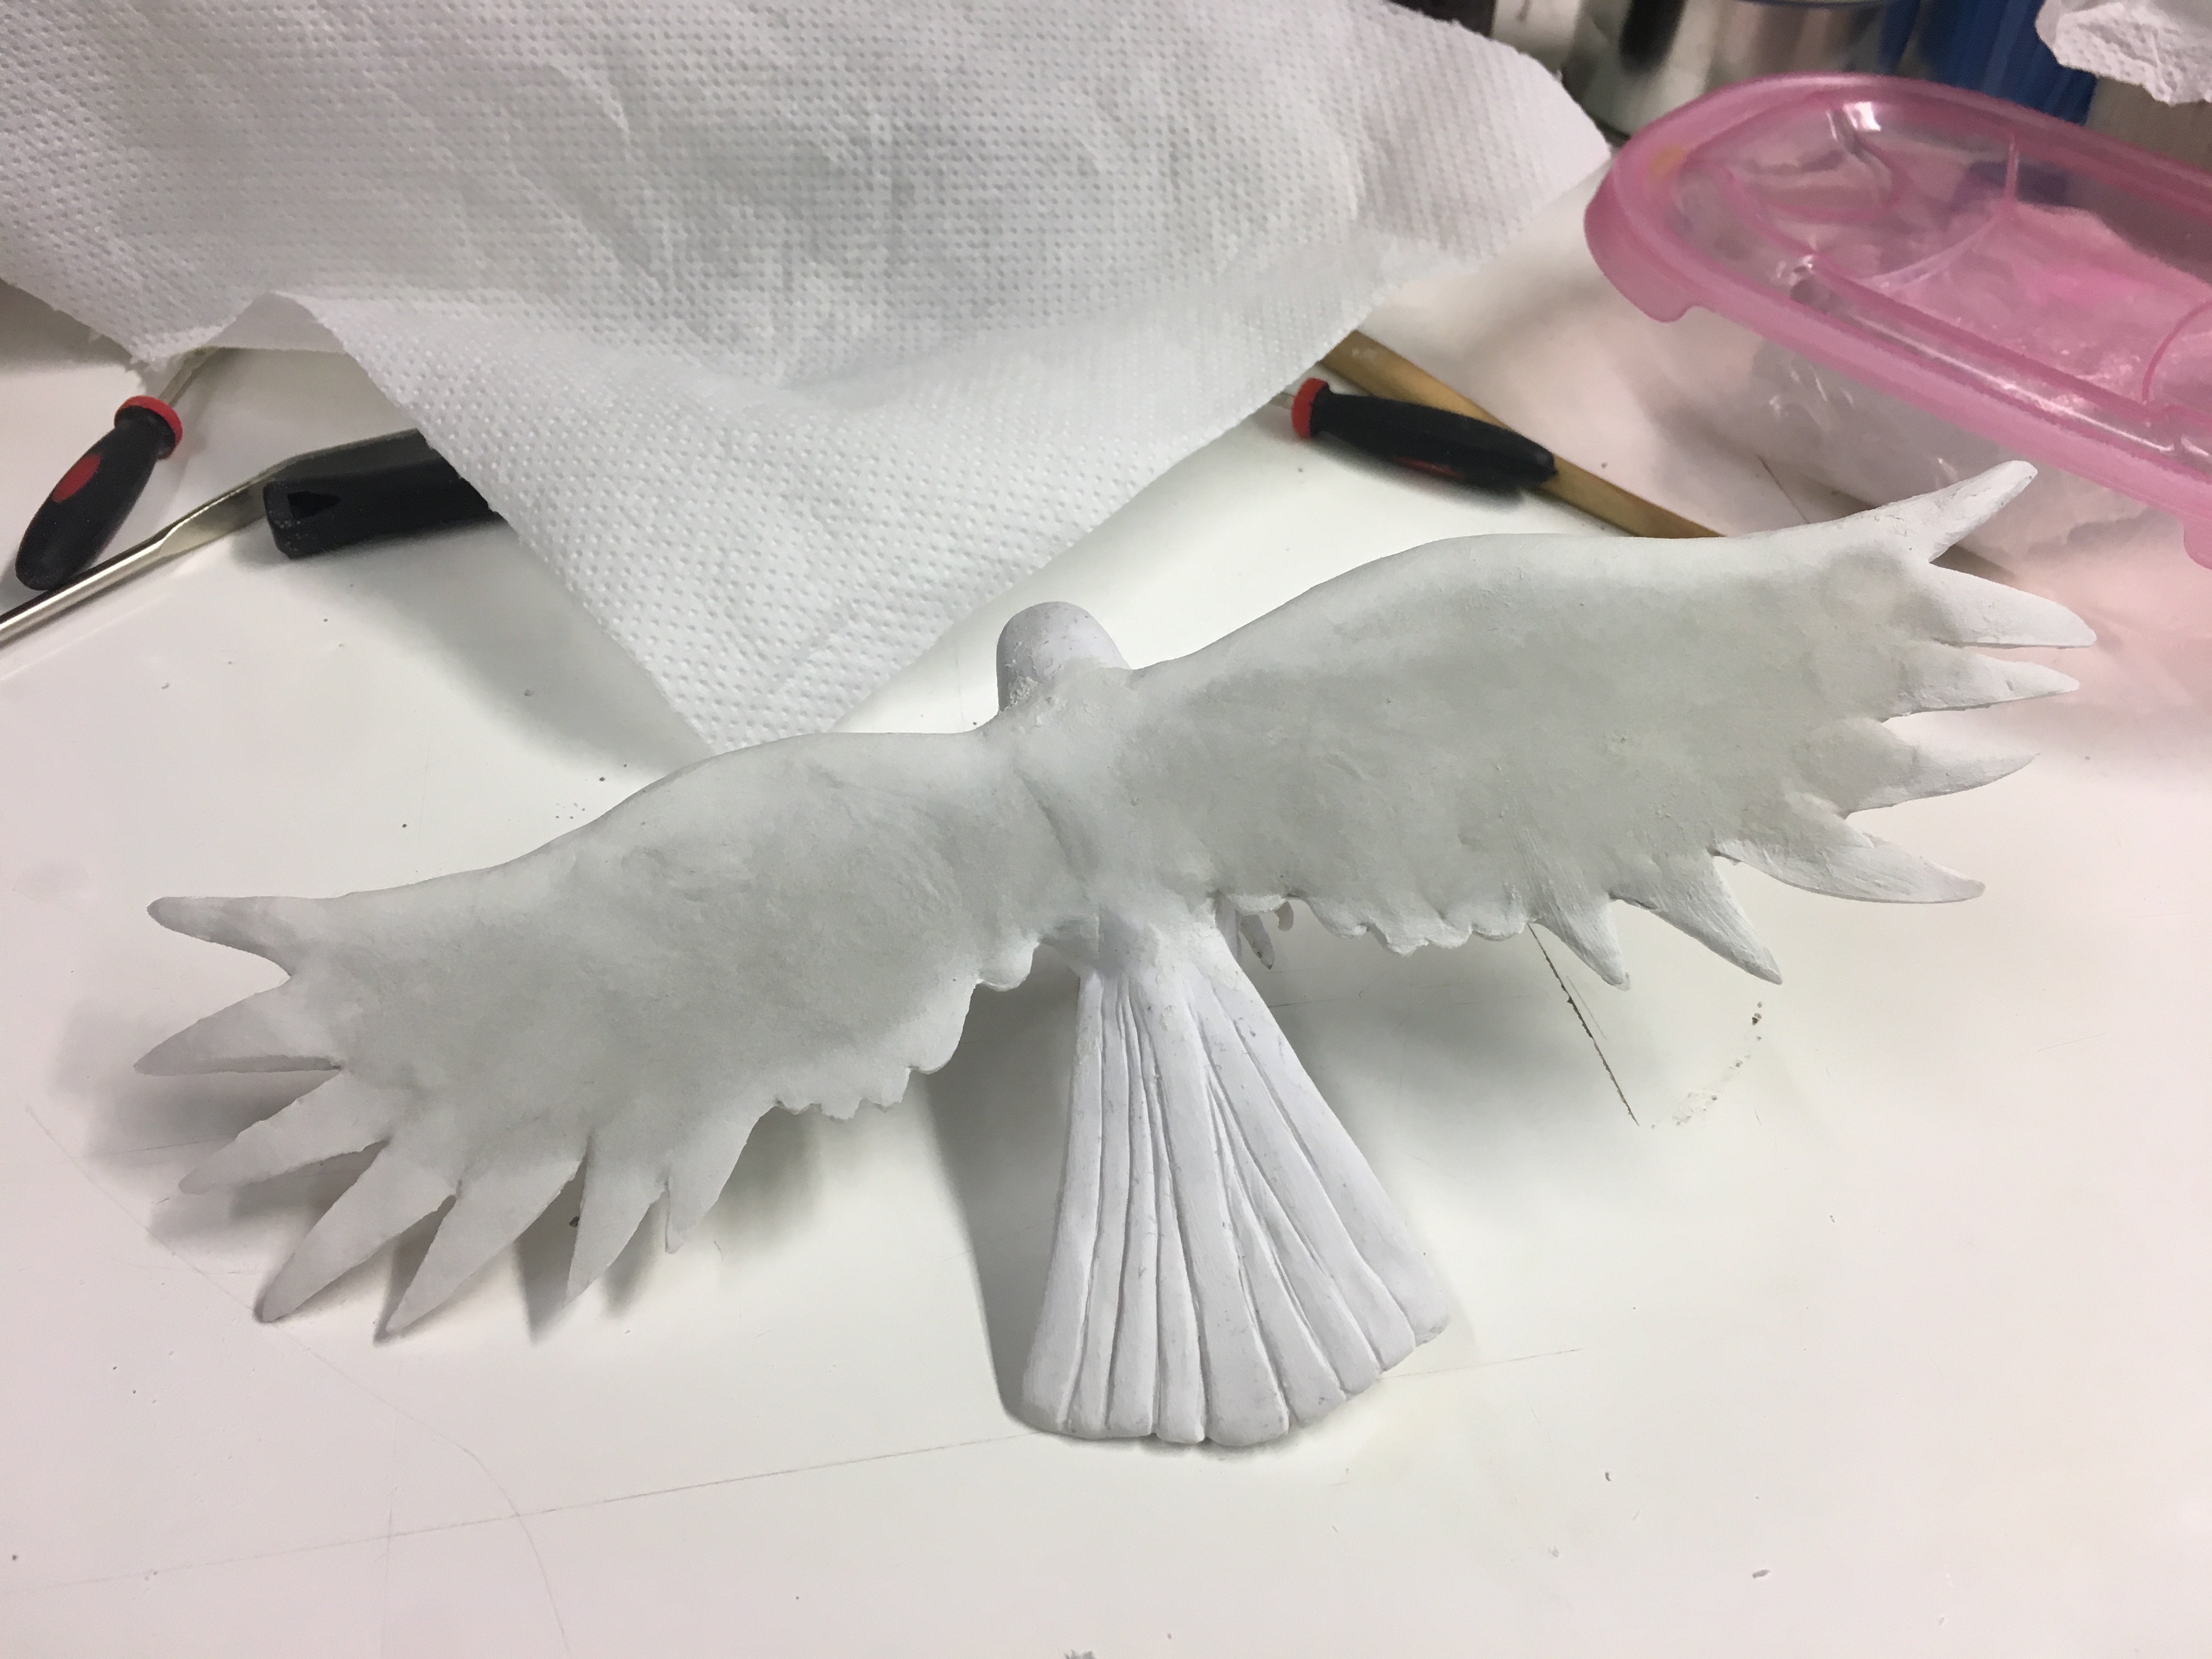
I have ordered that new pump and I am awaiting its arrival. Hopefully it will come soon! What am I doing in the meantime? Some design work. Some experiments with clay. Annnd slowly progressing on that neato raven sculpture I’ve been working on.
I’ve been reinforcing the raven statuette with DAS paperclay. You might remember me mentioning that most of the sculpture was made with Sculpy. I got to the point with it that it was too wiggly to safely work on the details without smushing the back of the wings or vice versa so I just decided to bake it and finish the detailing in an air dry clay.
I’m quite pleased with how it’s going.
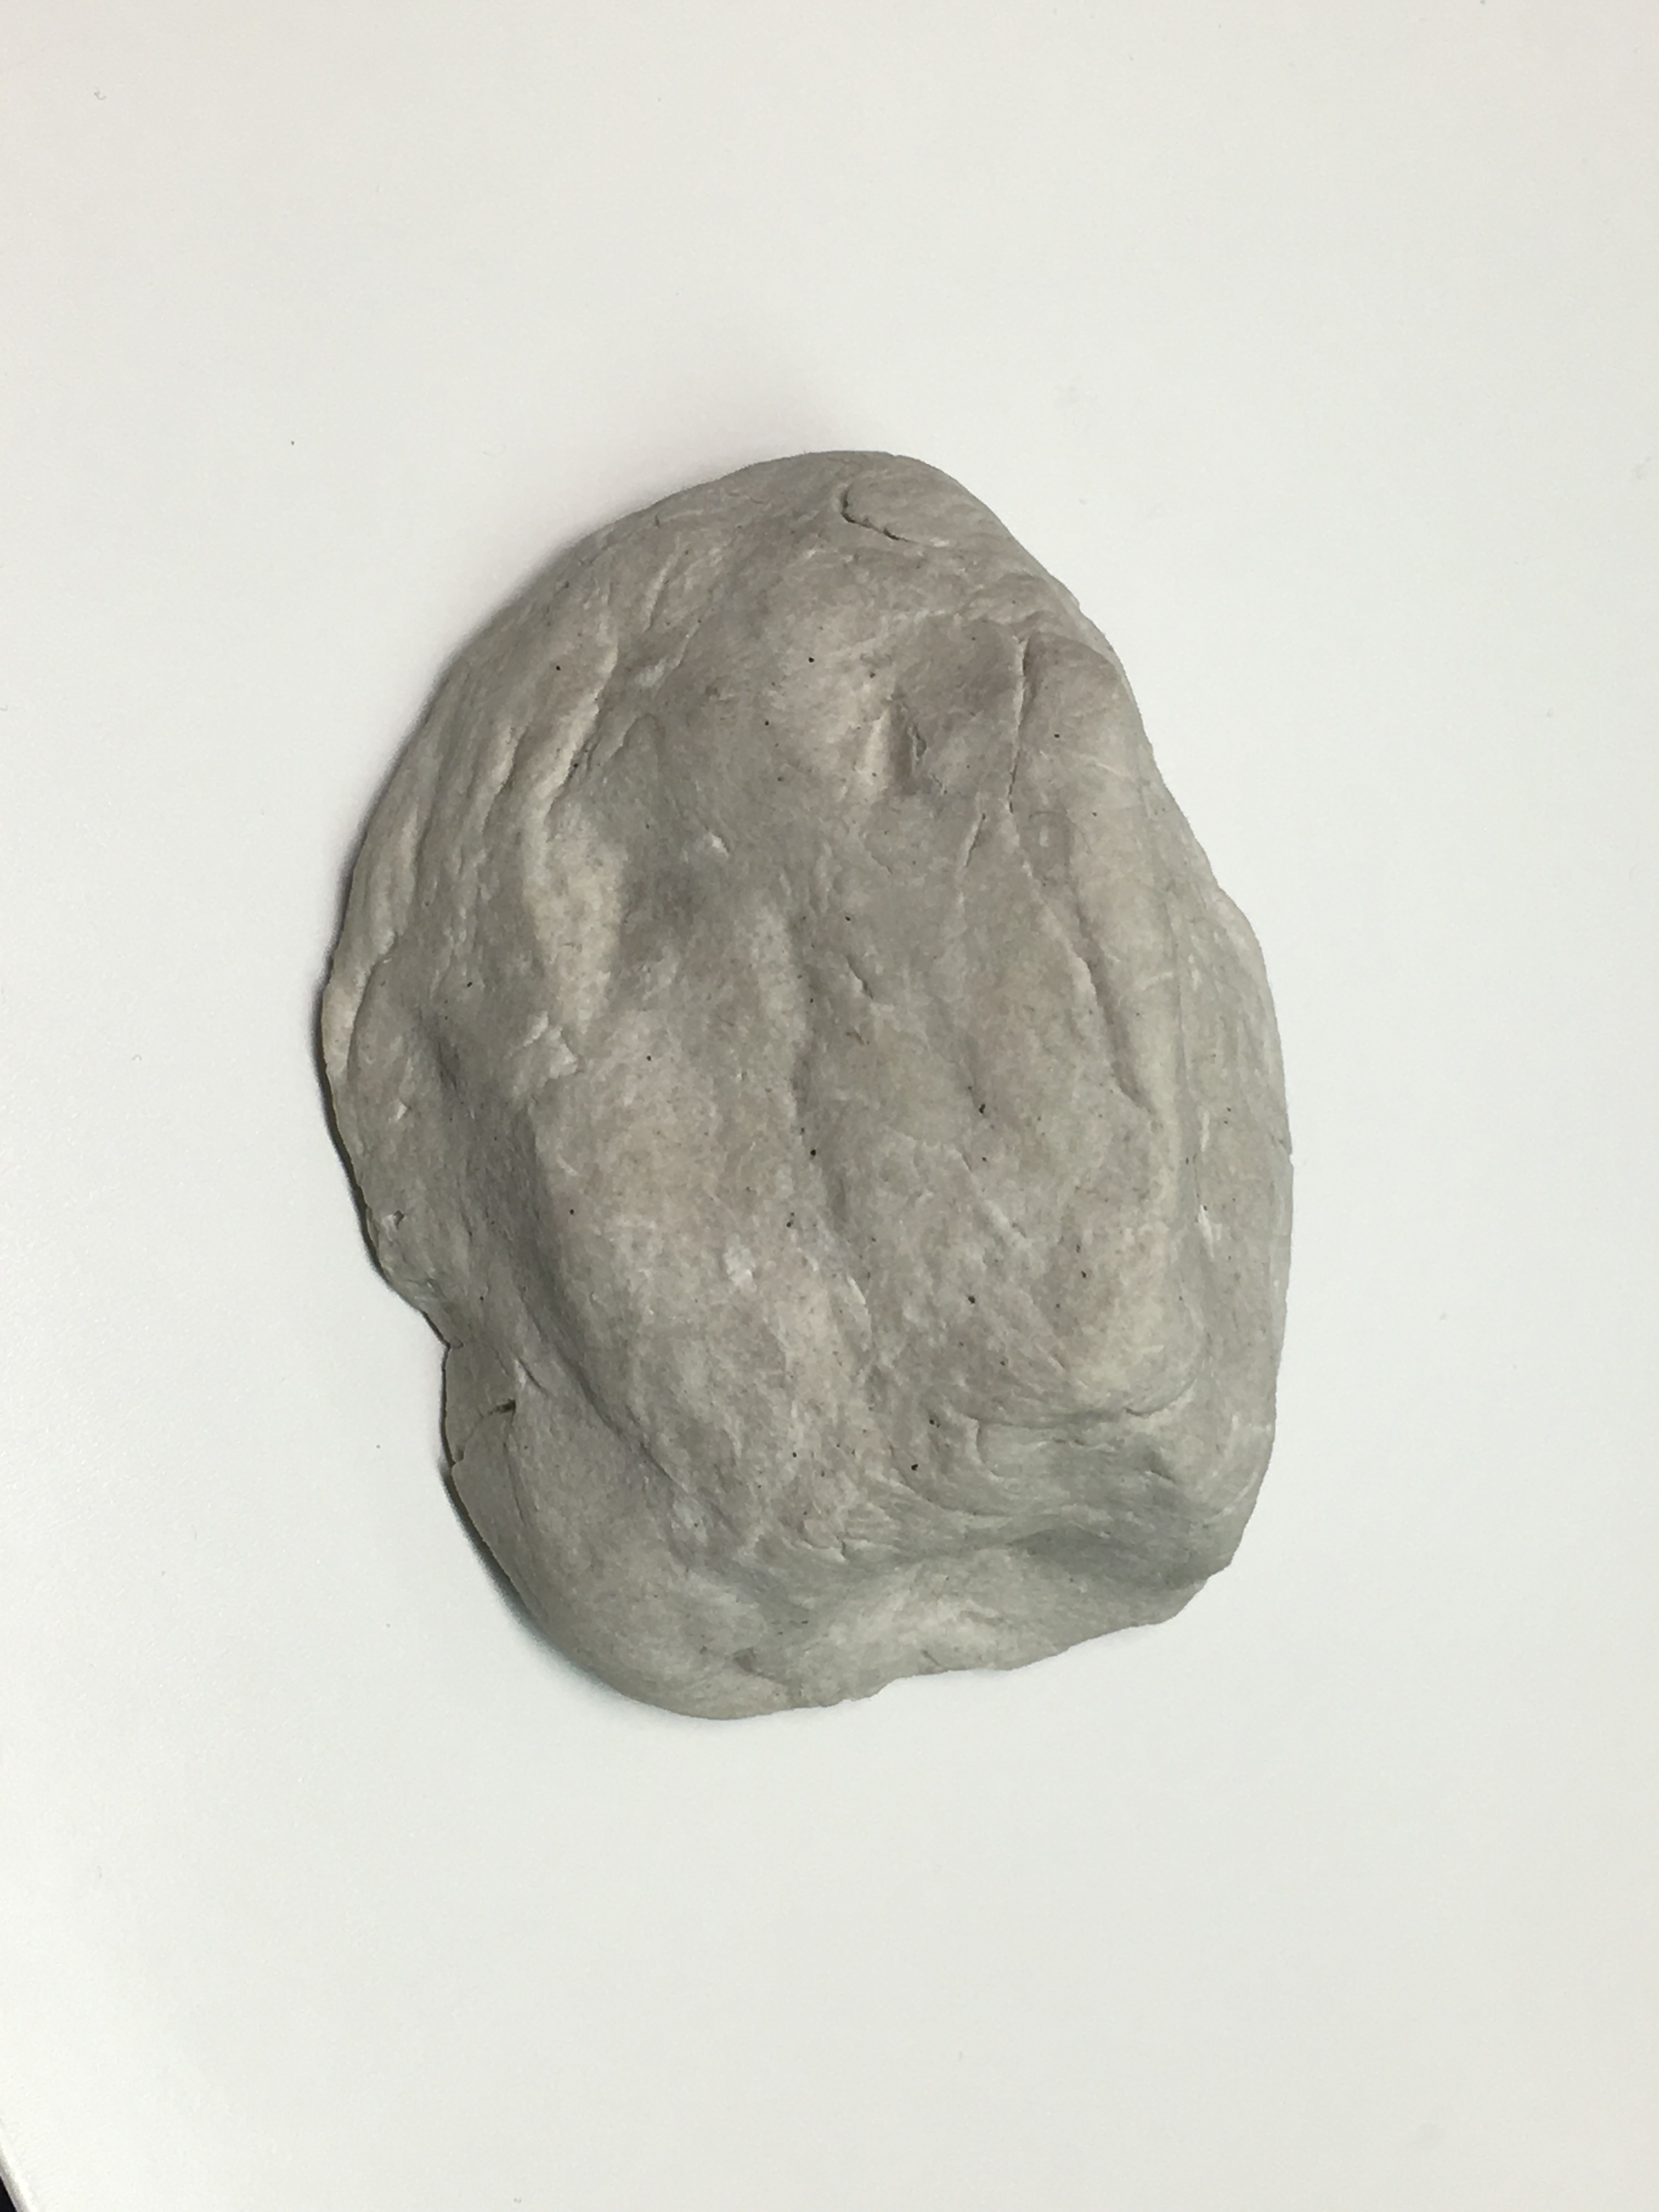
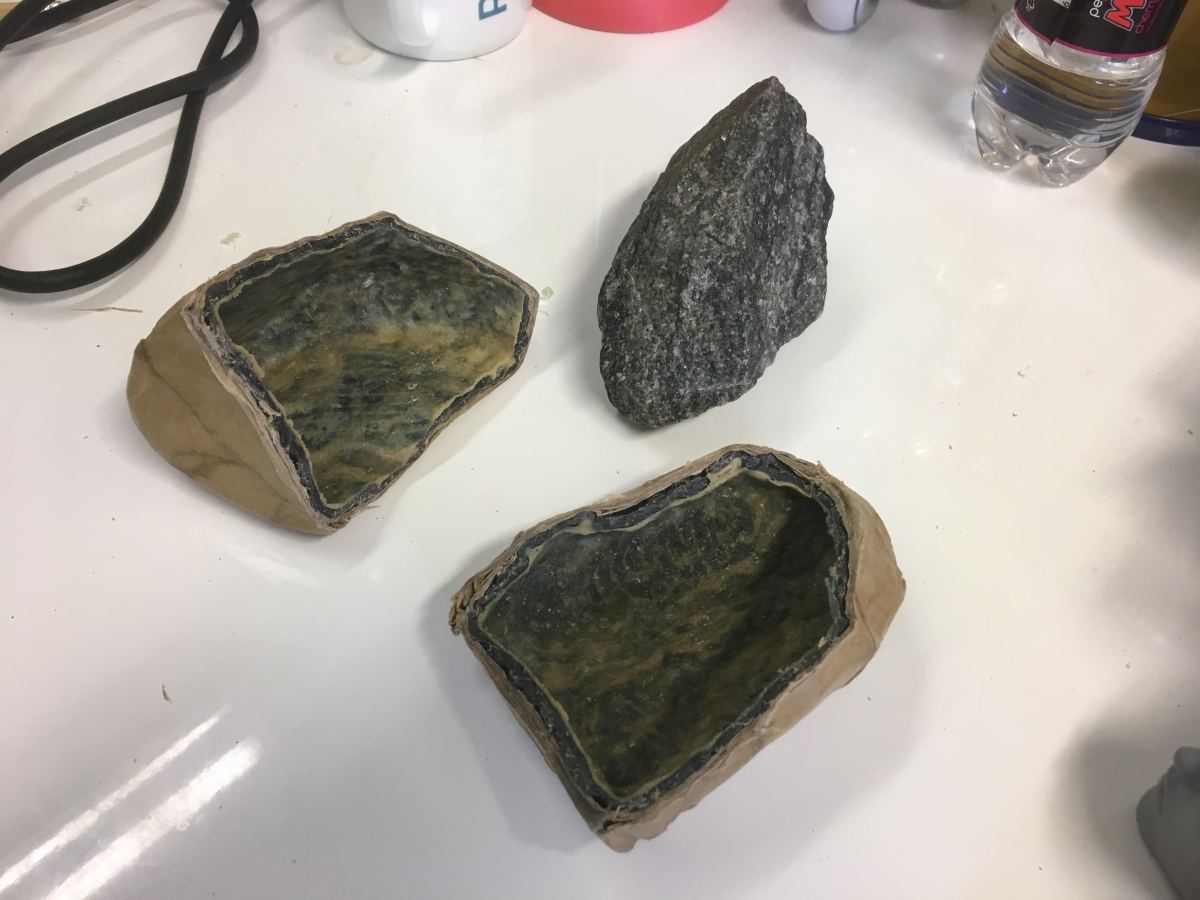
Behold! A rock!
It’s a lovely rock. I know what you’re thinking. Ethan’s finally snapped. Now he’s showing us his rock collection on his work blog. But before you stage an intervention, let me reveal to you that this rock has a secret!
It’s hollow! Remember that DIY paperclay recipe I said I was going to try out? Well, I did and it is fantastic for creating stone-like textures. It’s quite hard but I found I was able to hollow it out quite easily with a small carving tool. This is to be the beginning of my new witchlight model.
Betcha thought I forgot eh? Nope! I’ve just been struggling with the execution of the project. It’s a rather demanding thing to accomplish and I really want to get it right and make it look cool.
Here’s the video of the paperclay recipe I used. I followed it precisely. It turned out great! After five-ish days or so it got stiff and lumpy so I had to add some more water to it and beat it up a little to get it going again. It was still chunkier than it was when it was fresh so I’d very much recommend only making as much as you need and using it within a day or two. I’ll let you know how the rehydrated clay works, versus the fresh stuff.
So I mentioned design work! I’ve had a request for the tiniest little Seraph Blade I’ve ever made. 15.22cm (6″) total. I was stumped as to how I was supposed to make something that wouldn’t look ridiculous and end up with the handle being longer than the blade. But then my wife mentioned skinning knives to me. Those are short but wide and have a really nice curve to them.
I took some inspiration from various models I looked at and came up with this design. The middle, ring, and pinkie finger rest on the handle proper while the index finger goes through the hole in the blade. I added a thumb guard to keep the hand safe from sliding onto the edge of the blade when it’s all slippery with demon ichor. 😉
Demons thinking they’ve caught a lucky break and found a Shadowhunter unarmed will be in for a nasty little surprise. It might be intimidating to get that close and personal with the infernal, but a hunter’s gotta do what a hunter’s gotta do. I know some of you will have the moxie to pull it off.
I’ll have some more progress pictures for you soon. Everybody cross your fingers for a quick shipping of my new vacuum pump so I can get that pretty Arabian sword cast in resin! Can’t wait to show you the completion of that project!
Yes I’m updating today instead of Monday. It’s been crazy.
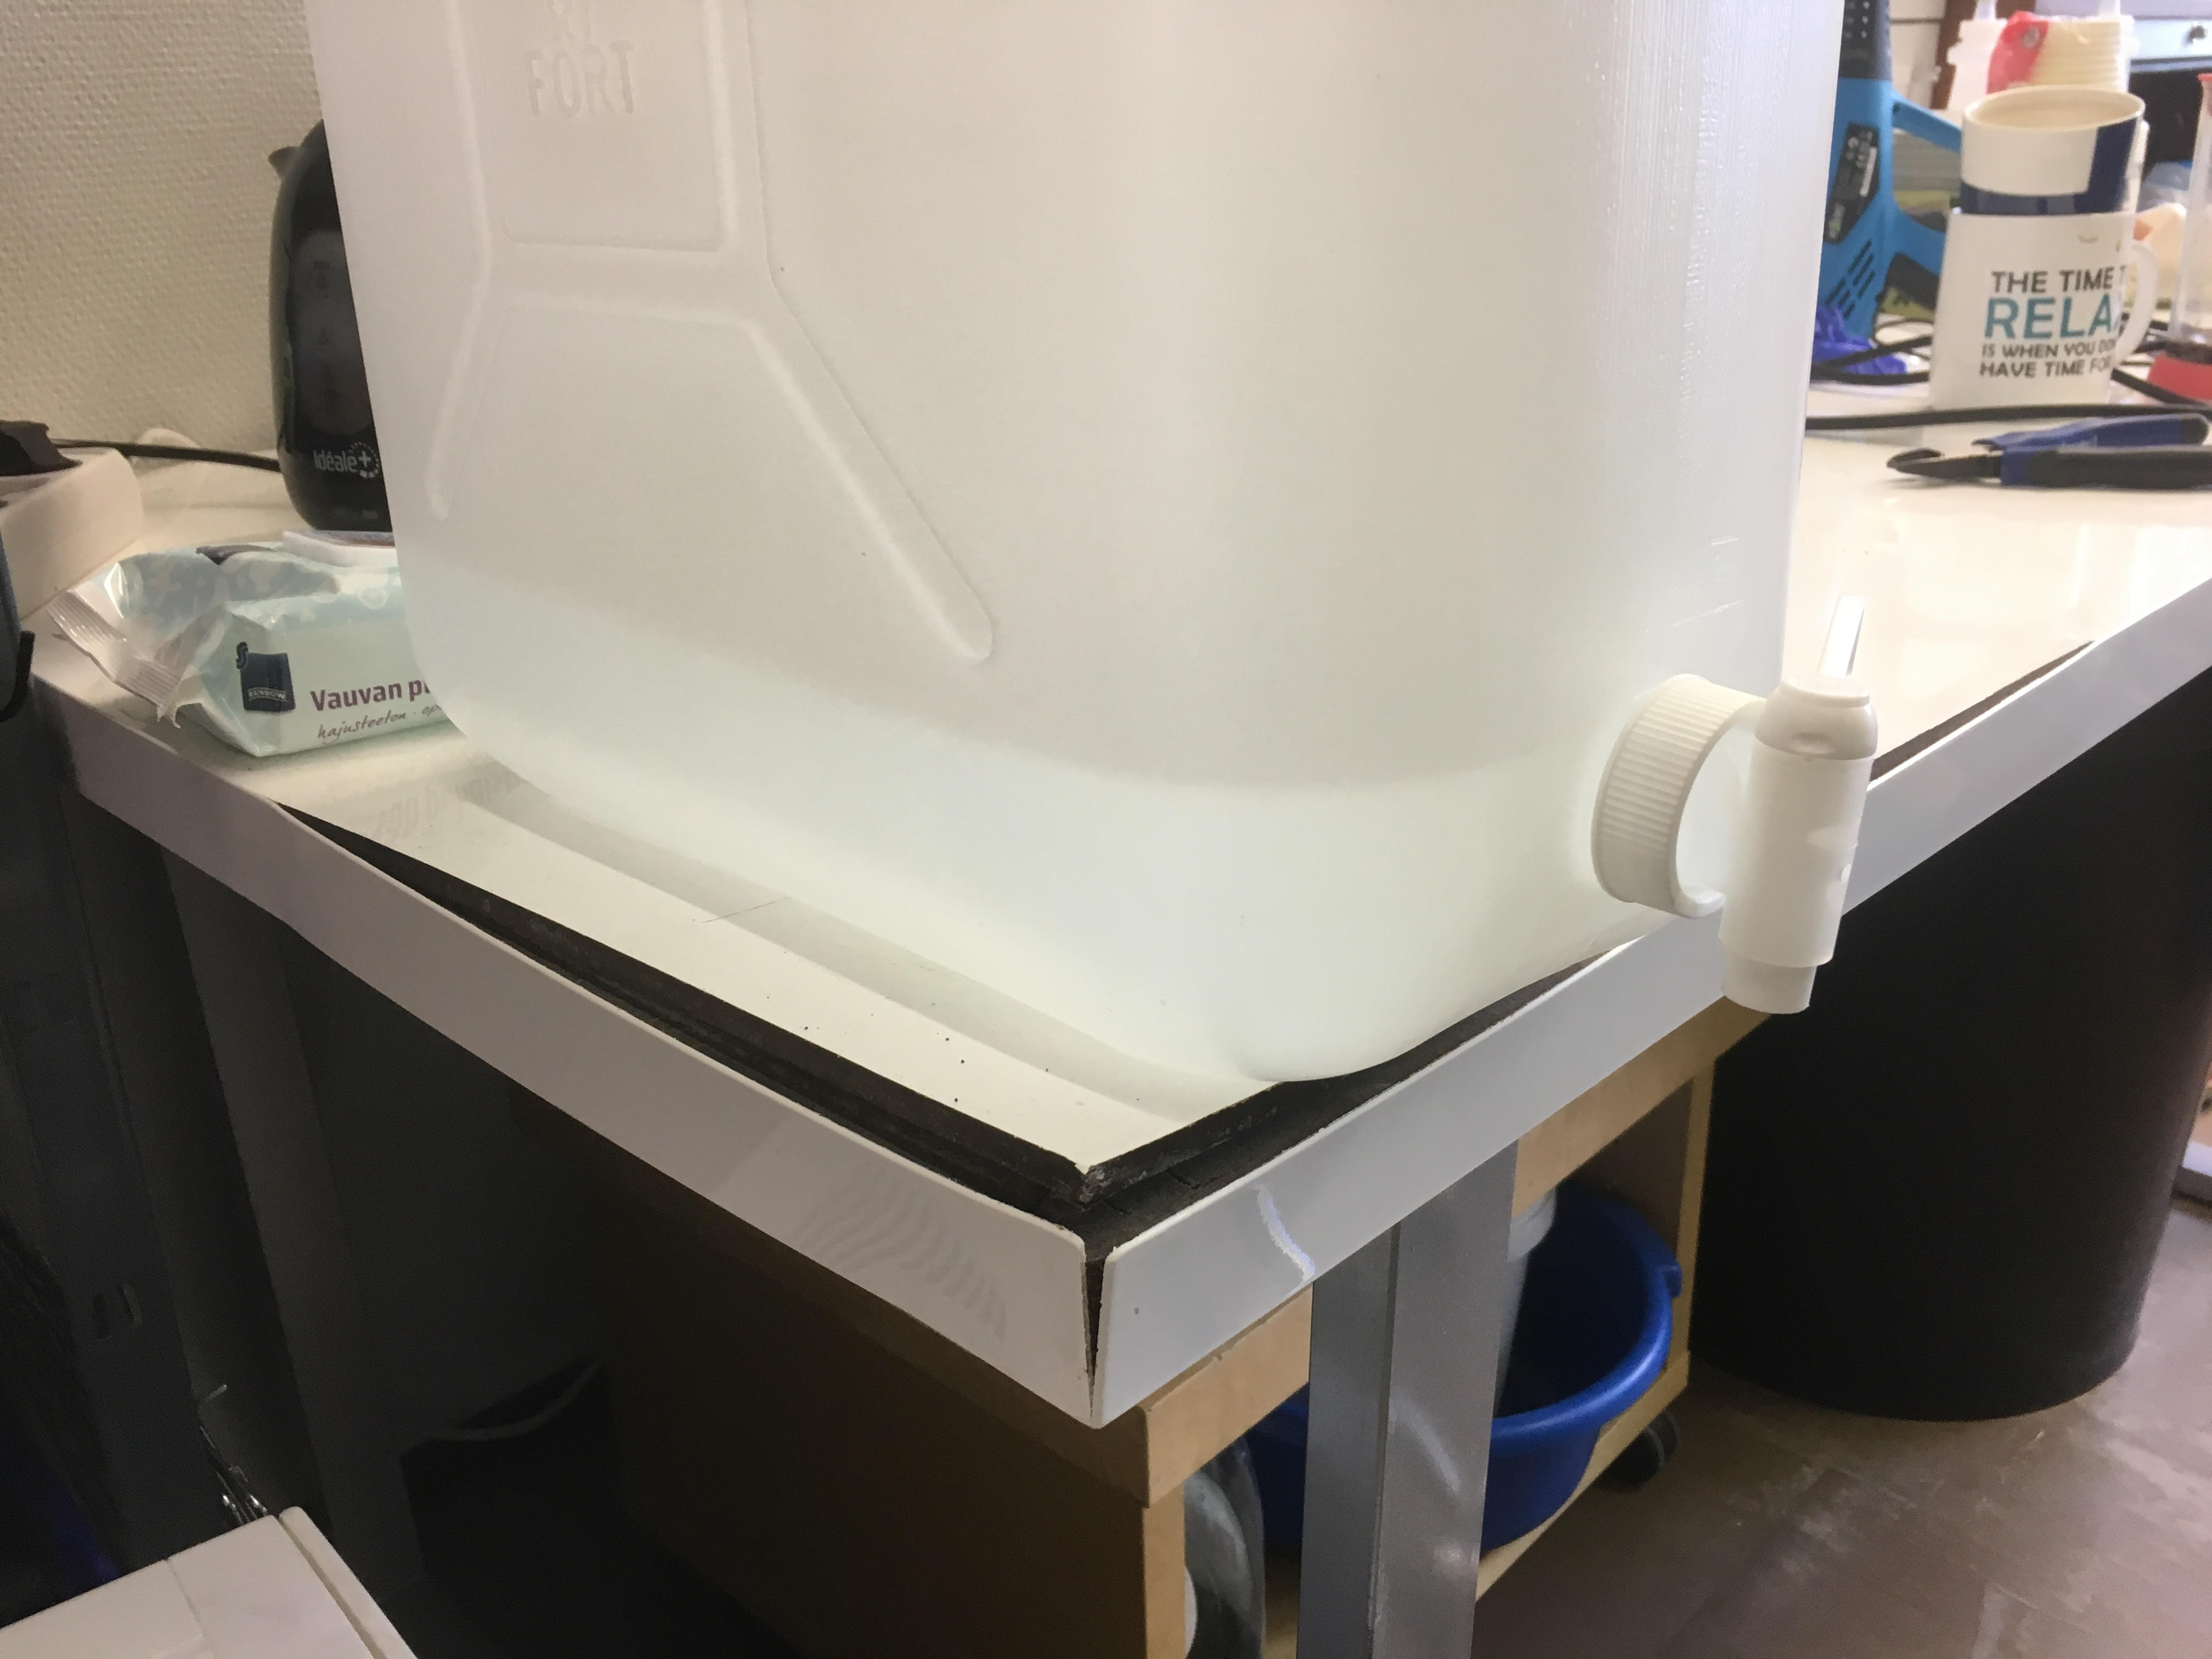
My water jug decided to leak onto the table all weekend. Apparently the table was mostly made of cardboard and the entire end of it was ruined.
So I had to take an entire day to chop the end off my work-table and reattach the legs. The seatings for the bolts were apparently laminated into a block, inserted into the table, and then laminated over so it was impossible to just move them and re-bolt. I had to use wood screws, which ended up being too long and pierced the top of the table, and a couple of G-clamps which are now a permanent fixture helping to hold the stupid legs on. Yay.
So. much. swearing.
I did some experimenting with a product called ComposiMold. It is a re-meltable, re-usable moulding compound. Poor Malechai looks a bit like Han Solo frozen in carbonite here. LOL
I also discovered that I can close the eye and neck holes with draft-stop tape. I’ll remember this trick for the future!
Now, what I learned from this experience is that ComposiMold tends to retain some bubbles. Currently not sure if I can actually get them OUT before the moulding compound hardens. But, since it’s a reusable substance, and the bubbles are quite small, I can use it to create prototypes of the items I make without having to buy more moulding products each time AND without creating more environmental waste to make a mould that will only be used once.
Nice!
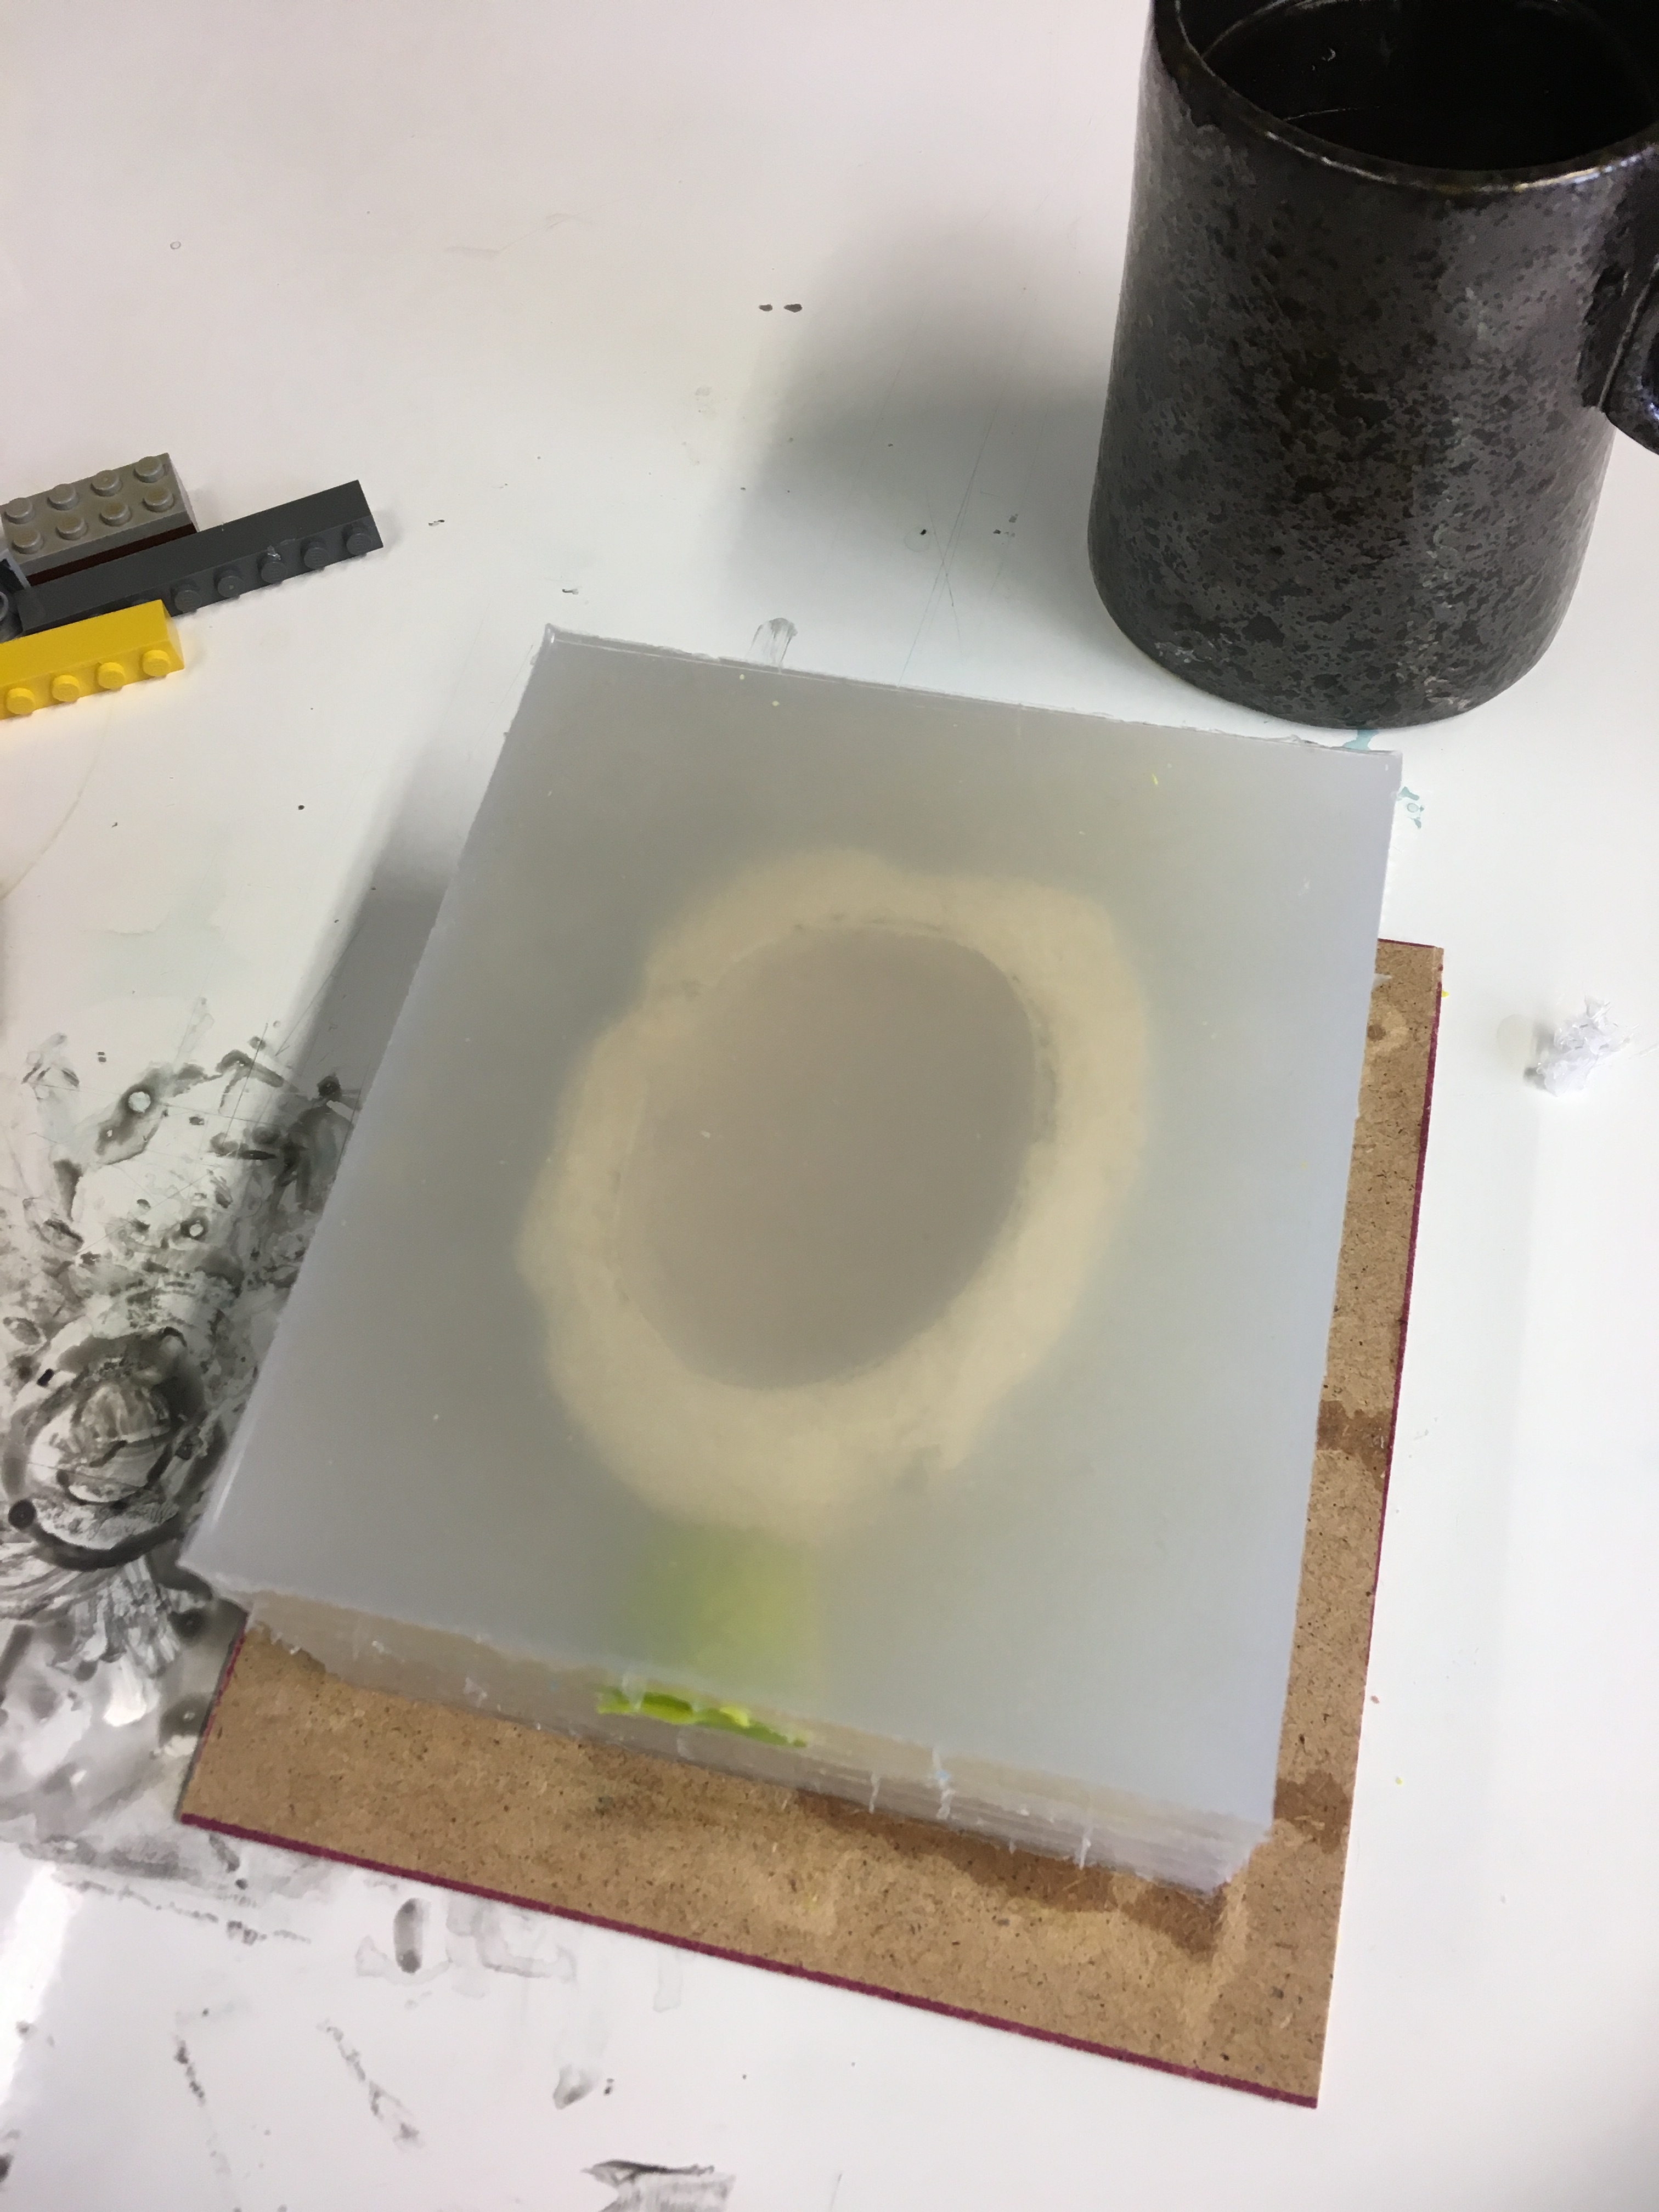
Now what have we got going on with this crazy little geode thing here? This is a prototype mould I made with a new technique I’ve been trying out. I’m constantly working on making things more cheaply so that I can lower my prices and make my stuff more accessible.
This is a moulding of a rock I’ll be using for the shape of my new witchlights. I’m still unsure of the size. It might be a little big, but we’ll have to see.
Now, here’s the really exciting part:
This is a touch-activated circuit that I have been working on. The final model of witchlight that I will be selling will light up when placed in the palm of your hand. No buttons, no slide switches. Magic. My aim, as always, is to make the prop look like it is activated by the power of the person holding it. I strive to hide the electronics and mechanics to the point where nobody but you can find the button. It’s a secret trick that you get to reveal (or not!) at your own discretion.
I want to take a moment to again thank the people who have been ever so patient while I tinker with these projects to get them working just right. It means a lot to me to bring something to you that I can be truly proud of, not just something that’s “meh good enough”.
That’s all for me for today. I’ve got to get back to makin’ magic! Have a great weekend guys. ❤
Hi guys! I have to try to show and tell you lots of stuff while being really quick cause I have to go move my workshop. YES! I am moving. From the 3rd floor to the 4th floor. LOL
Why?
My previous space was too expensive for me. Almost 600 euros a month. That, coupled with the cost of materials to make my shinies (silicone is ridiculously expensive, I’m not even kidding), and my vacuum pump dying and needing replacement (I’m degassing things in a couple stages as it limps along with its last gasps of life) I could not afford to stay there.
So: we’re going from 37 square meters down to 15 square meters. This is okay because I had way too much space to begin with. But … the new room also doesn’t have access to water. So I have to schlep a water reservoir from the bathroom to my workroom when I run out. Booo. Well, I guess I’m about to become very strong? Yay.
My wife helped me move all the things that needed two people to move yesterday (Sunday). Bless her heart for sacrificing a day off lifting and lugging with me.
Now, on to the stuff I’ve been working on! Quick quick GO!
I made a witchlight! Yay!
It didn’t work! Boo.
I shaved it down.
It … kinda works! Yay? Not good enough. I’ll keep trying!
How did the moulding go? Don’t know! Not finished yet. Not touching it until it’s safely settled in the new workshop!
Next thing GO!
More carving done on Sariel!
Yes! In about a month you will be able to get your hands on a glorious longsword like the one that Isabelle Lightwood wielded in The Mortal Instruments movie! Woo! Send thoughts n’ prayers that everything goes smoothly.