Hello everyone! I’ve just shipped out what is probably the most gorgeous Clariel style blade I’ve ever made. It took me a little over a week from start to finish. Remember when it took me 3 – 4 weeks to make sword?!
I’m so pleased with how far I’ve come with my crafting. It’s been a long and frustrating journey with big bites taken out of it for illness and surgery. Life doesn’t always cooperate with what we want to do. We all do the best we can.
I continue studying, experimenting, and swearing at my tools to bring you better and better artwork.
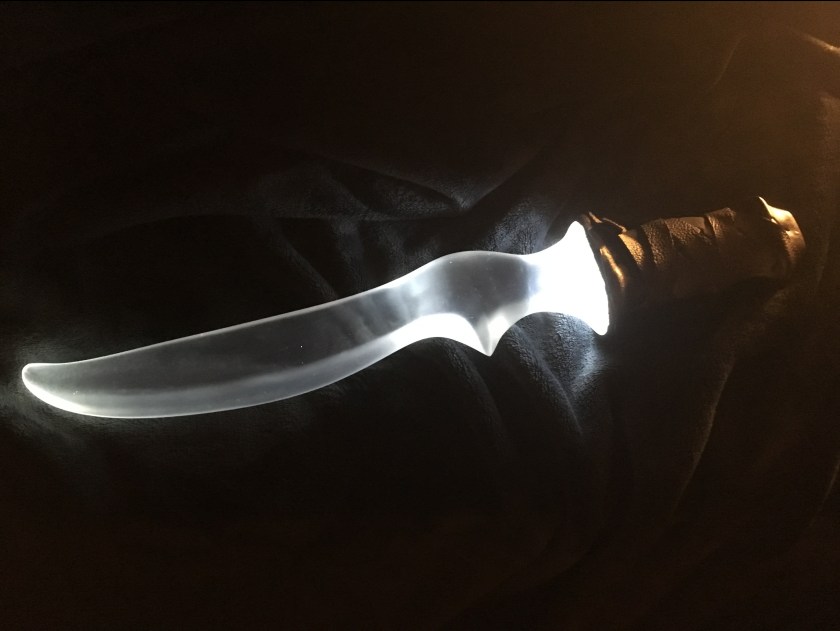
About the piece: This shadowhunter requested only the angelic rune on the handle, a black wrapping, and a frosted finish on the blade.
The snap closure on the wrap is the tiniest I’ve ever used so it’s quite difficult to spot if you don’t know what you’re looking for. I decided to shape the leather flap (which covers the light fixture) in two separate pieces and adhere them together. This resulted in a covering that conforms to the shape of the handle much better than forcing a single piece of leather to go over multiple curves.
If you want your very own Clariel, you can pop over to my Etsy shop and get one made for you. Please note: I go on holiday at the end of this week so your sword will come to you in the new year if you order now. 🙂
That’s all from me for today. Thanks for stopping by!
Quick update on Clariel before I go running off to the workshop again. I’ve been super busy with the holidays coming up.
Leather flap formed, interior painted a nice reflective white, ready to be glued on.Starting the rune carving. Yes, I do it all by hand. Carved and pressed. Now for the epoxy putty handle.Sculpted, clamped and curing. Yessss.
I’ve already got the sanding, the other rune carved on the other side, and the base coats of paint on the handle … but I forgot to take a pic before I left the workshop last night. Sorry! Super busy! Thanks for stopping by! Gotta run now.
Hey guys! I’ve been out of commission for 6 weeks with this stupid surgery thing and I can’t tell you how happy I am to be back in the workshop! As soon as the doc cleared me for active duty I hopped on the train, headed directly to the shop, and cast a brand new Clariel.
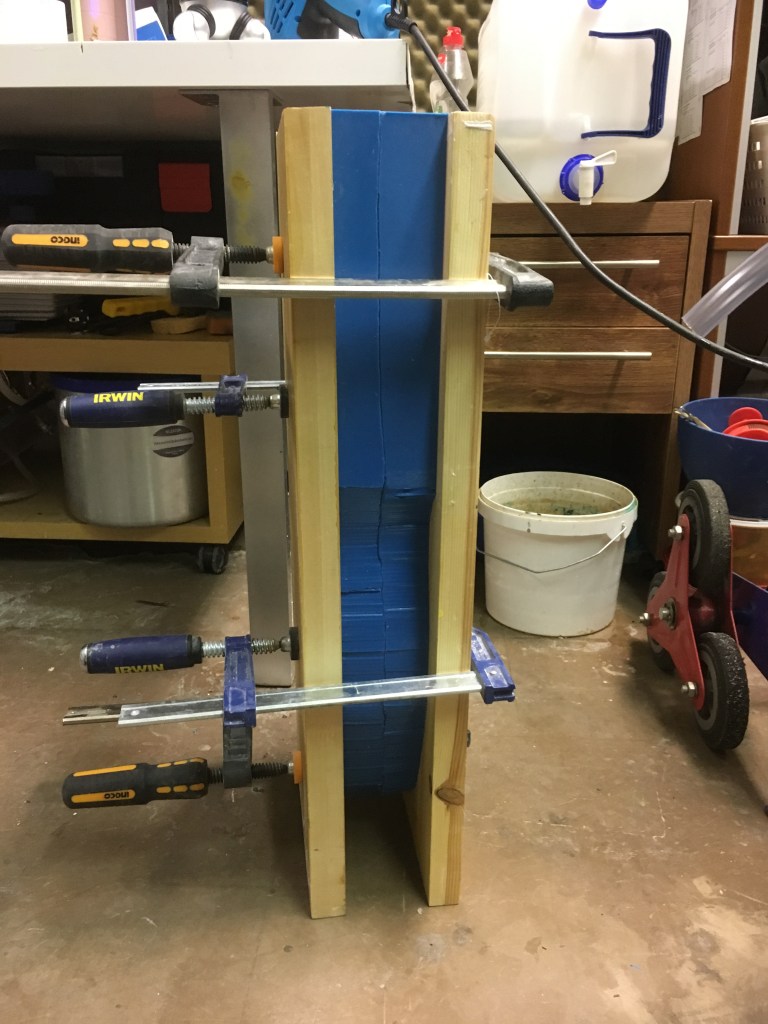
I like big clamps and I cannot lie …
I was worried about getting back into the swing of things. Would I need some time to get back in the game?
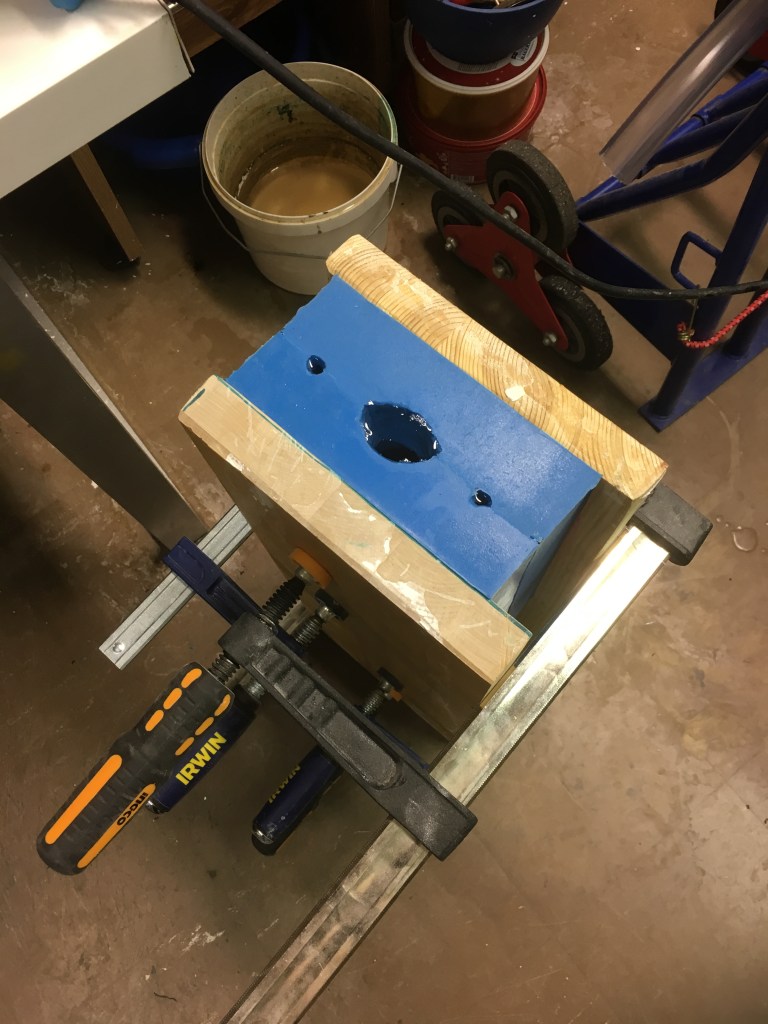
It looks like a creepy but happy fish.
The resin behaved. The vacuum pump behaved (even though I really should probably change that oil …)
Yaaaaassssss
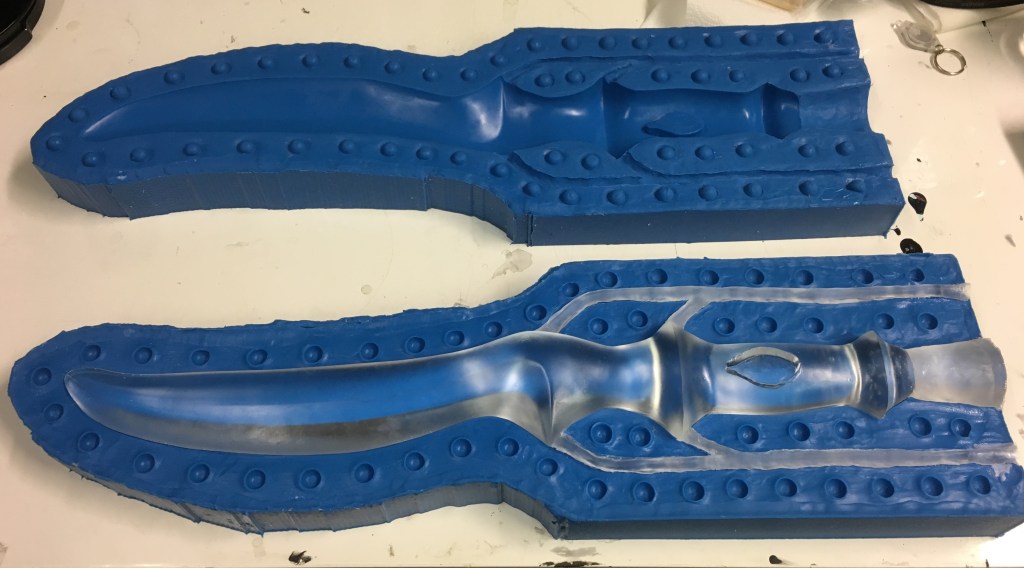
This is probably the fewest bubbles I’ve ever had in a casting and they were all pinhole surface bubbles, easily buffed away with a little sanding. To say that I’m pleased with the results is a huge understatement.
Here it is all trimmed and with its first couple rounds of sanding. I’m starting to leave the handles rough so the adhesive and epoxy putty has a better surface to grip to. I can’t wait to see how it’s going to turn out!
Thanks for stopping by my page. Hopefully updates will be regular again.
Hello everyone! Sorry I’ve been quiet. I’ve been struggling with various things. Briefly: illness (I’m better now!), research (you don’t wanna see pics of me reading; BORING), annnd finding out that my new tiny workshop is too hot in the summer for me to do my work properly or be at all comfortable.
I’m hunting for solutions to that last problem there. Looking for a new workshop, or a house to rent that has a garage or some outdoor space I can work in, or an air conditioner at a reasonable price, or a refrigerator to at least keep my silicone and resin at a proper working temperature. It needs to be about 21 to 23 degrees. My workshop is currently 27 degrees so everything is curing way too fast.
I have a wee electric cooler, but it drips water continuously from its cooling fins inside. So much so that it actually grew mold on the wooden backing of my thermometer that I had in it.
Ew.
That’s no good. 1. I’m allergic to mold, and 2. urethane resin is really really sensitive to moisture. It can’t sit in a puddle and then be expected to work.
NEXT! I am currently moulding a brand new witchlight model.
It’s a rock!Or is it?Into the moulding box it goes!
At this point, I have the silicone done and an outer jacket made of the usual burlap and plaster. I’m practising the brush-on method of silicone moulding even though this piece is clearly small enough to get away with a pouring mould. Practise is important to refining technique and I can’t let the opportunity go to waste!
The benefit of the brush-on method is that you can use less silicone which is crazy, crazy expensive. The downside is that you have to make a hard jacket to keep the mould stable because it’s going to be thinner and clamping it can squish the mould. The other downside of brushing on is that there’s a risk you won’t get the silicone into all the little details of the piece you’re working on, especially if there’s undercuts or weird textures.
I will find out today if it worked all right! I’d show it to you now but someone forgot to take a picture of it. I blame Cool Kevin.
Dammit Kevin!
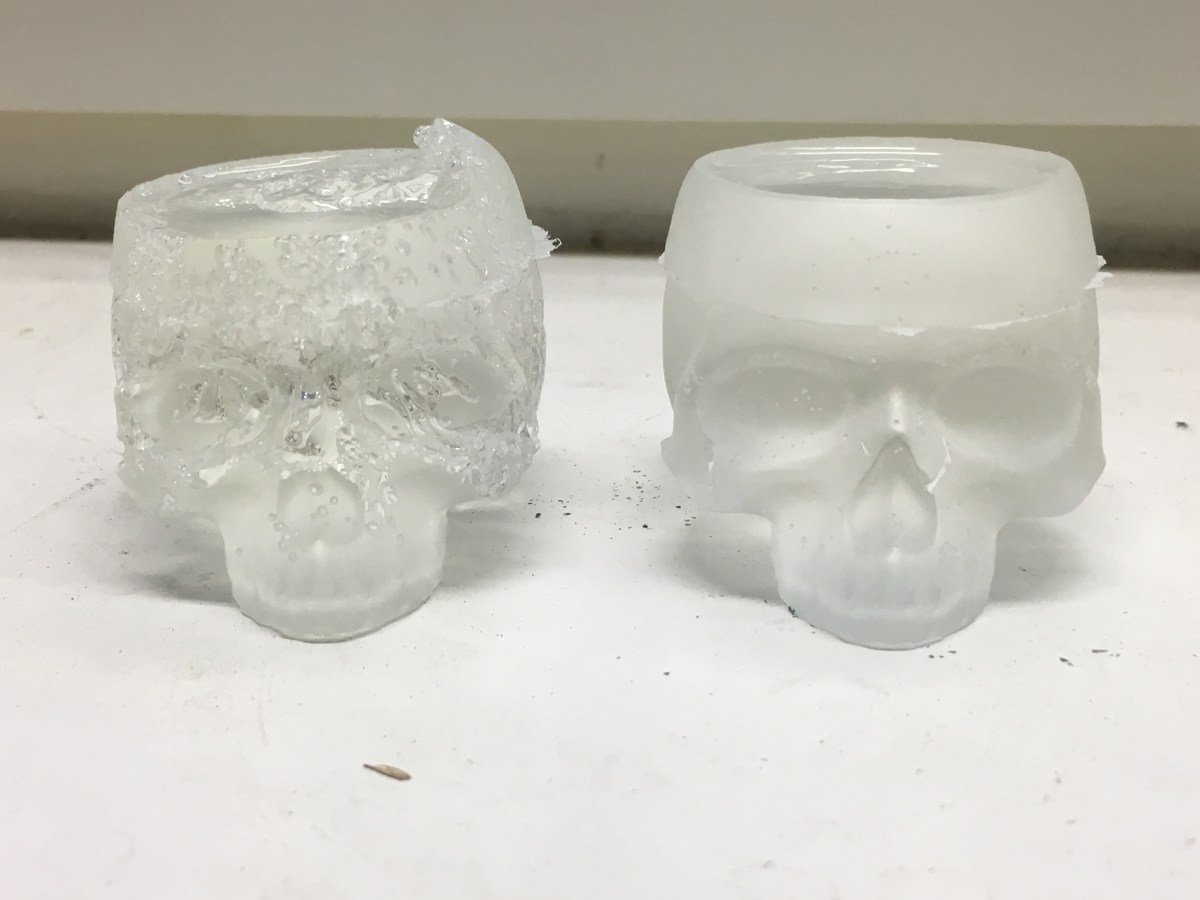
NEEEEXT! I’m conducting experiments on different types of resins and epoxies in an effort to find a cheaper material to make my swords. I’m using a little silicone skull mould for the test.
Let’s see what we ha … ew.He’s having a real bad day.
Okay so this is TFC EP Casting Resin Epoxy from TrollFactory. I have tried casting witchlight parts, roses, and this skull here with it. All of them had at least part of the casting fail to cure. This test actually damaged my mould. It will be disposed of. Maybe some people can get it to work but I find it far too finicky. That, and it comes out a pale pink, making it unsuitable for swords or witchlights.
Well … it LOOKS cool but that’s not what I wanted.
This little fail is made of ZDS epoxy resin. I discovered that I accidentally added the wrong amount of hardener so while it did harden completely, it also went bonkers all over the outside. I tested it again adding the correct amount of hardener this time!
Well! What do you know? It works better when you follow the instructions! The better version still has some bubbles and flaws in it though and this presents a problem. In order to ensure that there won’t be bubbles, I’d have to put it into my pressure pot while it’s curing. But it needs to be kept at 70 degrees while it’s curing or it won’t harden fully. How to keep it warm while under pressure? I don’t know! And that really won’t help with the swords because I don’t have a pressure pot big enough to fit a sword inside it.
The next test is going to be using polyester resin. I really don’t want to, because it smells bad and wearing my respirator all day is stuffy and annoying. But I don’t really see another option at this point. I literally cannot afford to lower my prices any more than what they’re at now unless I turn to a less expensive material.
It’s a difficult situation. I want to make my stuff more affordable to more people so everybody can have the pretty things they want but ultimately, I also have to pay rent on the workshop, buy materials to make the art, advertise my stuff so people can actually find it, and also … y’know, eat food. Otherwise, none of this can happen at all.
I have two crystal-clear, LED-equipped Seraph Blades in my Etsy shop for only 370 Euros each! Is one of them for you? Regular price is 415 Euros so if you want reaaaally want one, this is your best chance.
What else have we got going on for this week? Well I’ve got an open-house coming up on Friday. That means I have to tidy my workshop. Yey. Uh, wish me luck on that. LOL But I’ll be super happy to see people and show them my little corner of crazy!
If you’re interested and you happen to be in Finland this week, you can stop by at Sahaajankatu 22, Helsinki and ask for me. Liisa will show you where to go. The building is a bit of a maze.
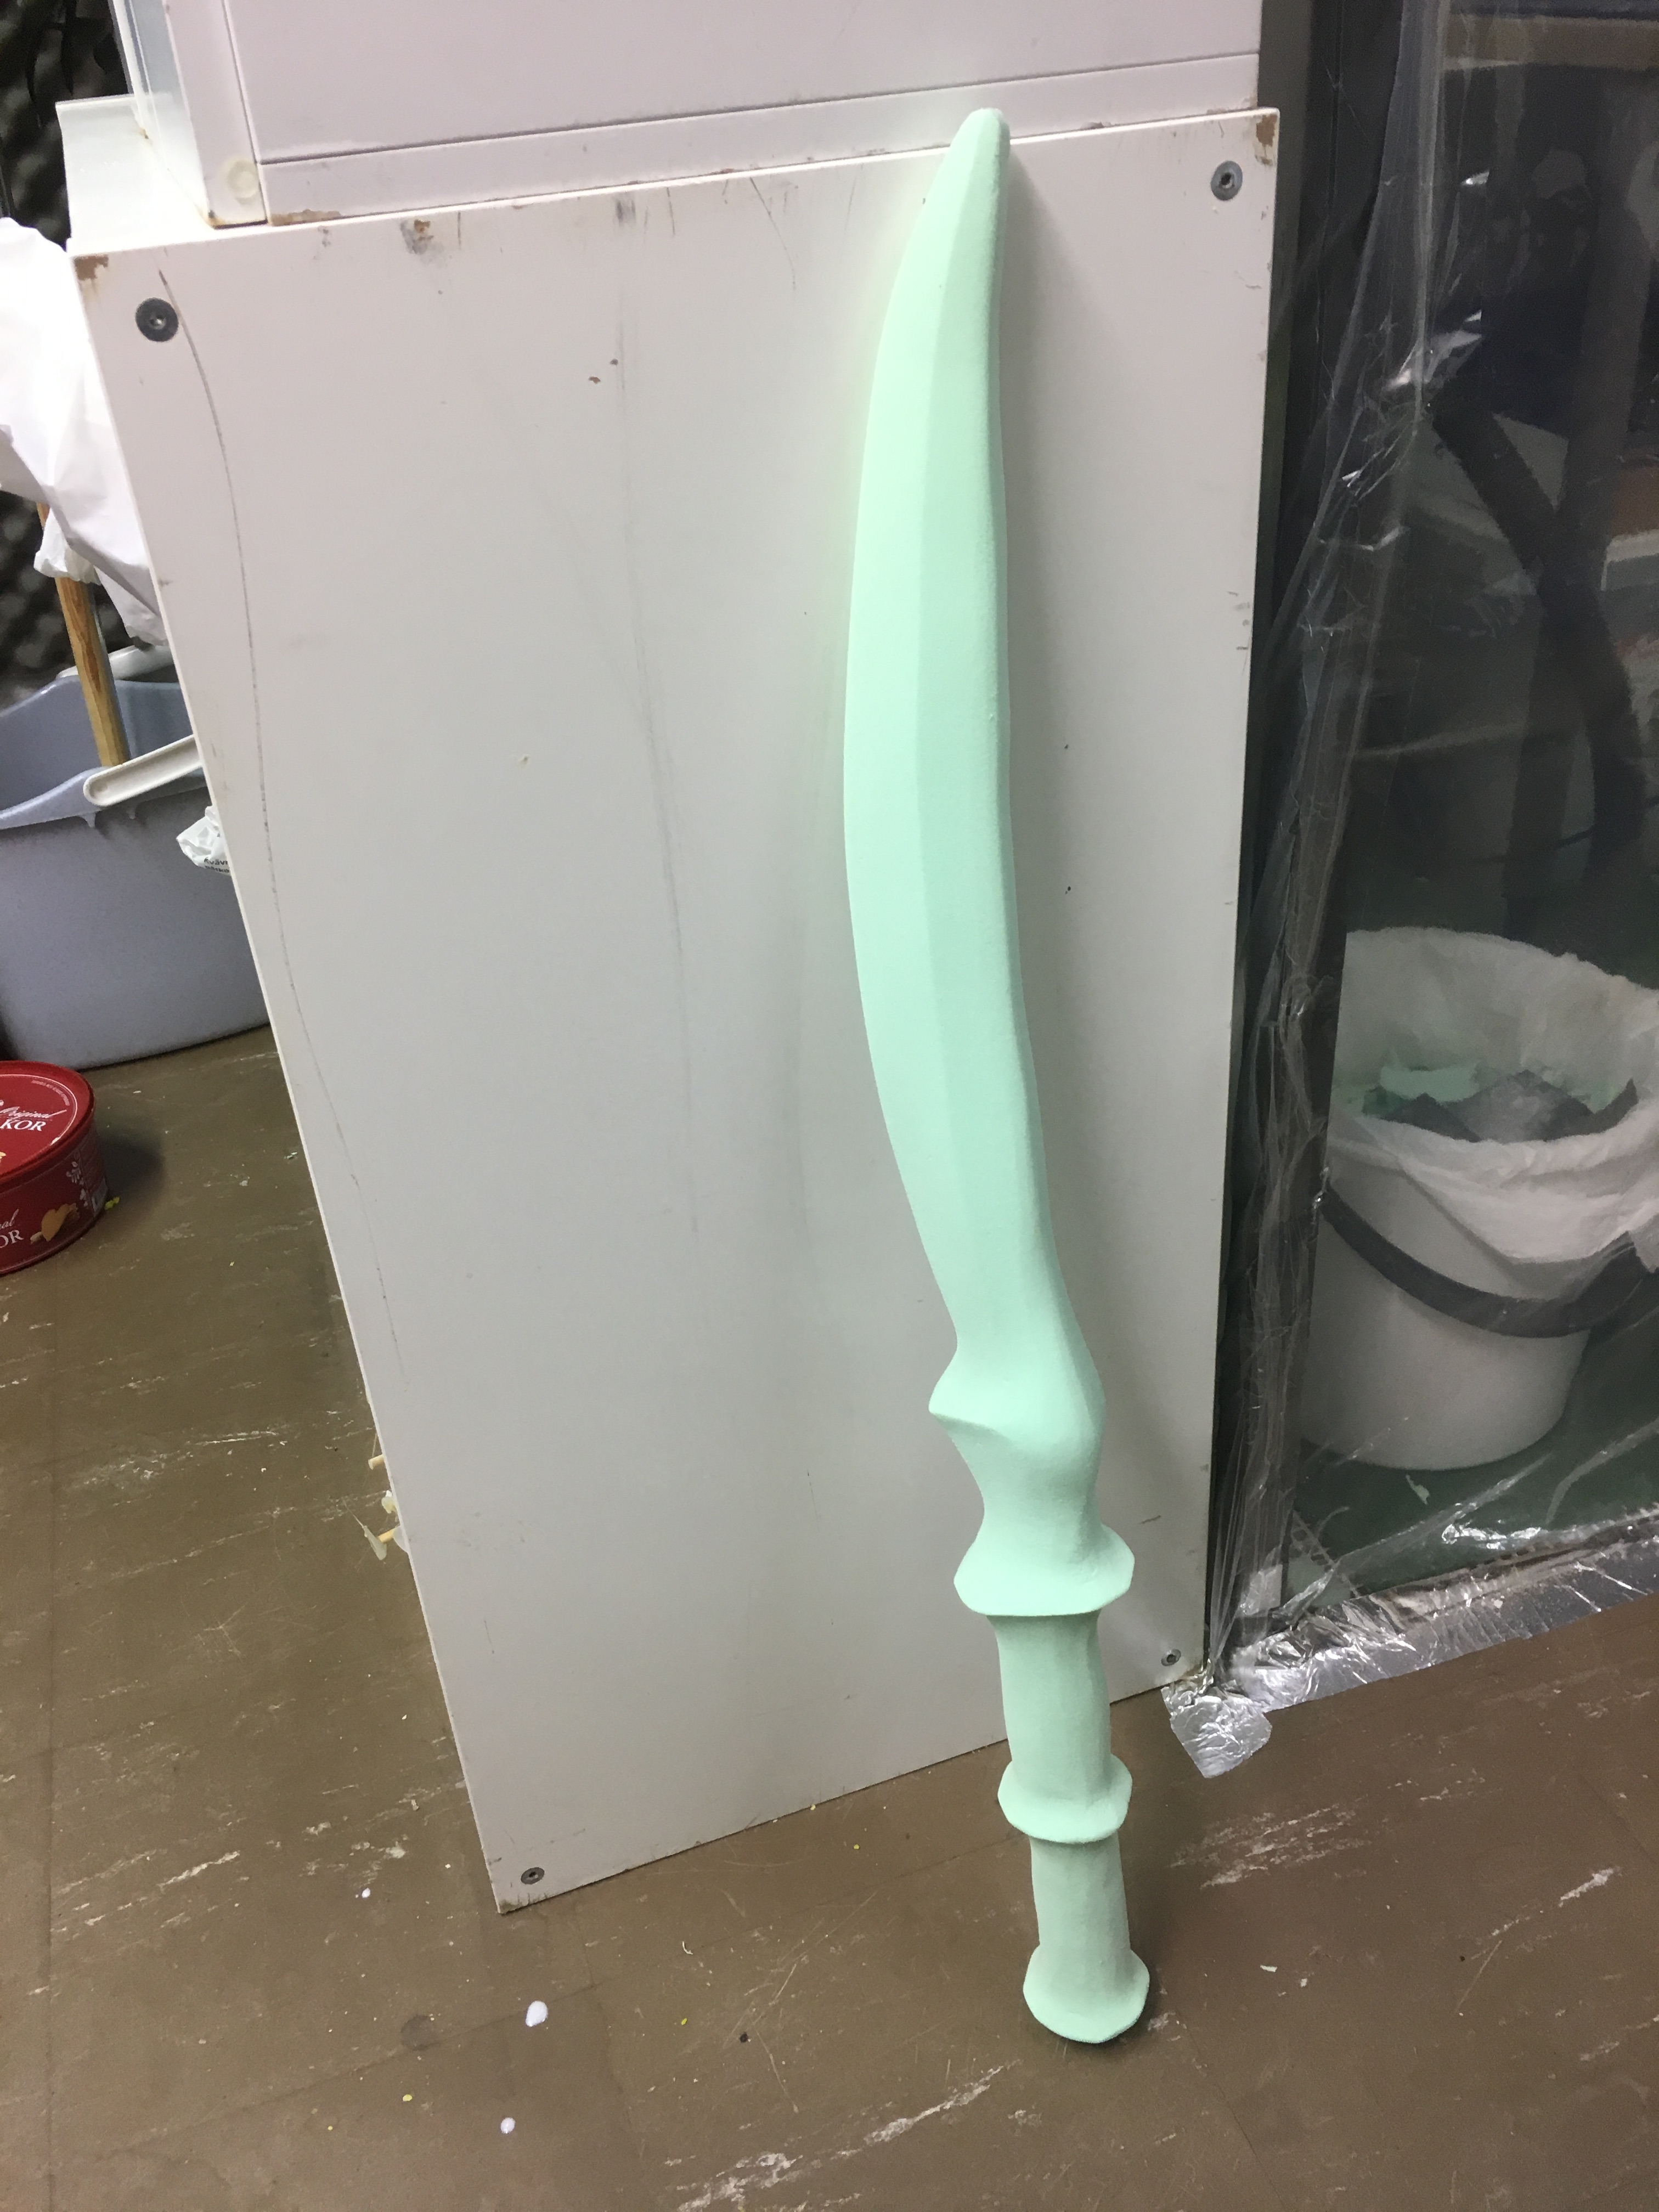
What else is going on this week? Well here we have the newly re-carved Sariel. RE-carved because the experimental prototype moulding process failed and destroyed my original. I may have cried. Shush you! That was three weeks of work. *sulking*
It is reborn! Yay!
But before Sariel can be moulded again, we haaaaave …
What kind of cake is that?
No, it’s not cake. Don’t eat it! Ew. Plasticine doesn’t taste good. Neither does foam insulation. Or glue. Don’t ask how I know these things. All I will tell you is wash the plate before you eat off of it.
Now what happened to the doll heads? Did the shipment get found? It did! Annnd it seems there were a few too many micro-bubbles and sanding mistakes to sell them. *gasp!* Ethan don’t tell them that! Your customers will lose faith in you and think you’re a crappy artist!
Oh no! Microbubbles! How did I not notice these?! Ugh.
Listen guys, my business is small and new, but even so I want to start it off right. I want every part of Inkblade Studios to be ethical. I am constantly working to reduce waste and find environmentally friendly materials to use. I have to haul my plastic waste to the recycling facility myself every week but I do it because I have a responsibility as a manufacturer to clean up the mess I make.
I want my business to be based on a principle of honesty. When I screw up, I will tell you I screwed up, and I will tell you how I am going to fix it. I could cover my mistakes with paint and glue and hope you don’t notice but you know what? That’s not the kind of person I want to be. Lazy and sleazy business practices end up costing more in the long run. You can recover lost money, but you cannot recover a lost reputation.
Thankfully, Juliane at Lost Chronicles BJD has been amazingly understanding and kind. We knew from the beginning that this would be a learning experience and that learning experiences are often frustrating. I’m issuing a full refund for the project, and I have bought a brand new compressor and pressure pot.
My new babies ^_^
Unlike a vacuum chamber which pulls air bubbles out of a liquid, a pressure chamber crushes the air bubbles down so small that they can’t be seen by the human eye. This makes a lovely smooth, clear cast. It also forces the resin into all the little small areas and undercuts so that air doesn’t get trapped and end up getting a giant bubble where the nose is supposed to be for example.
The Malechai project taught me that I need this kind of tool now in order to step up my game. I wanted to wait because I knew it would be expensive, but it turns out that not having it cost me more money in the long run. It was a costly lesson to learn but I’m grateful for it. This is not the end of my doll making career, but just the beginning. I’m looking forward to creating more beautiful things and sharing them with you all. ❤
Wait, didn’t you just have a holiday Ethan? I did, a bit earlier in the summer, yes, but I had to chop my holiday time in half and take it in two parts because of my wife’s work. So I finally got to have the other half of my vacation.
What’s been going on at the workshop?
I’ve been putting the finishing touches on a couple brand new Clariels!
I’ve actually managed to significantly lower my shipping costs by switching to a different carrier. For example, if you live in Australia, you can now pay about 40 euros for shipping instead of a whopping 103 that FedEx was charging me. Whew! I told you guys I’m always working hard to make these things more affordable. It’s tough when you’re talking about hand-made commission artwork but I try my best to find some more wiggle room and put things in reach for more people. I understand tight budgets, believe me.
What else am I working on? Witchlights! I’m trying to put the photo here but my phone is being weird. Darn it. I’ll have to do it later. Anyhow, it doesn’t look very exciting at the moment since I’m just working on the mould and figuring out the circuits. Expect pretty things later!
One more exciting announcement before I head off to work. I’m starting on a new project that has nothing to do with Shadowhunters! I know, I know. Bizarre right? But yes I do do other things! One of my interests is ball-jointed dolls. For those of you who don’t know what that is: they are pose-able art dolls.
Inkblade Studios will be partnering up with Lost Chronicles BJD to cast dolls in resin. Our first project will be a small run of head parts for the nice folks who pre-ordered and made this project possible. Here’s a sneak peak at the 3D printed head I’ll be making a mould of later this week.
I’m pretty excited to be working on this fella! It will be a relief to get to deal with a small amount of resin for once instead of something the size of my arm haha! Wish me luck everybody!
Hi guys! In spite of the heat, I’m still trying to get stuff done. I managed to get most of the way finished one of the Clariel swords on my table. It just needs its protective glossy sealant and the strap around the handle.
That’s a handle made of Milliput. Milliput is a two-part epoxy paste. You smoosh it together, knead it thoroughly, and do whatever it is you want to do with it. It’s a lot like modelling clay in consistency. After 3-4 hours it sets hard as a rock. Much more solid and robust than the polymer air-dry clay I’ve been using before.
The downside to Milliput is that because it’s so much harder, it takes longer to shape, sand and polish. The paste is stiffer and harder to mould than softer clays so I have to do some shaping with the Dremel tool after it’s set and then sand those tool marks away before I can begin polishing. It’s also harder to engrave. It’s also a bit more expensive than the air-dry polymer clay.
In addition, any patching of gaps or fine details that I want to do with the Polymer clay (which is softer and easier to accomplish these things with) has to be done after polishing the Milliput. Milliput is hard enough that I have to wet-sand it to smooth and polish it if I want to work with any kind of speed. But the air-dry polymer clay softens with water and can become crumbly before its had its protective coats of paint and sealer put on it.
So the procedure has to go like: Mould handle with Milliput. Wait 4 hours. Shape with Dremel. Wet-sanding. Install leather flap for the light cavity. Smooth over any seam-lines with polymer clay. Dry-sanding. Install magnet closures. Engrave. Paint. Paint. Paint. Seal.
Do I like this procedure? Uhh … I’m still working on tinkering with it. But I do like the structural hardness of the Milliput and will definitely be keeping it on hand for anything that needs reinforcement. I totally recommend getting some to play with. It’s fun!
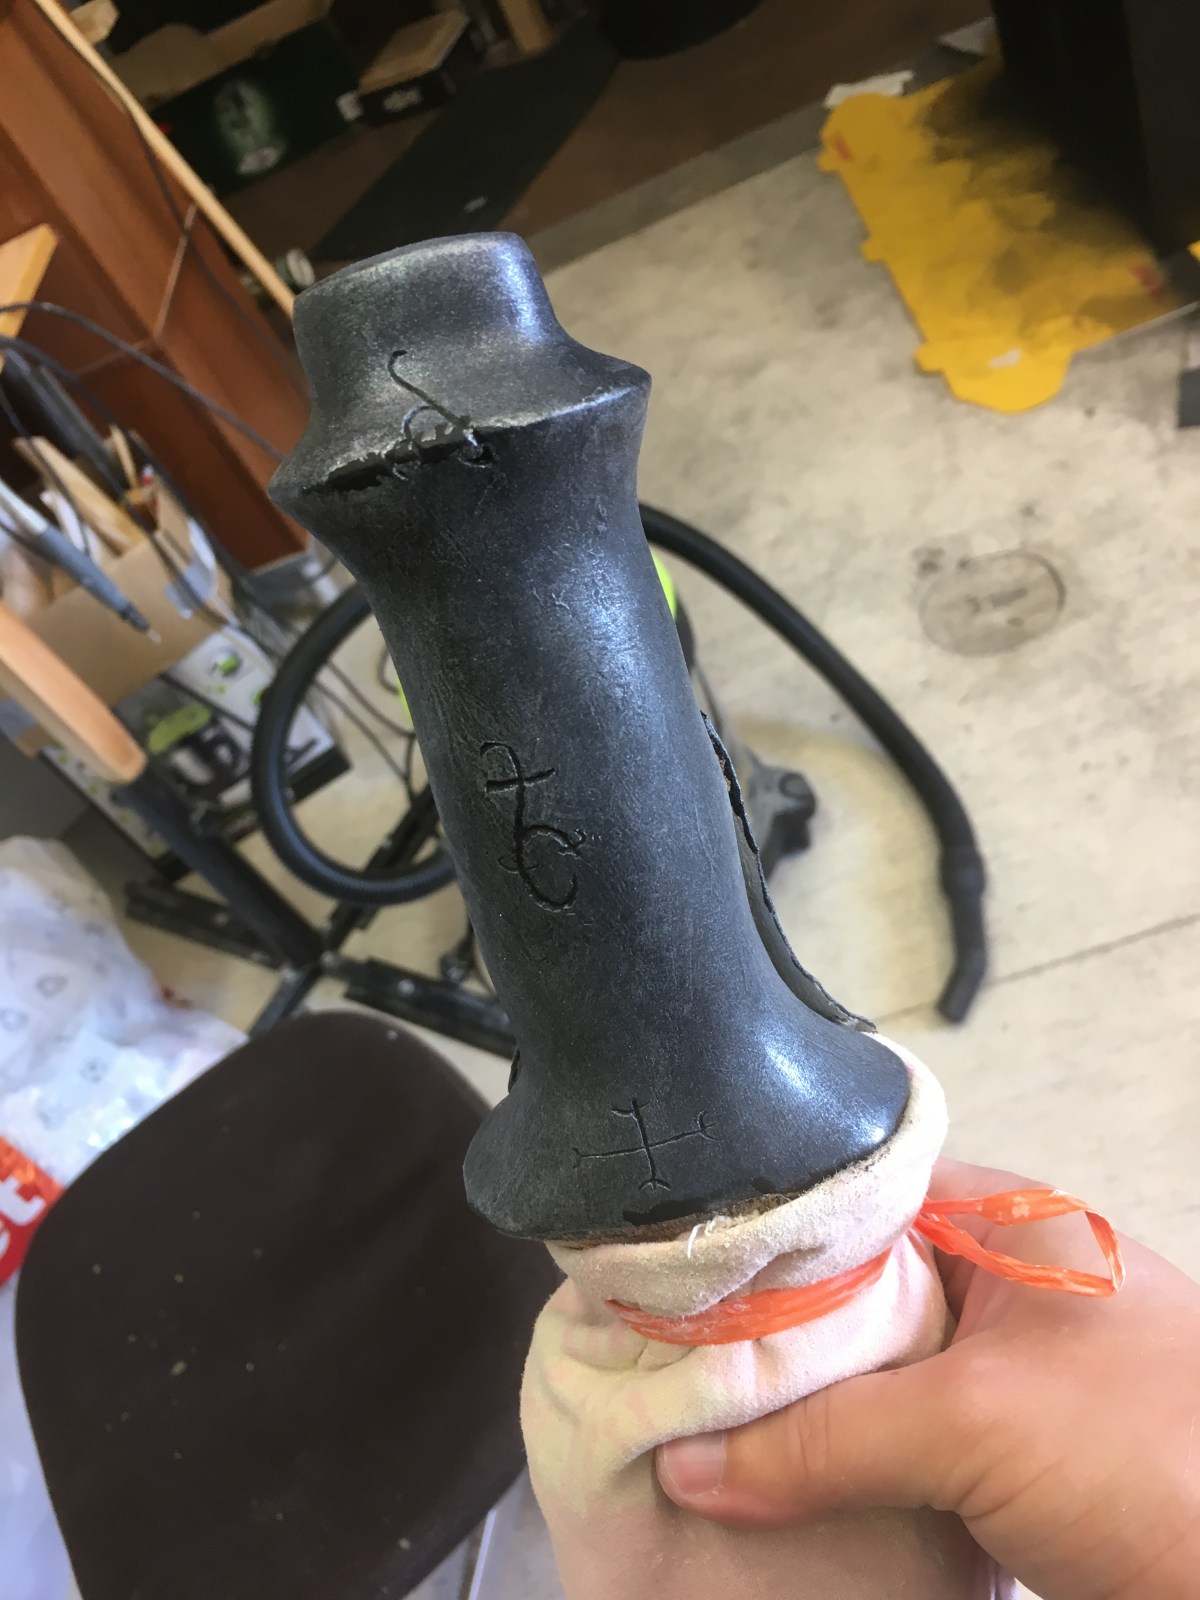
Here’s a different style of Milliput handle I also tried out. I wanted it to be all one piece so I could slide it on and off the sword to change the light battery when needed. Buuuut Milliput bonds with resin. On the one hand: that’s great! I can put stuff on my swords and be 100% sure it’s not going to come off. On the other hand: I wanted it to come off.
I even put a layer of liquid latex all over the handle before I started moulding the Milliput on. But Milliput forms itself absolutely perfectly to the object you’re sticking it on, so it formed an air-tight suction seal that I couldn’t pull free. I had to cut out a section of the front to do a conventional leather-flap for the light cavity.
Of course that broke the suction seal. And it came off just like I originally wanted to but far too late. I had already altered the design by slicing a section out of the front. GAH! That was a frustrating day guys!
But now it’s all epoxied into place and smoothed and patched. Ready to have its flap adhered in place
Will I be at the workshop today? I don’t know! I was supposed to have an air conditioner delivered to my apartment last week and they didn’t come. 😦 So I have to figure out if they’re coming today or not and if they are, I have to stick around and wait. But I won’t be doing nothing. I received my electrical components for the witchlights last week so I can begin tinkering with that until my AC arrives. (Hopefully.)
So I’m back from Estonia! I don’t think I mentioned I was going on vacation. Sorry. I was so excited to visit Tallinn for the first time that I just kind of ran out the door.
I finished off another lovely Clariel sword. It arrived in Germany safe and sound and now has a loving home.
I’d like to take a brief moment to talk about my packaging methods just in case anyone is curious. My blades are always packaged in materials that are bio-degradable, recyclable, or re-usable because I am committed to making my company as eco-friendly as possible.
When you open your package, you will find unbleached brown paper used for filling voids in the box (so the contents don’t rattle around inside). The sword is wrapped snugly in a fleece baby blanket, all tied securely with a ribbon. The colours of the blanket and ribbon may vary but my wrapping method is always the same.
Even though I work with plastics and craft things with plastics, I don’t want any plastic waste products. The way I see it: you’ll want to keep the sword forever, but not the packaging. So why should the packaging last forever? It shouldn’t! It should go back into the earth and continue the natural cycle of the environment.
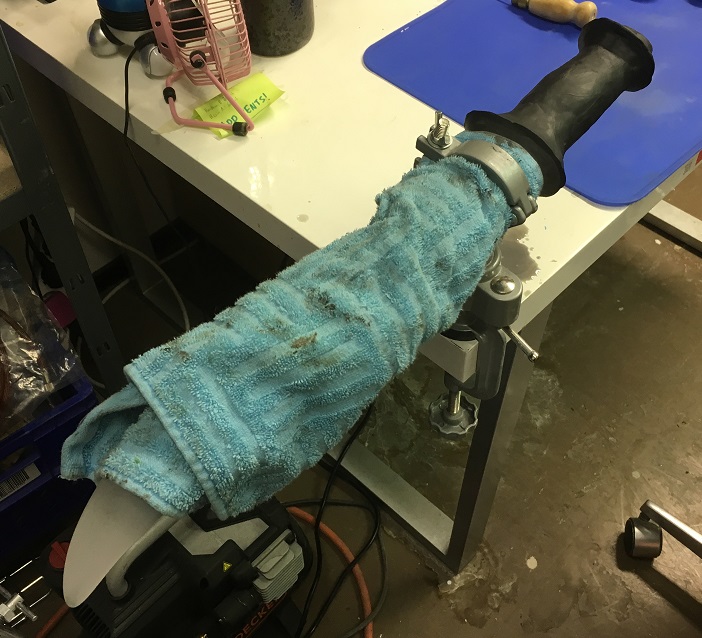
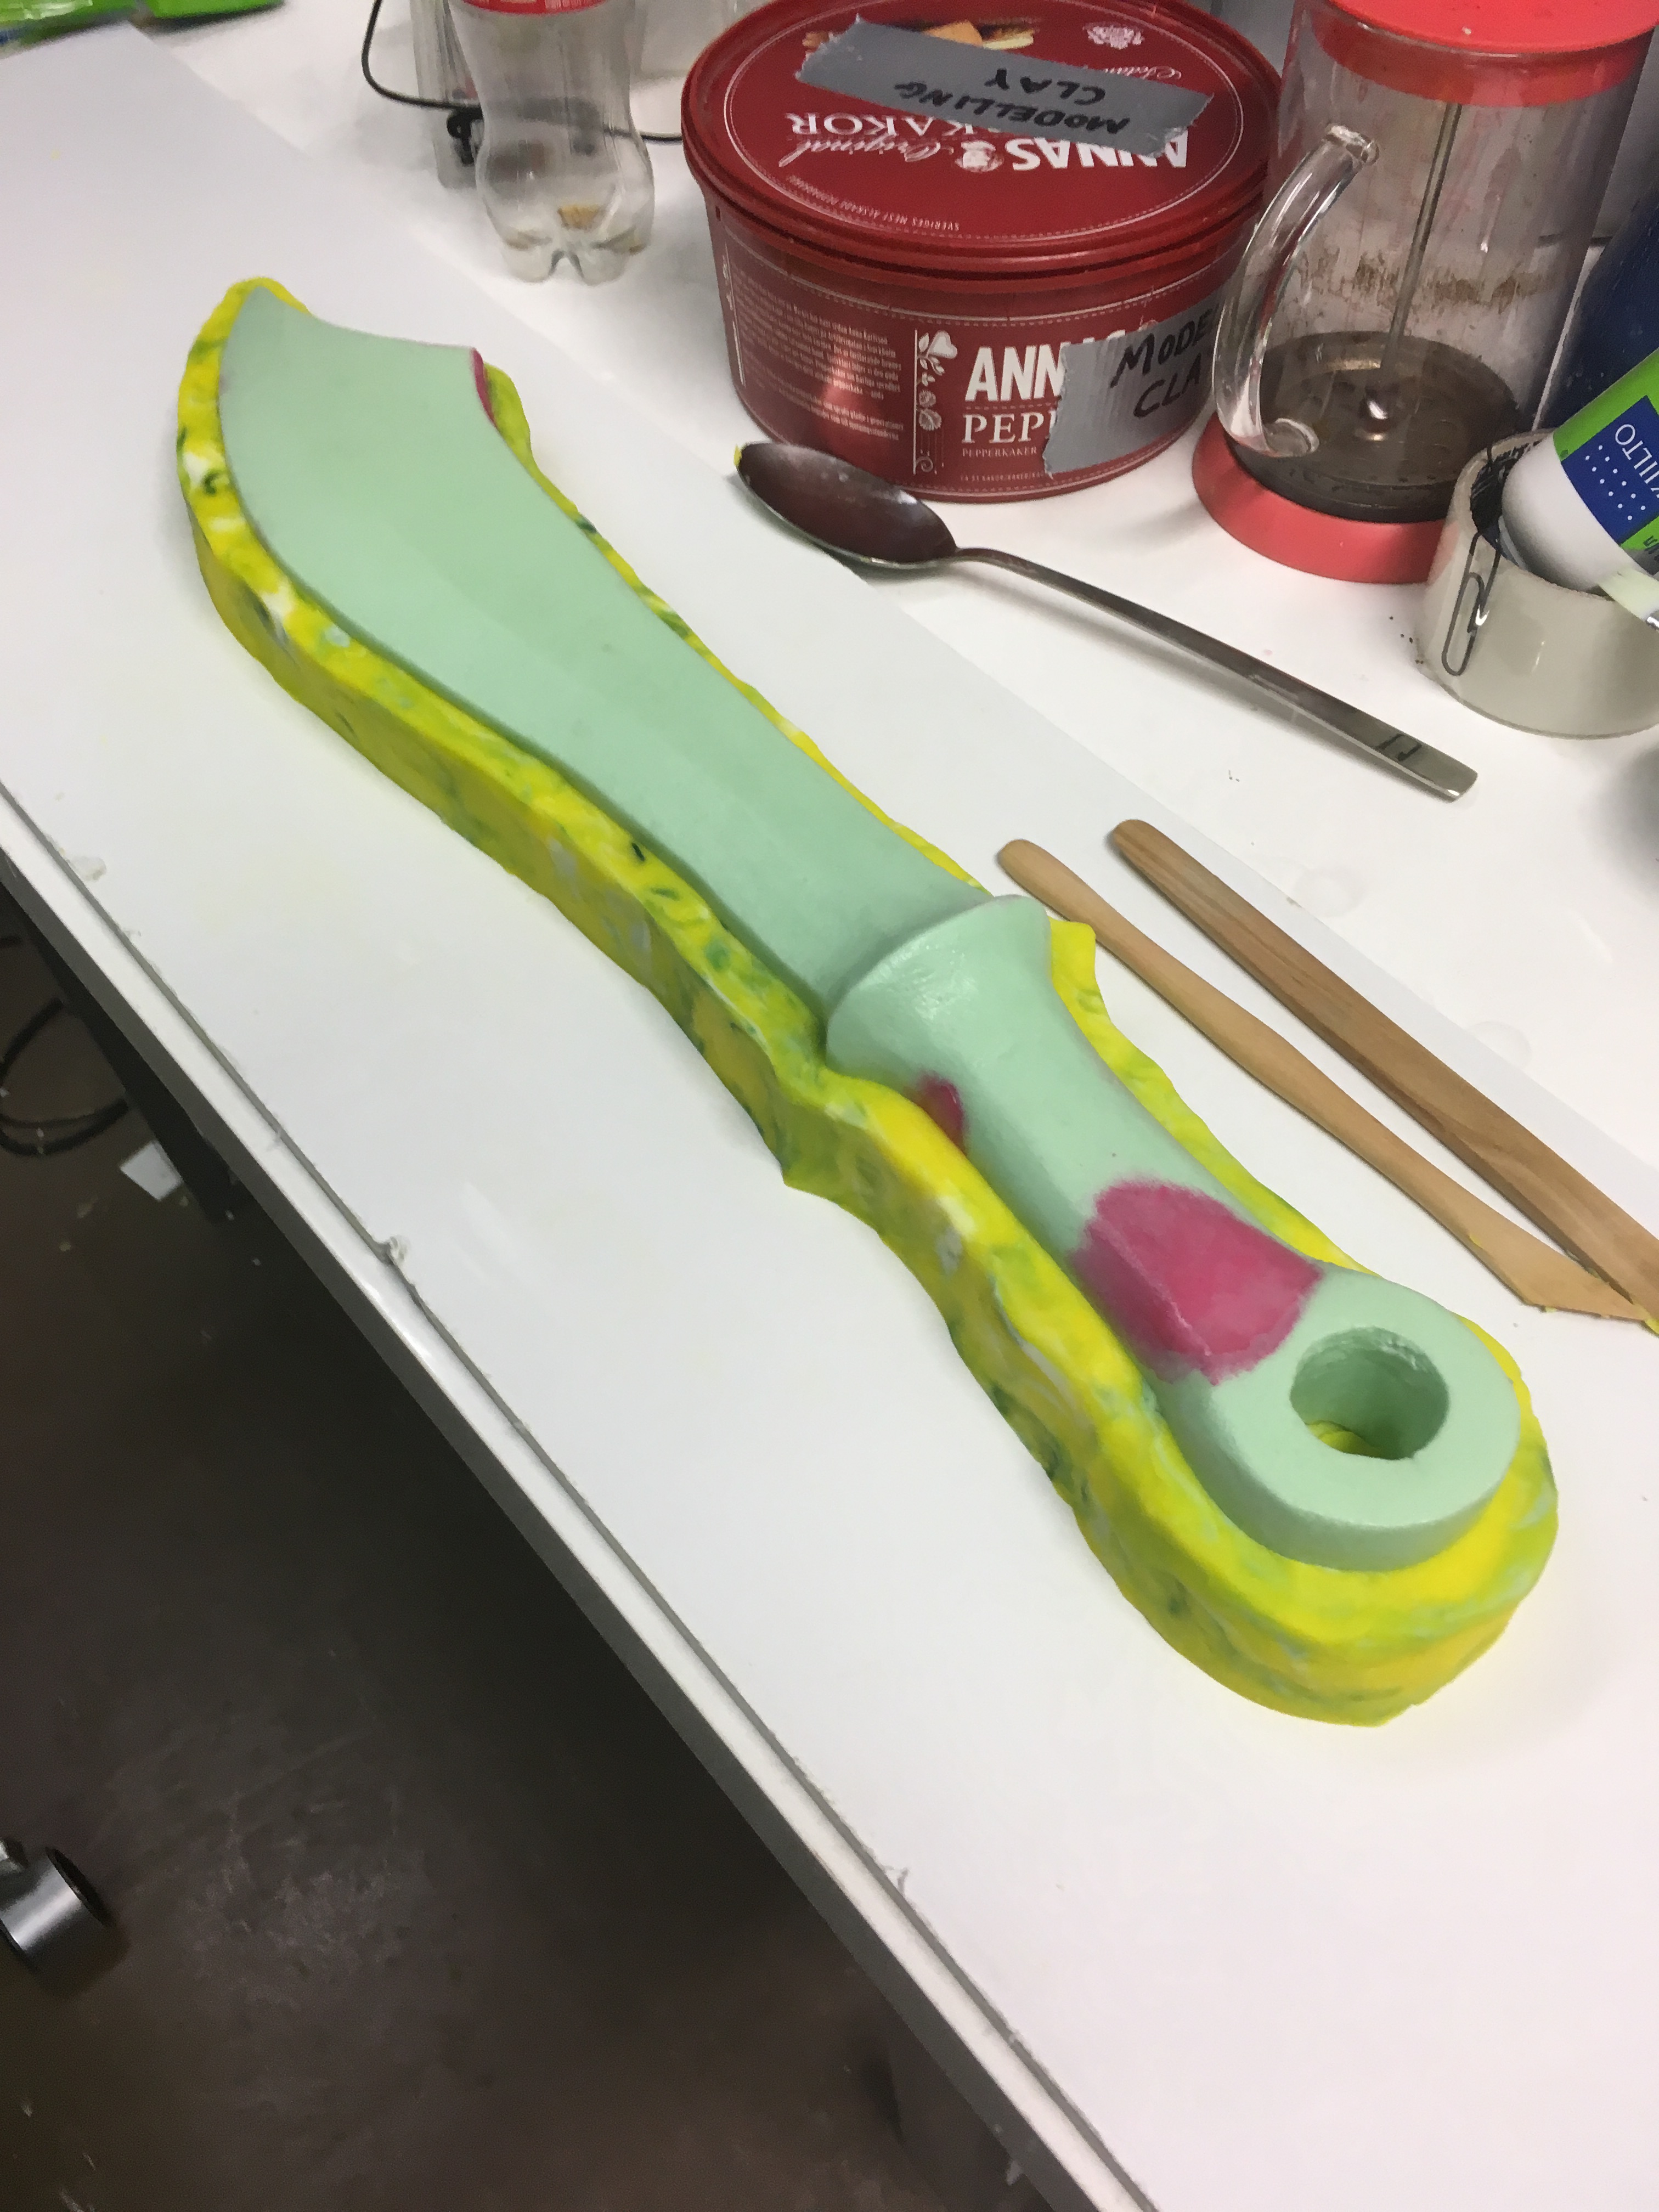
Okay, enough jabber about tree-hugging stuff LOL! What’s up for this week? Well, I made a new mould jacket for my Clariel mould annnd … it doesn’t quite fit snugly enough so I have to trim it down a bit. I have to go find out how badly it leaked. Not looking forward to it. Yuck. But at least I had it wrapped up in plastic just in case it failed so it didn’t go all over the floor. It shouldn’t take too long to fix. Hopefully. Wish me luck!


![IMG_2784[1]](https://heythisismyjob.com/wp-content/uploads/2018/08/img_27841.jpg)
![IMG_2781[1]](https://heythisismyjob.com/wp-content/uploads/2018/08/img_27811.jpg)
![IMG_2780[1]](https://heythisismyjob.com/wp-content/uploads/2018/08/img_27801.jpg)


![IMG_2725[1]](https://heythisismyjob.com/wp-content/uploads/2018/07/img_27251-e1531724399422.jpg?w=567)
![IMG_2727[1]](https://heythisismyjob.com/wp-content/uploads/2018/07/img_27271-e1531724563719.jpg)

