Wow! This past week has been a steep climb for me with learning the skill of mould making. I’m beginning to understand exactly why there are no commercial manufacturers of Seraph Blades. Let me tell you a bit about why the project is logistically really demanding.
If you’re going to cast something crystal-clear and bubble-free, typically, you’d want it to be small enough to fit in a pressure pot. Those are about the size of a big ol’ soup pot. As you’ve already guessed, no dice for me. Perhaps little wee Remiel would fit, but everything else is too big!

The best resin for casting beautifully crystal clear objects is PMMA (acrylic resin). That’s a polyester resin and those are notoriously stinky. Like, not only will you have a headache but so will everyone else in the building kind of stinky. Obviously these kinds of castings are done in purely industrial environments where you can have your workers in protective suits and a nice big, badass air filtration chamber to keep that stench locked down.
I have a workshop sandwiched between a tailor’s shop and a ceramics maker. Again, no dice. I have to pick something that’s not horrifically smelly. See what I mean when I say that 95% of my job is problem solving? Hehe, I wasn’t kidding.
But it’s not all doom and gloom guys! I’ve got stuff to show you.
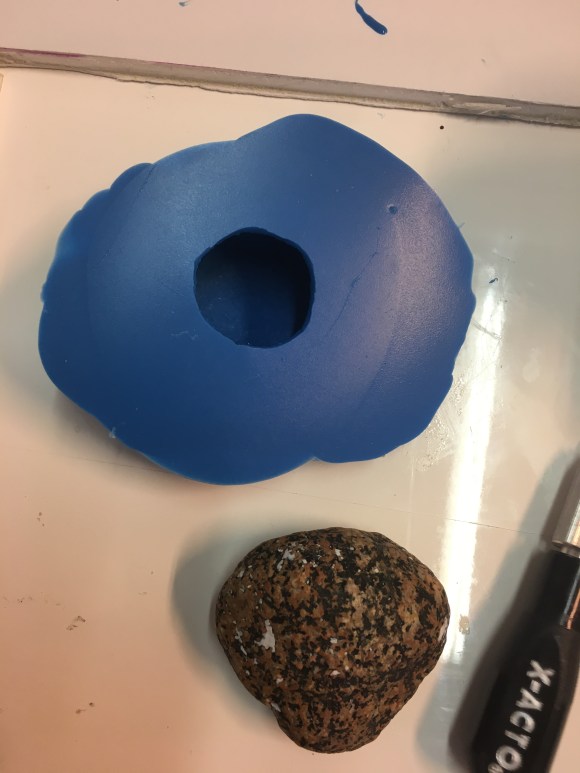
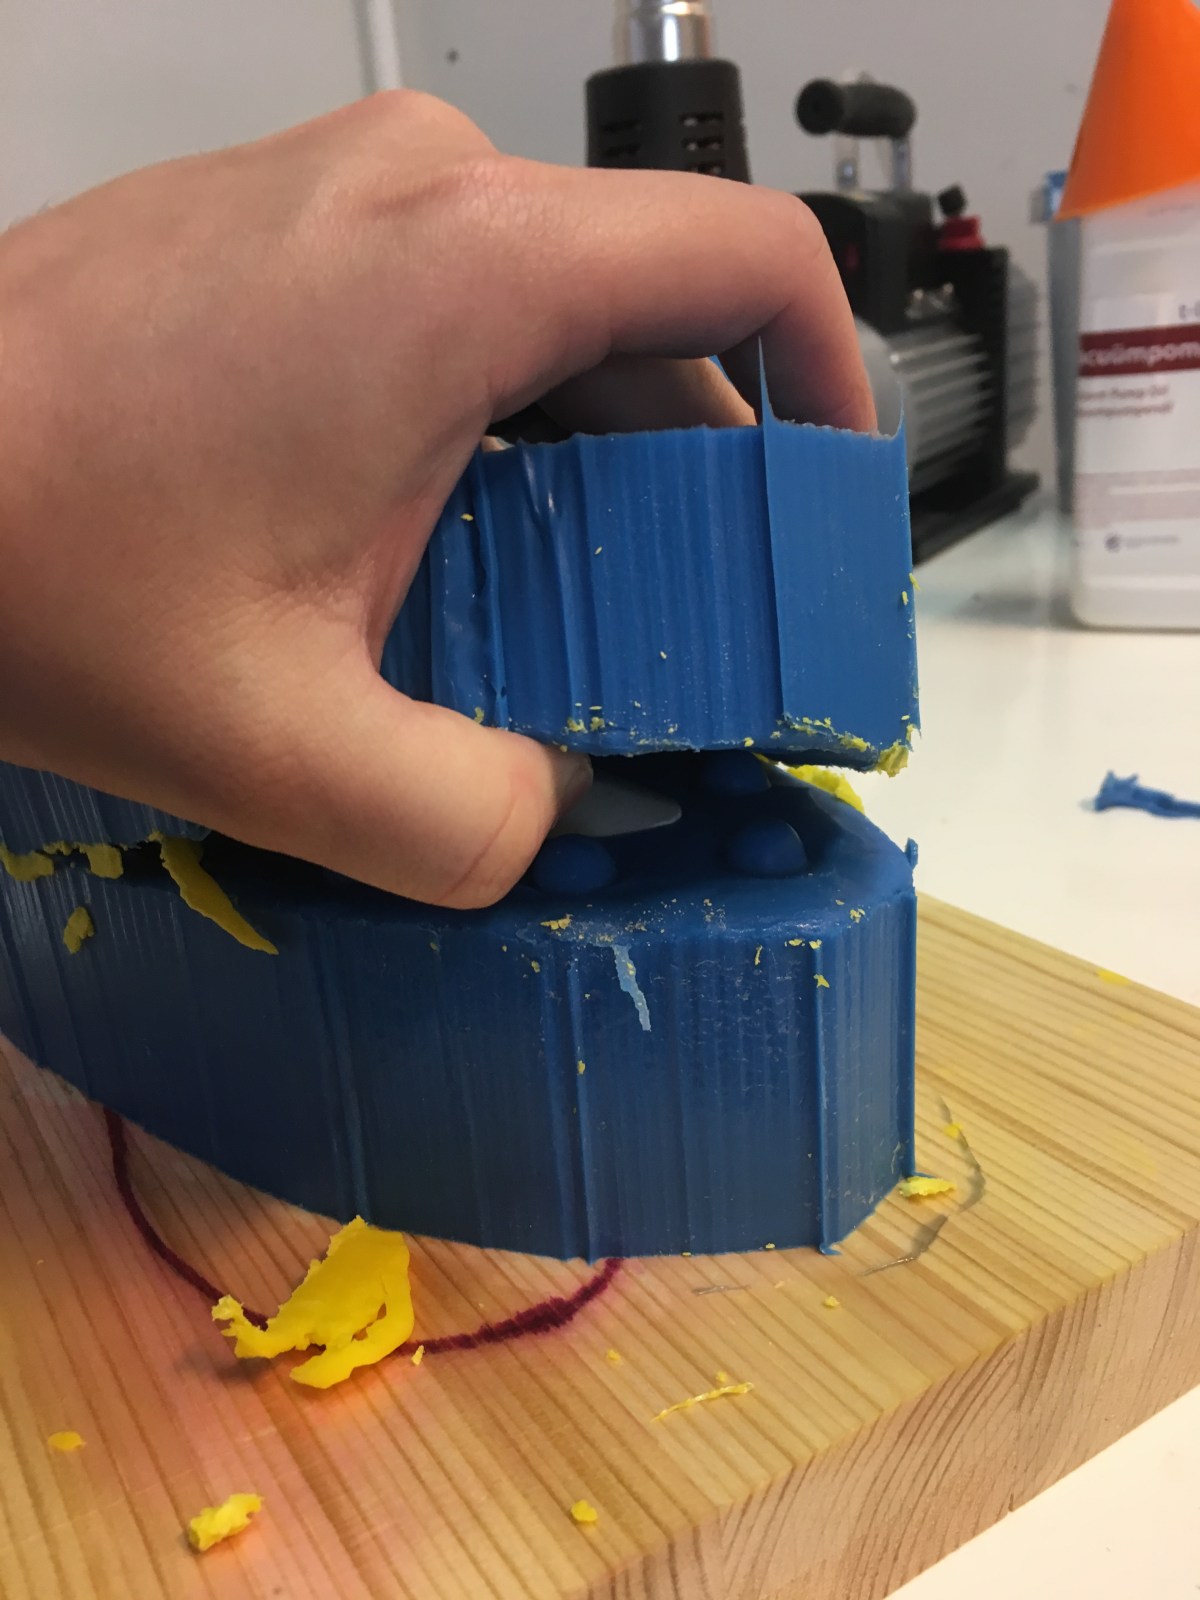
![IMG_2060[1]](https://heythisismyjob.com/wp-content/uploads/2017/09/img_20601.jpg?w=456&h=608)
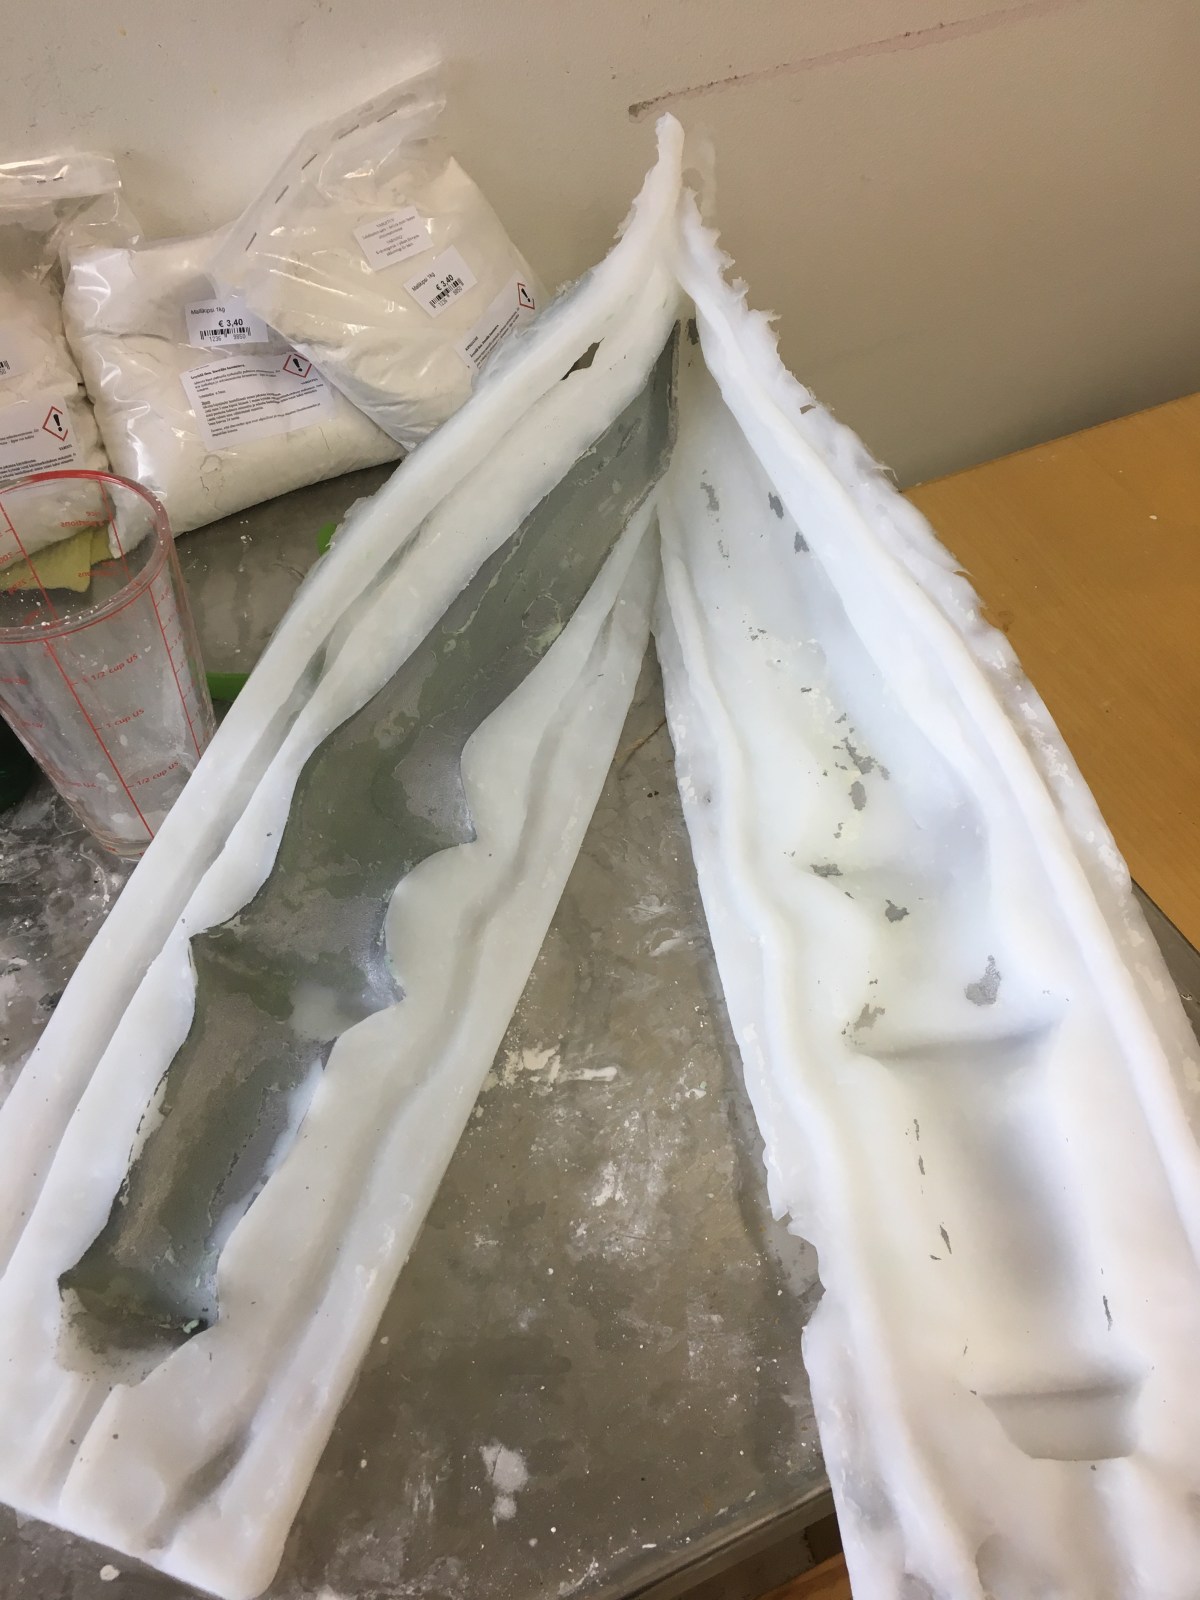
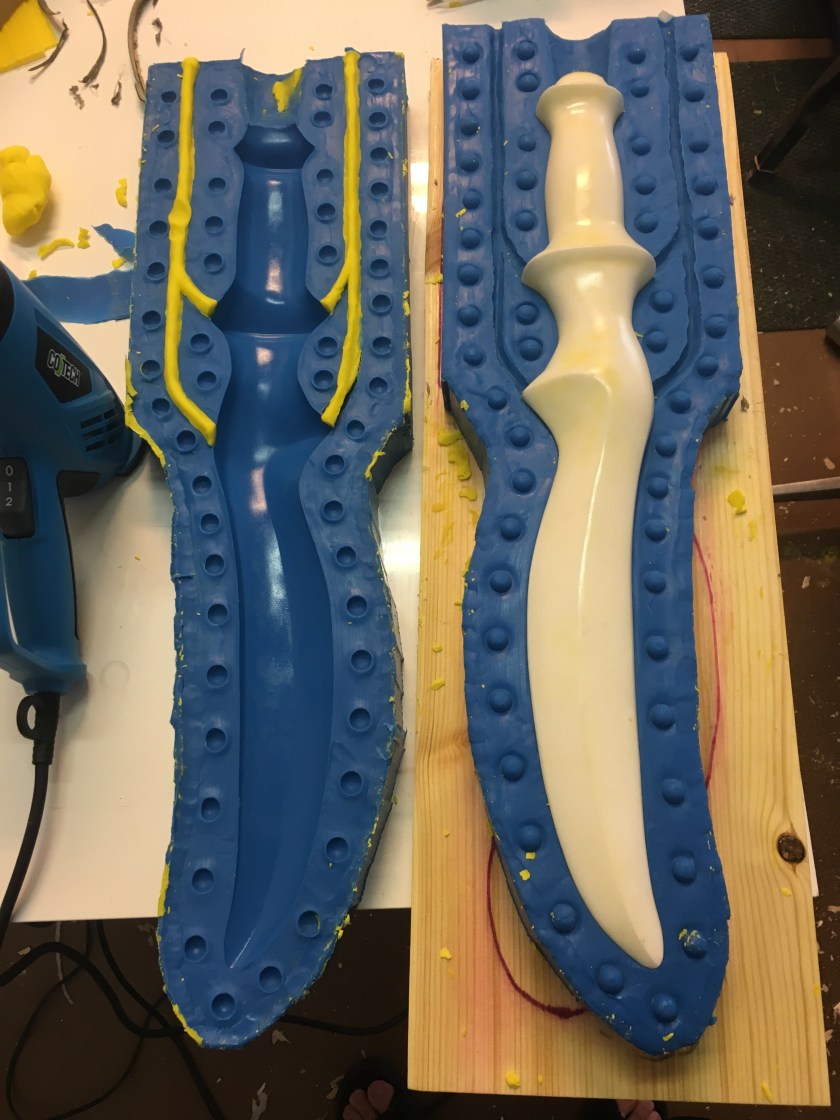
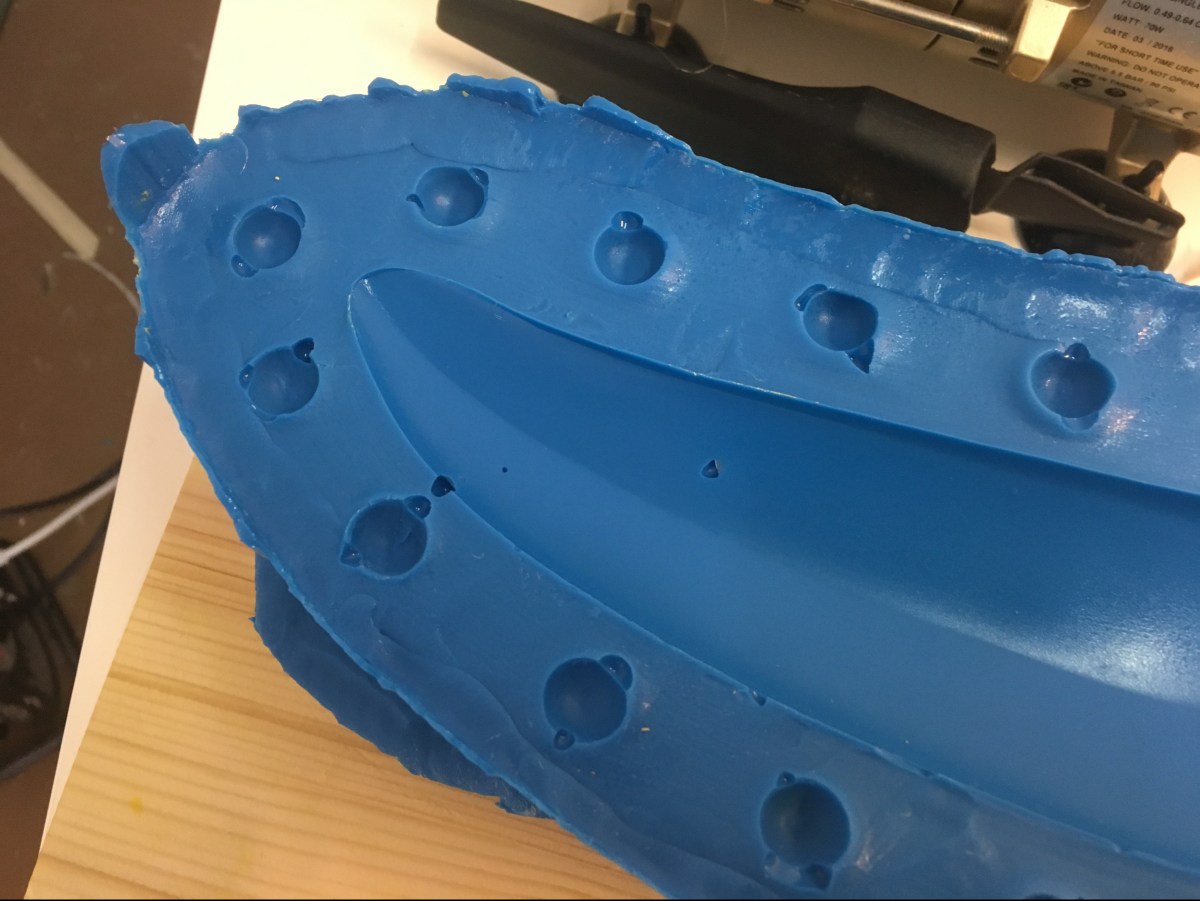
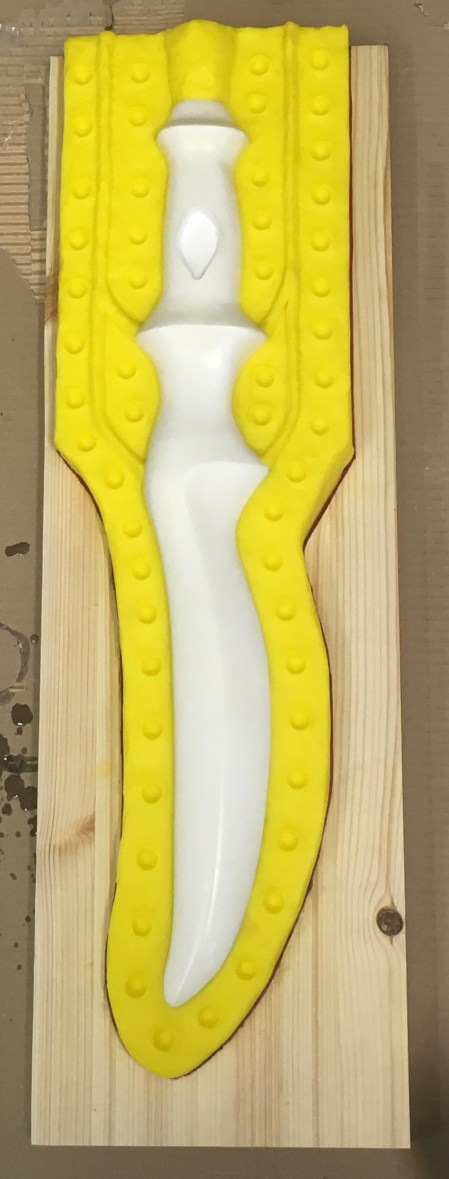
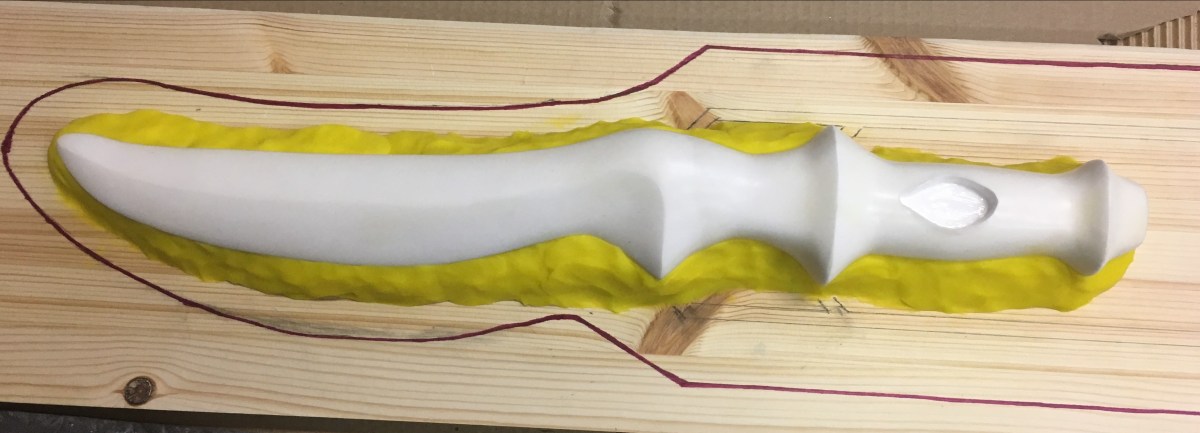
That is the inside of the silicone mould I made. It seems that the mould release agent I got didn’t work. On the right side, I used wax, and that worked rather well. On the left, I used a spray-on release agent and … uh, well it ripped almost all the paint and some of the foam off the prototype that I made. (That prototype is NOT in good shape right now and I really hope I don’t have to take yet another mould of it cause I dunno if it will survive!)
Now, as you can see, the bottom of the mould stuck together. That’s not a deal-breaker and I know why it happened. I should have used probably about a half tube or a full tube more silicone per side than the amount I used. Whoops! But I had no idea how much it would take so I had to guess. So the silicone mould is thinner than I would like it but on the upside, I now know the exact amount of silicone to use for making the final mould. That’s really valuable information because professional grade silicone is really expensive! I paid over 300 euros for just 10kg of it. Aren’t you glad I’m not making your swords out of silicone?! No one would be able to afford it!
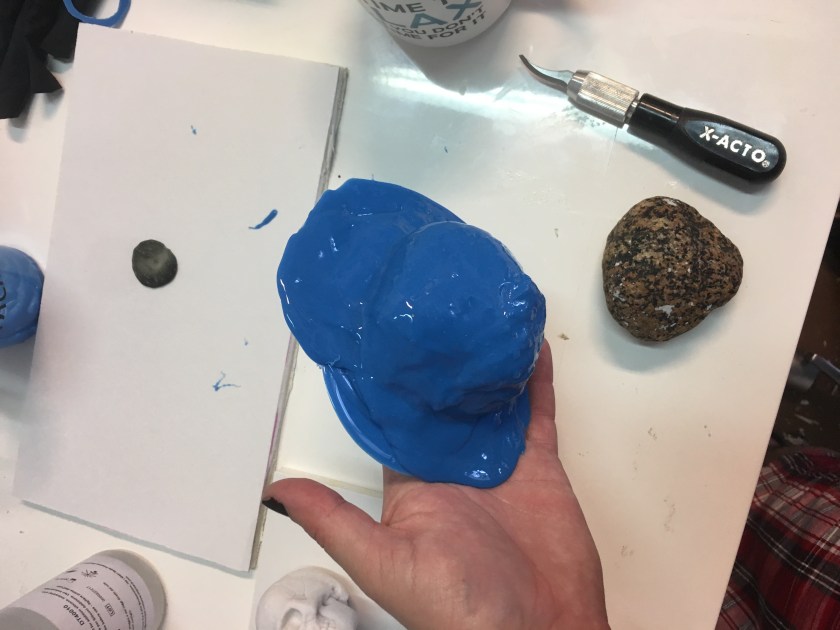
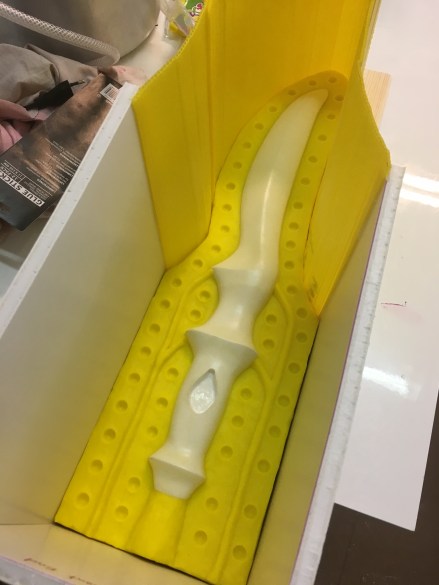
![IMG_2061[1]](https://heythisismyjob.com/wp-content/uploads/2017/09/img_20611.jpg?w=572&h=763)
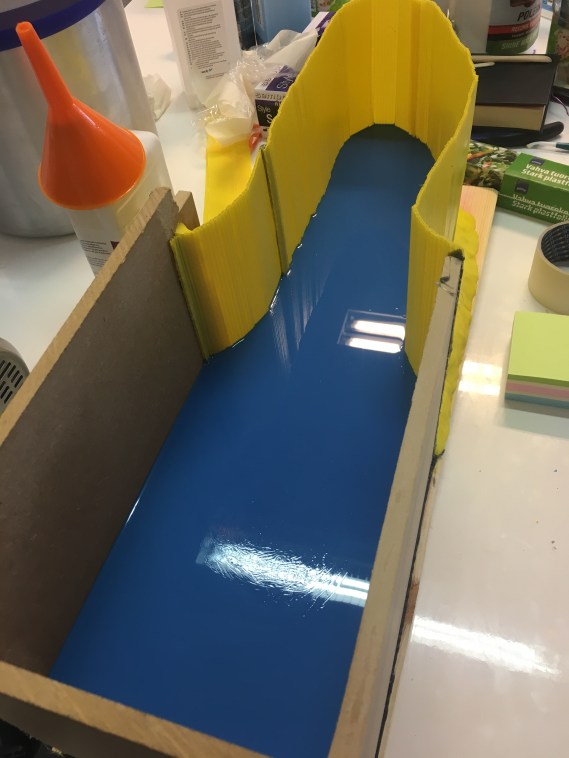
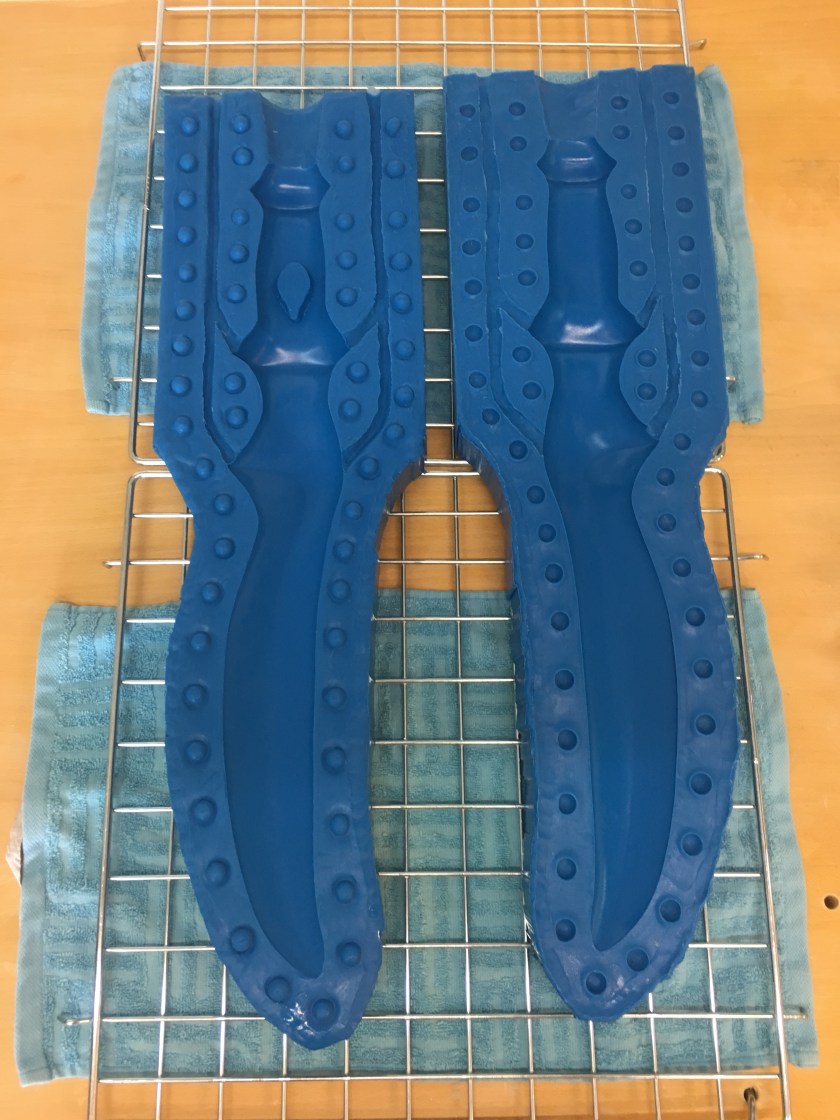
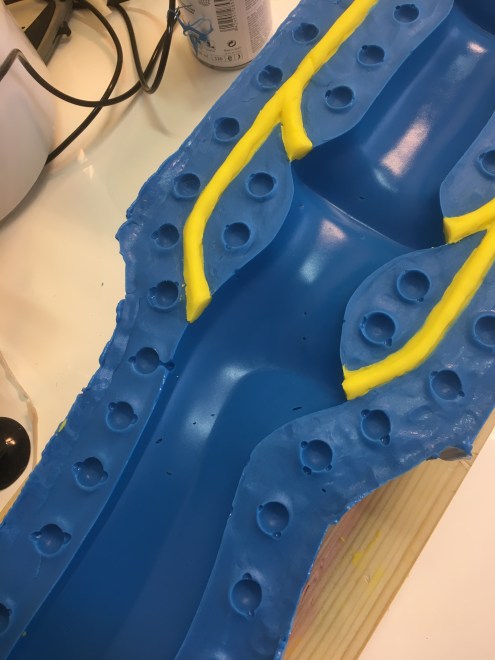
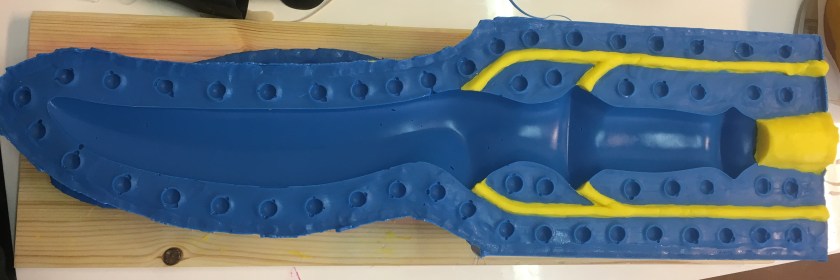
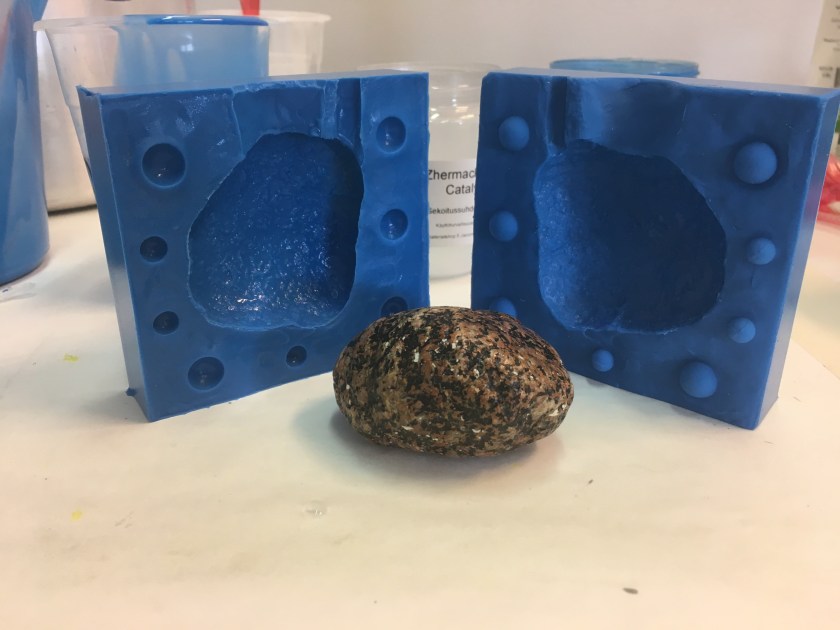
Now here is the silicone mould clamped firmly in its plaster jacket. The rigid jacket is necessary to force the floppy silicone to hold its shape while I pour in the plaster. Yes, more plaster. Not resin just yet, because the prototype that I take the final mould of must be perfect. Any mistakes I make with that last prototype will be present in every single sword that comes out of that mould.
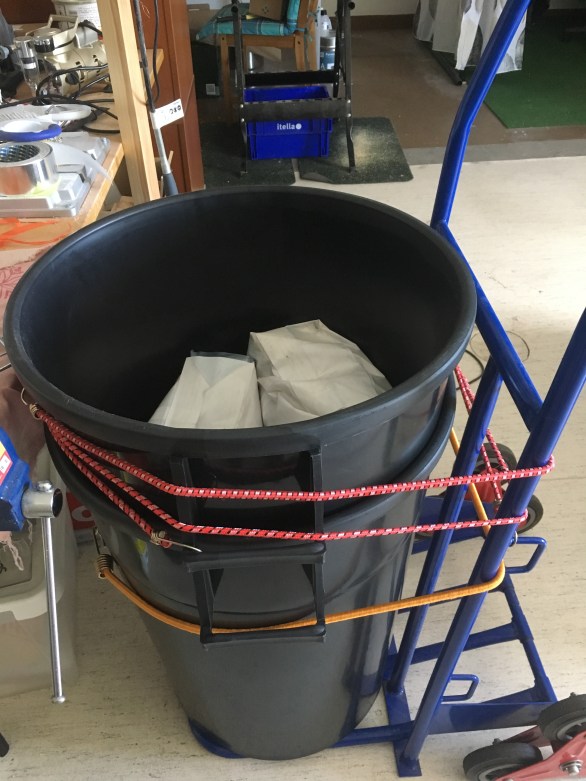
Now, there are some things that have me worried about this setup. 1. I forgot to put in an air vent so I’m going to have to pour super slowly. That means mixing the plaster in small batches and putting a lot of water in it.
What can go wrong? There is air in the mould. Of course there is! There’s air in the rest of the room too, haha! And when I start pouring in plaster, that air has to burp out somewhere or it will get trapped inside the mould. Annnnd that means the prototype sword that comes out will have holes in it where the bubbles were. Boo! We want holy swords not holey swords. (Okay that pun was awful, I’m sorry.)
2. I’m worried that the plaster might leak out of the mould all over the place. This mould is ugly, cheap, and very lumpy. It’s not nice and flat and easily clamp-able like it should be. And that’s okay. I only need it to work once. But it has to work at least once!
This is the principle of Rapid Prototyping. Use cheap materials and quick techniques to yield progressively better results until you’re satisfied with the final product. I’ll talk more about rapid prototyping later for all you enterprising prop-makers. 😉
3. I’m not really happy with the type of plaster I’m using right now. I’ve used a German brand (Knorr I think?) before and it took absolutely beautiful and accurately detailed moulds and I think that might be the kind I want to use for this. The kind I have (you can see it sitting in baggies in the picture of the silicone mould) is very thick unless you add double the amount of water it says on the package. It also cures really fast.
That’s great for things like making the hard jacket for the mould. I don’t need that to pick up fine details. I just need it to be done quickly and strong. So I’m not miffed that I bought a bunch of it form the hobby shop. I just don’t trust it to do what I need it to do for a prototype.
But the brand that I like is more expensive. (Story of my life.)
So what happens if this moulding doesn’t work? Well … the Iron Brother takes a deep breath and lets it out slowly (probably with a stream of his favourite cuss words) and starts the process over again. At that point, I have two choices. 1. I fix up the foam prototype and do the mould-making again from that without making the same mistakes that I made with this mould. (Too little silicone. Wrong mould release. Plaster jacket not straight and flush. Forgot an air vent for the bubbles.) or 2. I go with my original idea of crafting a perfect prototype first with a wooden core and polymer clay exterior polished to a high shine and coated in high-gloss varnish.
Which will I choose? That depends on exactly what kind of screw-ups happens with this casting! We’ll find out today folks. Are you excited? I’m terrified. Let’s go! Wheeeee!


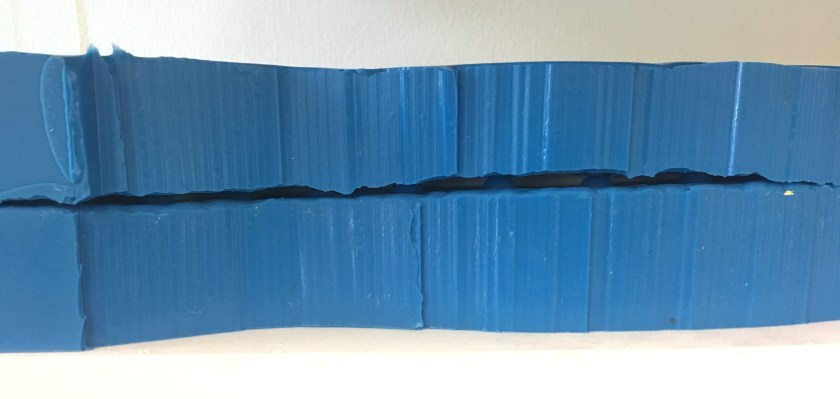
![IMG_2229[1]](https://heythisismyjob.com/wp-content/uploads/2017/12/img_22291-e1512719051664.jpg?w=840)


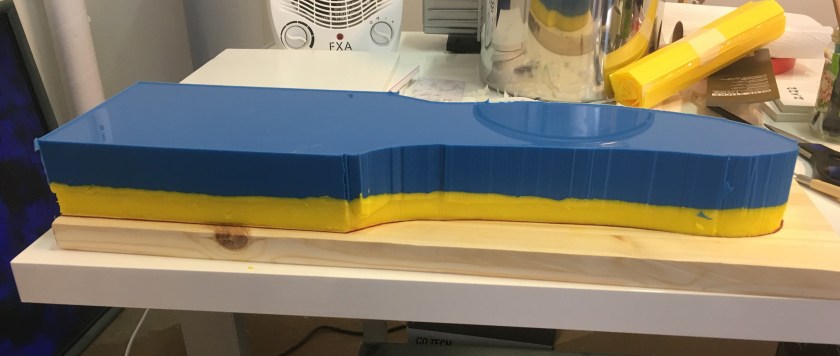


![IMG_2304[1]](https://heythisismyjob.com/wp-content/uploads/2018/01/img_23041-e1516001664422.jpg?w=840)