

Anybody else a fan of Cassandra Clare’s Mortal Instruments series? I love it, and cosplaying as a Shadowhunter is a lot of fun. There are a few tricky bits to the costume though, and one of these bits is the witchlight.
How the crap do you do this?
Well fear not! I have found an easy, cost-effective way to do just that.
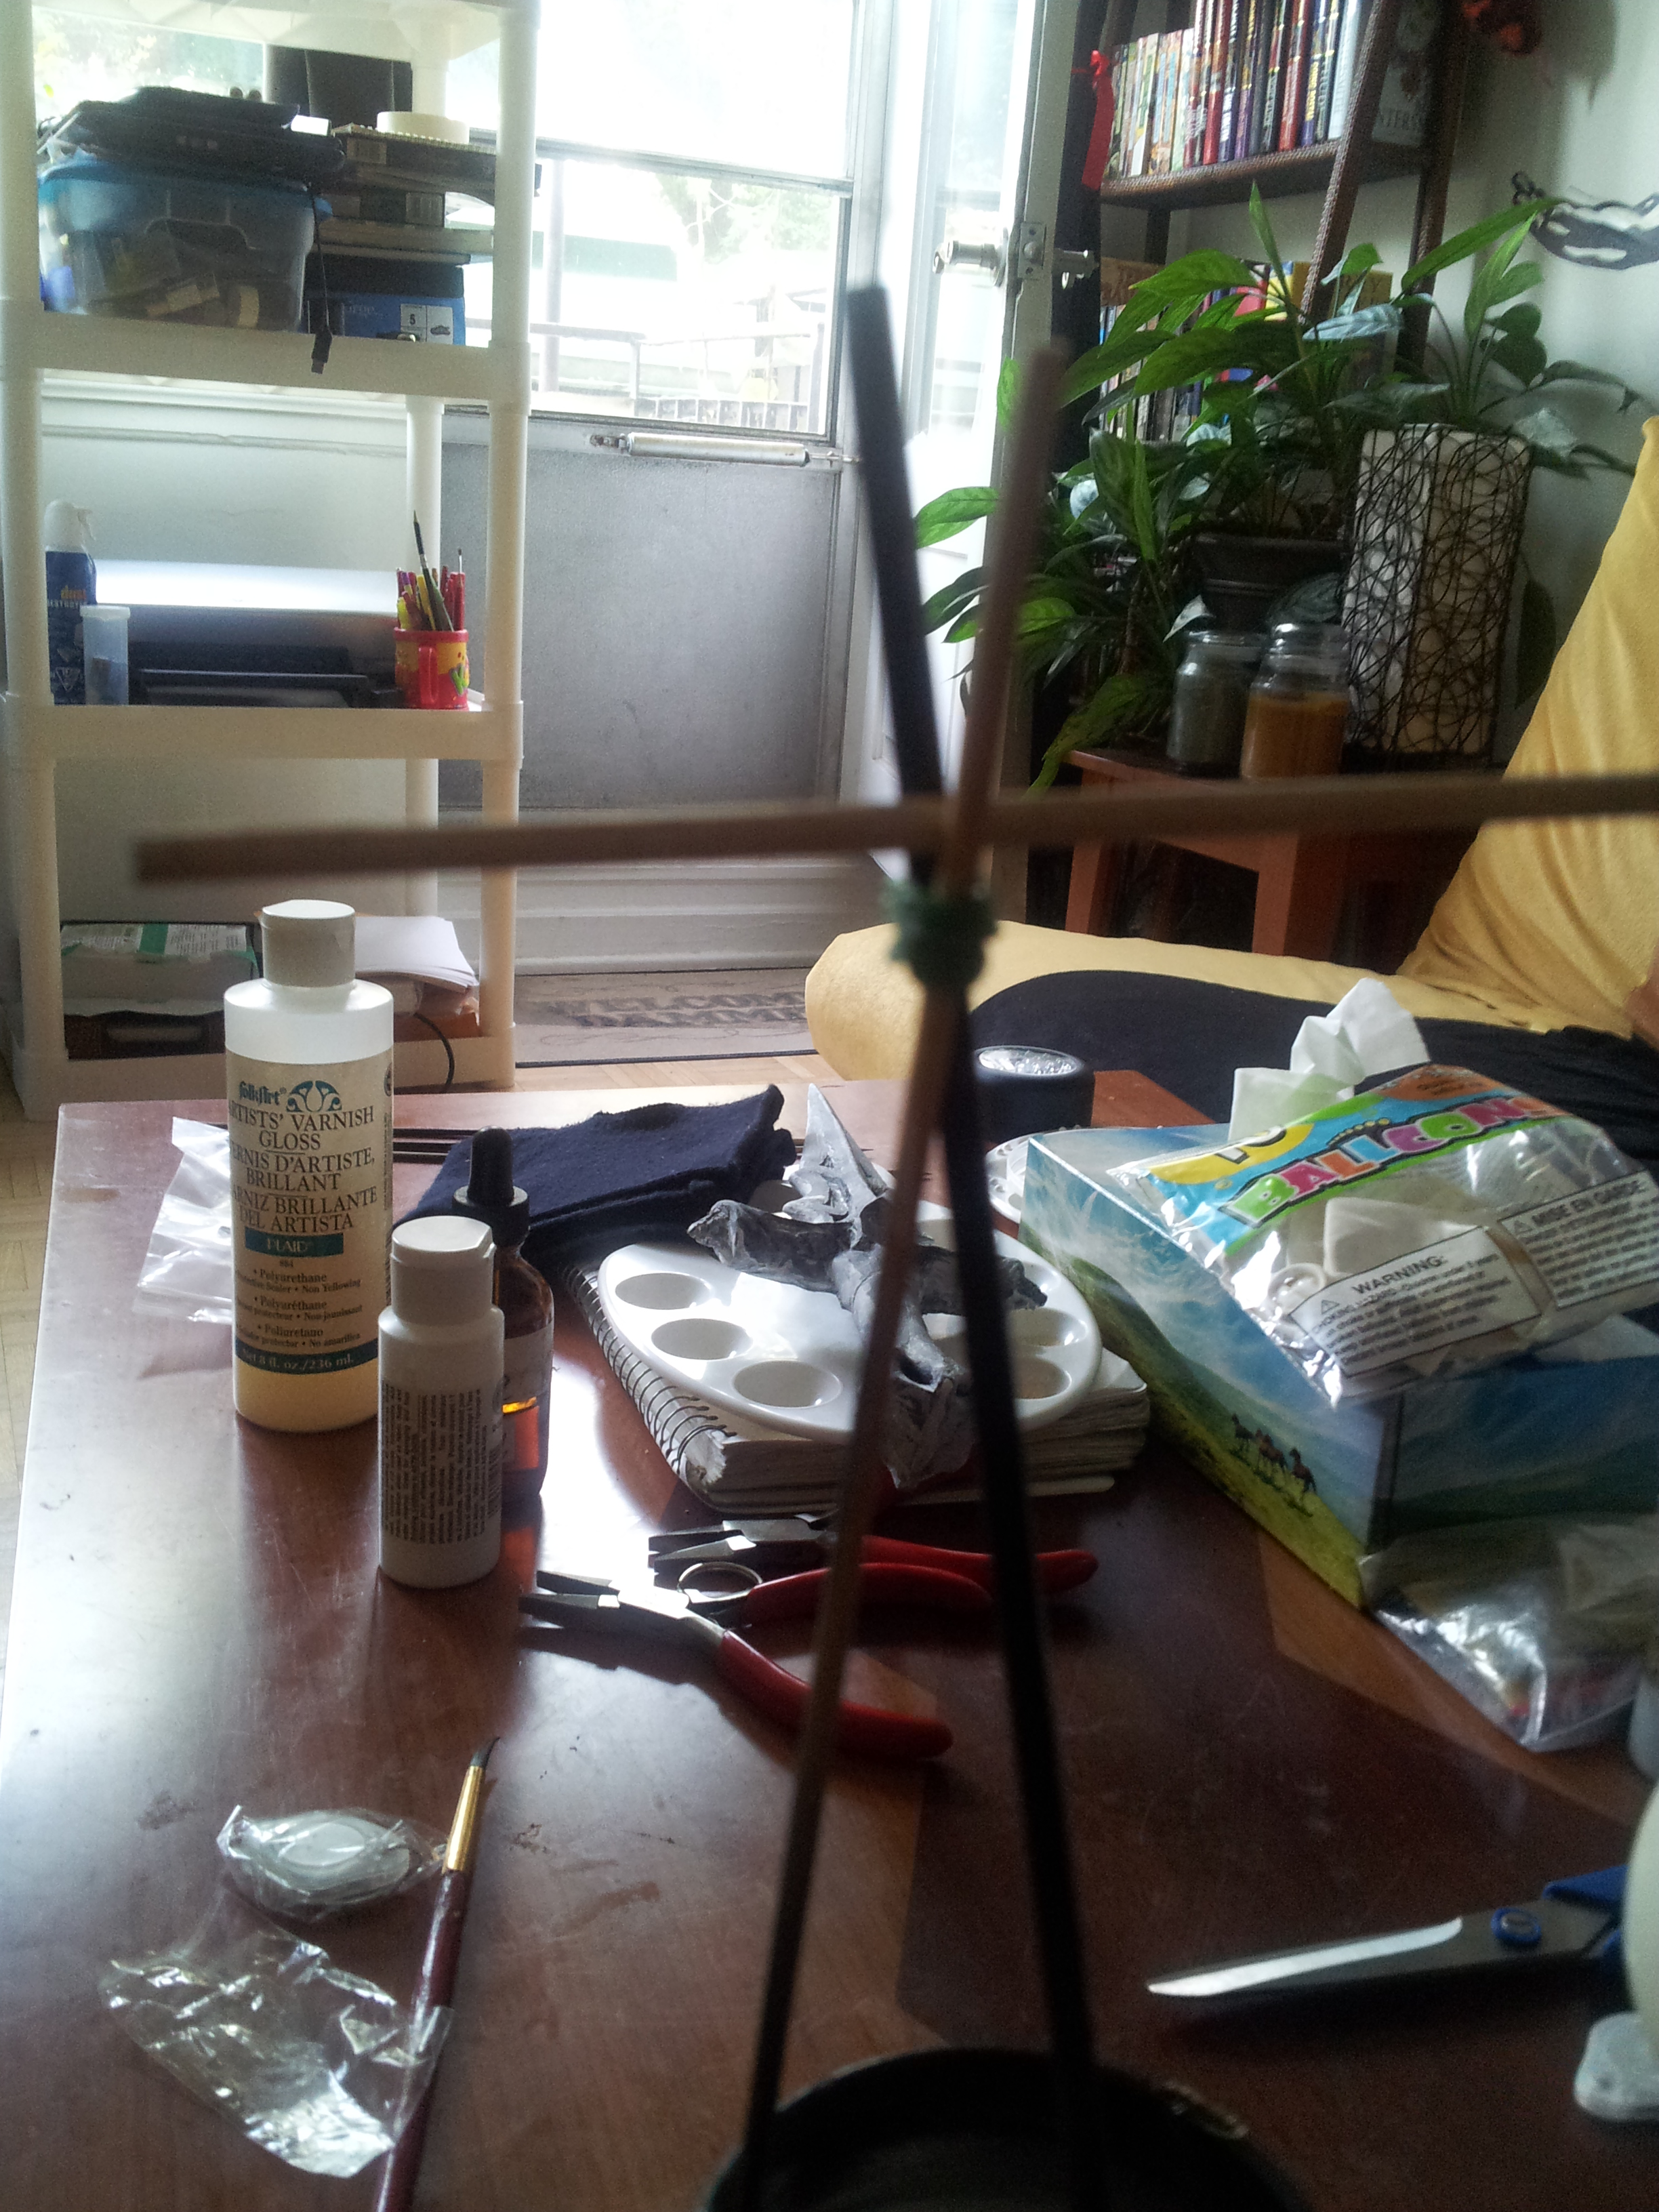
MATERIALS
You will need about one sheet of white tissue paper. Paper mache glue. (about a cup should do) A balloon. A clothespin and something to hang the balloon from . Most importantly, you need a small LED light like this. Choose a white one, otherwise you will be able to see the colour.
Step 1
Blow up the balloon. Make it no larger than you would want your witchlight to be. That means the size of your palm or smaller. It must be large enough to fit the LED light inside it when we’re all done.

Step 2
Cut the tissue paper into small squares. Again, you’ll want them roughly the size of your palm. Don’t stress about making them even or equal. No one will notice.

Step 3
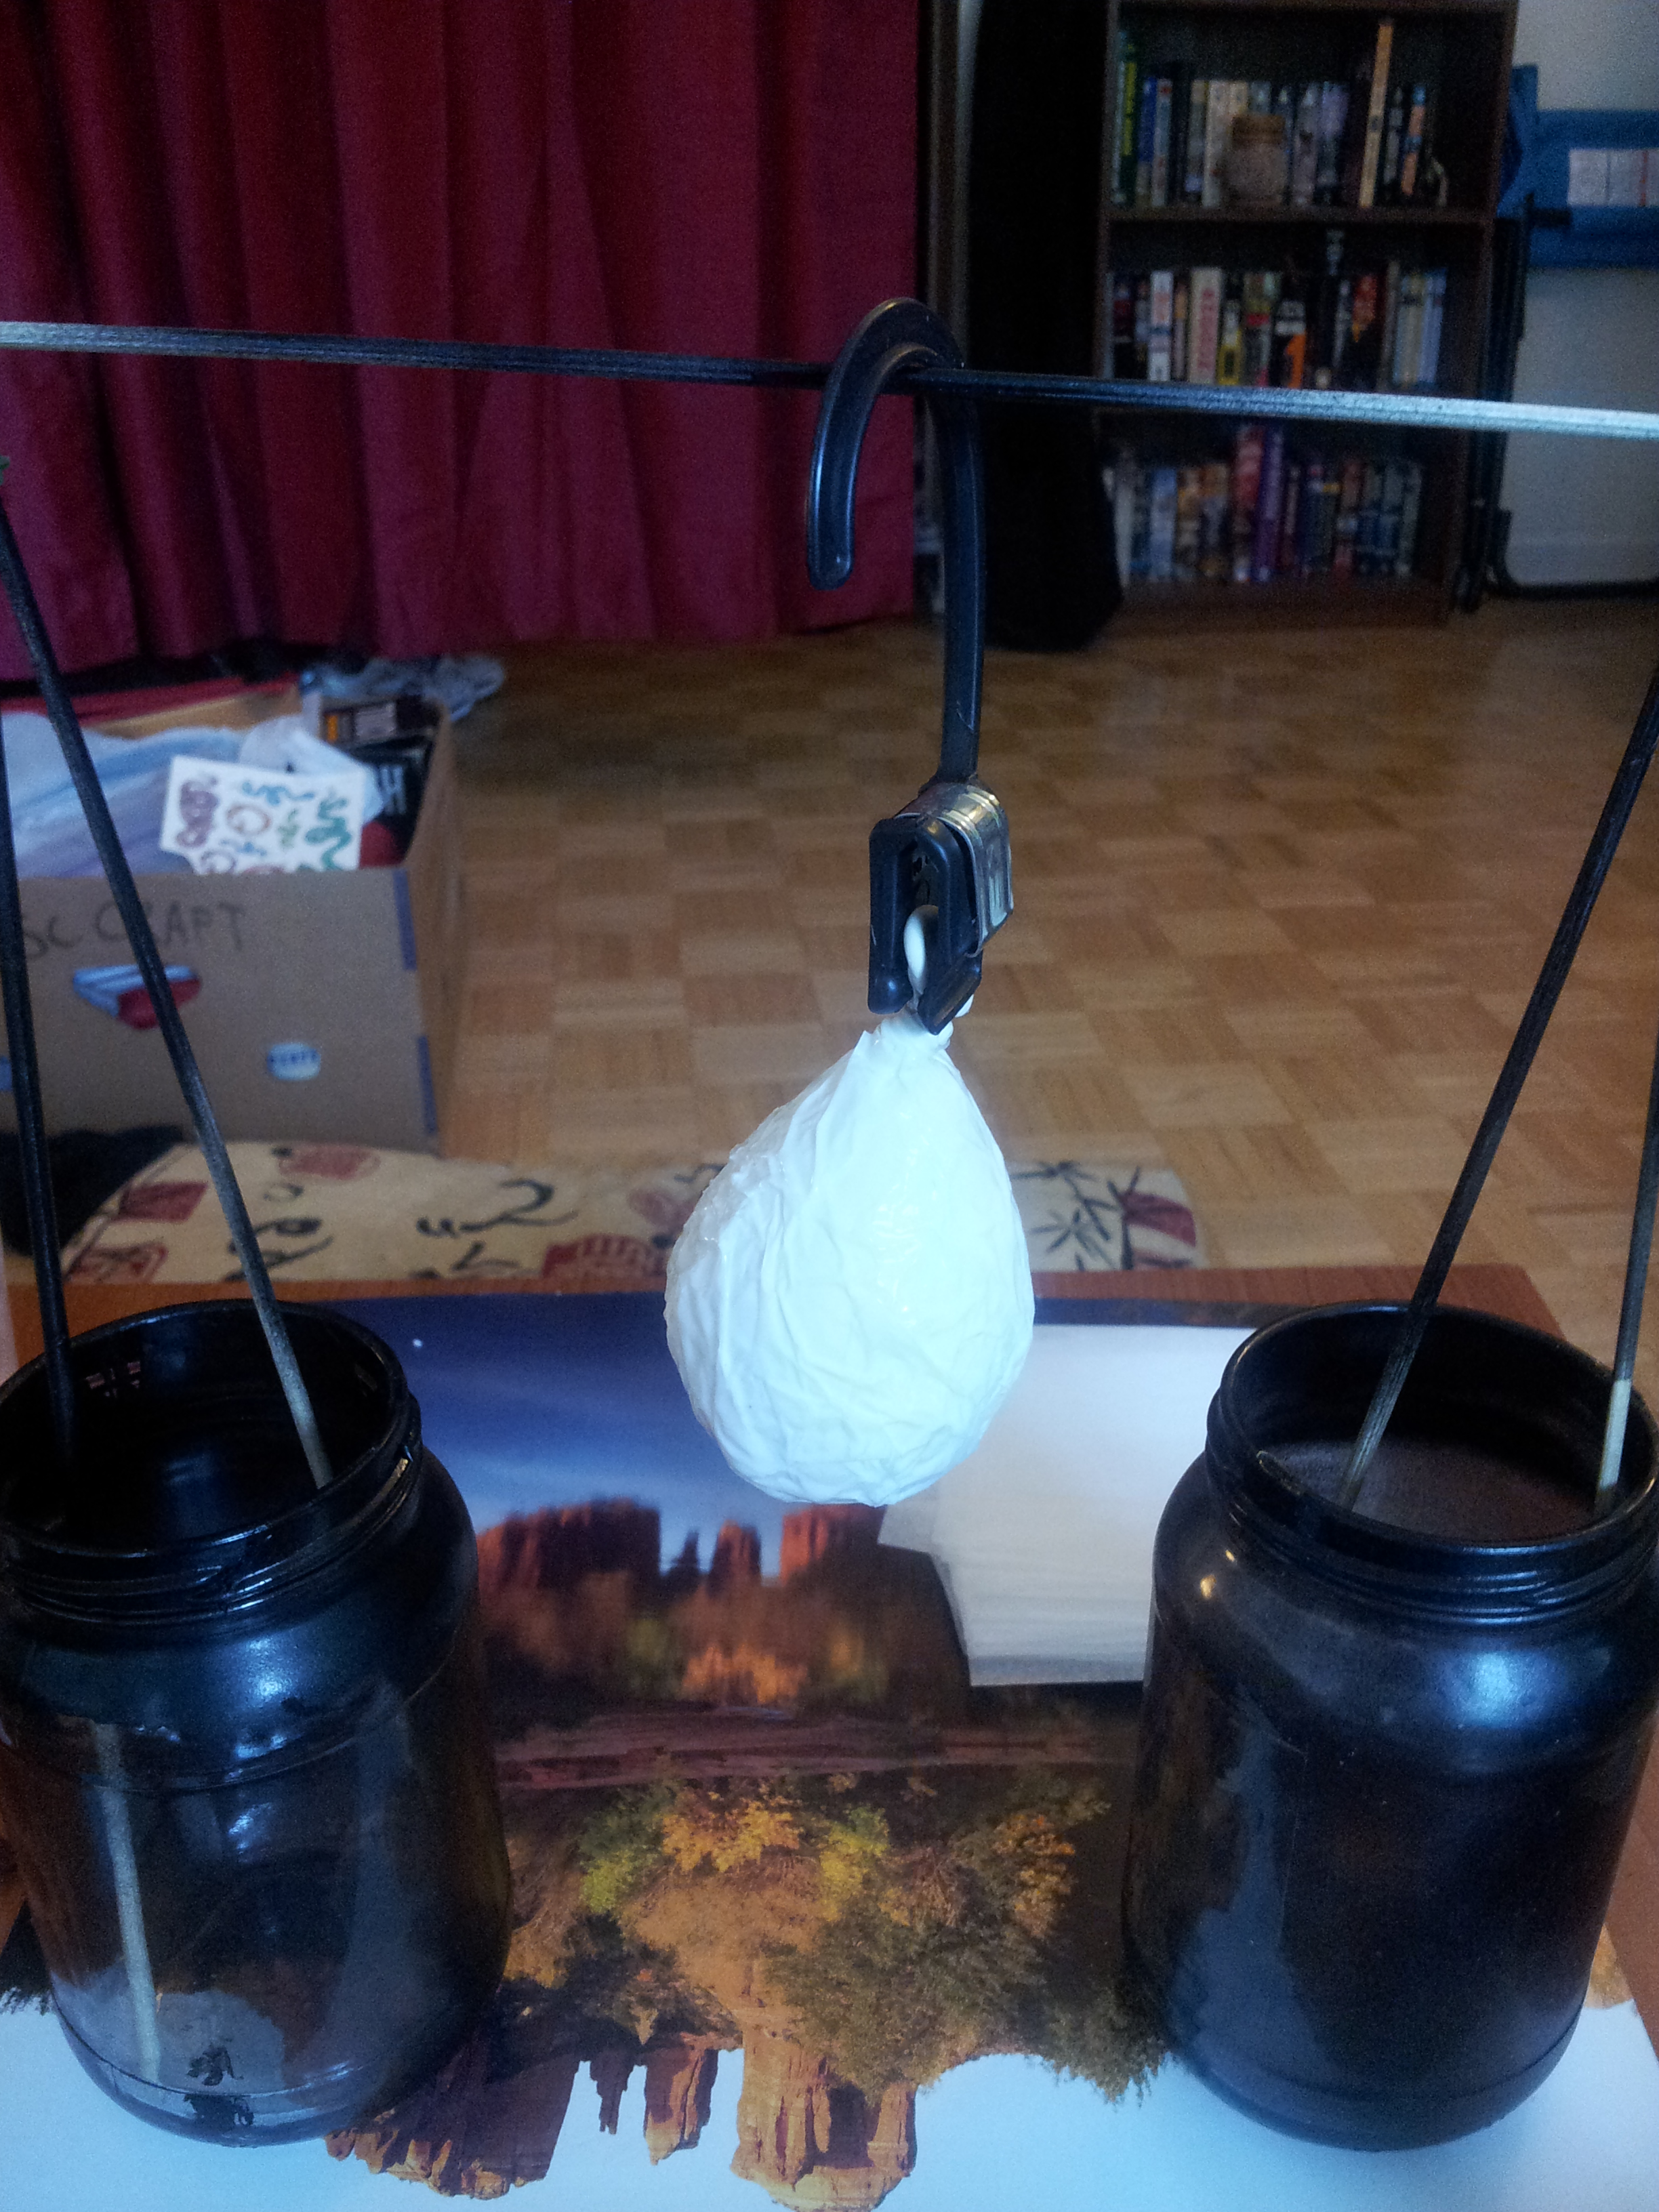
Hang up your balloon using the clothes pin. The one I have here has a handy dandy little hook on it for hanging. I’ve suspended the balloon on a skewer between two jars. If you have nowhere else to hang your balloon, you might want to adopt this idea too. Just wrap a couple rubber bands around two pairs of skewers, set one more skewer between them and stand ’em up in the jars. Bam. Easy peasy.

Step 4
Put paper mache glue in a small container so you can work with it. I usually put my paper mache glue mix in an old glue bottle so I can dispense a little at a time and not waste any. Pick a paintbrush about as wide as your thumb and use it to paint the glue all over the little balloon. Then, stick the squares of tissue paper all over the balloon. Cover it completely with one layer of paper, making sure to paint glue over top of the paper as well.
I usually do two layers of paper, wait for it to dry for about 30-60 minutes, add two more layers, and so on until I have six layers of glued-down tissue paper encasing the balloon.
Once you have six layers, leave the balloon alone to dry completely. Overnight if possible.
Step 5
When your balloon is totally dry, cut off the knot and cut about an inch slit down the side of the balloon so you can extract the rubber from inside your paper mache ball. You will notice that the paper macheed tissue paper will feel rather like plastic and remain somewhat flexible. This is great because you can shape it to look like a natural rock rather than a rounded balloon shape.

Note: the balloon will not make a popping noise when you cut it. It has been thoroughly muffled by the paper and glue and does not have the proper tension on it for a good pop so there is no need to brace yourself for that.
Step 6
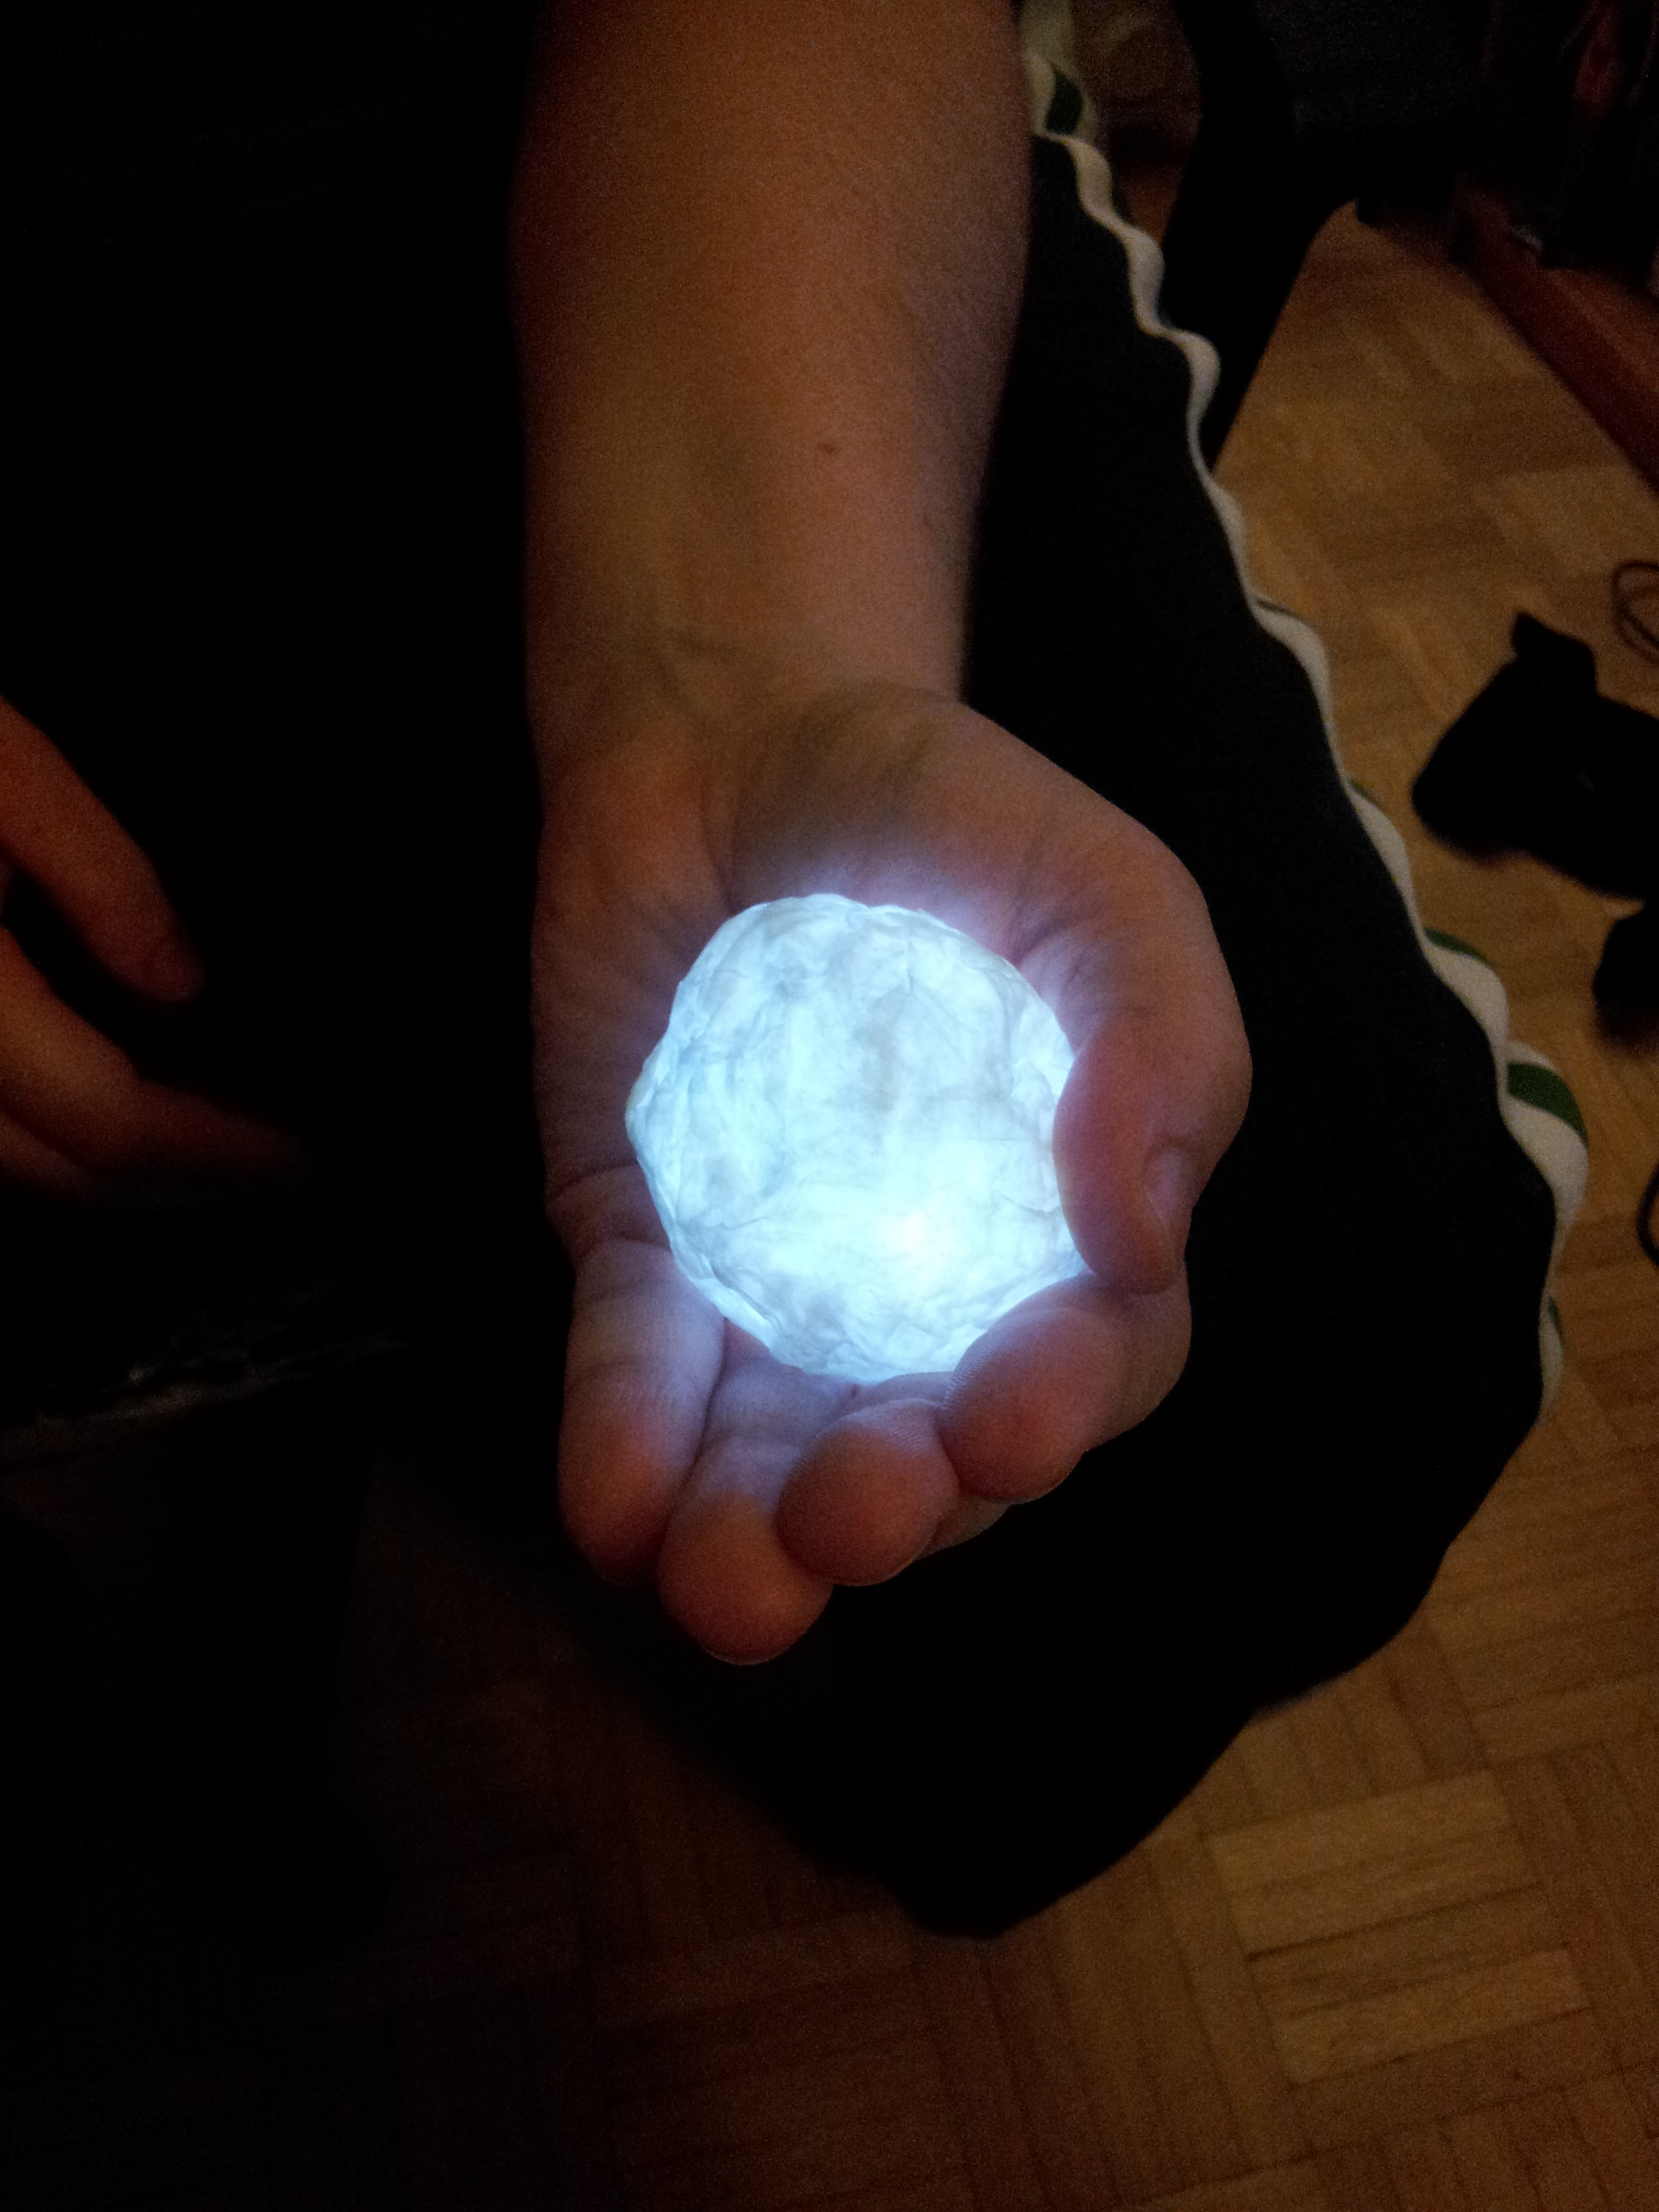
Place the small LED light inside the paper mache holder you’ve made. Make sure you can turn it on and off by just sticking a finger in there. You might also like to consider taping it in place. If the light gets turned around, it can be annoying to switch it on and off.

Step 7
Gently bend the flaps inward to conceal the LED light and work with the shape of the holder to make it more irregular so that it looks like a stone. Remember that even if you can’t fully hide the opening, it’s going to be held against your palm anyway so there is no need to stress about it. No one will see it.

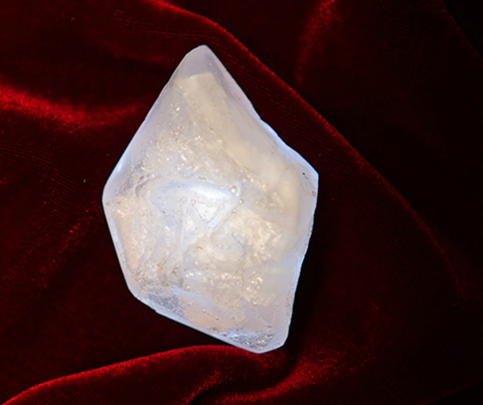
And you’re done! This whole project cost me two bucks.
And looks pretty darned authentic!

Have fun costuming! If any of my readers decide to make one, feel free to post pics in the comments. I love seeing creativity at work.
If you’d like to take a look at something else you can do with the balloon light-holder, you can check out my evil wizard staff post right here.


I have a question I made it exactly how you said but I only had a yellow balloon on hand but it was hard to get the balloon off the paper and glue.. So I was wondering how you got it all out if you did? I am going to do it again except this time I’m using a white balloon.. Also did you put a clear varnish on it? And lol sorry I’m just getting into craft’s but I used mod podge is it the same thing as paper mache glue?
LikeLike
Yikes! No, Modge Podge is not the same as paper mache glue. Just mix three parts white glue with one part water and you will have a simple paper mache glue to use. When it dries, it will be a bendable plastic-like consistency that will be easy to peel the balloon off. If you use modge podge, the balloon will likely be stuck to it until the end of time. It’s kind of like cement. hehe!
LikeLike
After you blow up the balloon and tie it, rub a small amount of vaseline over the surface. It doesn’t take much to keep the paper from sticking.
LikeLike
Thanks for your comment! I would caution against using petroleum jelly for this purpose. It degrades latex and may perforate the balloon before you’re finished your crafting. A silicone-based lubricant would work better. 🙂 You can also put a layer of cling-film over the balloon if you’re concerned that it won’t come off. I’ve never had a problem with the white “school glue” failing to detatch from the balloon though. Unless you’re using mod-podge, you should be fine. ^_^
LikeLike
nice job Ethan. love lord of the ring, could use It for the elf light too. thx
LikeLike
Ooh! I hadn’t thought of that. That’s a great idea!
LikeLike
Hi, I was just wandering where you got the lights form?
LikeLike
I got them from Clas Ohlson here in Helsinki. They’re called Flatlights. Hopefully you can find something similar where you live. 🙂
LikeLike
I wanted to be of some help if you hadn’t found those lights yet! There are some on amazon if you can’t find them in stores (I couldn’t). I just typed in “Tiny Light Keychain” and something really similar came up. I’m probably going to end up using these ones: http://www.amazon.com/gp/product/B009WJR8X2/ref=ox_sc_act_title_1?ie=UTF8&psc=1&smid=A2ZQMH6CUIT02U Hope I could help a little!
LikeLike
Oh good! I’m glad they’re widely available. They’re handy little things! Thanks for the info. 🙂
LikeLike
I’ve been looking for a tutorial for this forever! Thank you so much!
LikeLike
No problem! Glad to help. 🙂
LikeLike
This looks so good! I’m so trying this! Thanks for posting! 😀
LikeLike
Yay! Feel free to post pics if you do. 🙂 I love seeing peoples’ creations!
LikeLike
I made mine quite a bit bigger than the original because I had a slightly bigger light. It still looks awesome, but I’m having problems with two things: Shaping the figure to look more rock-like and taping the light down.
LikeLike
Lately I’ve been making these witchlights stuffed full of plastic cling wrap. I shape the wrap around the light, clumping it here and there to make a rock-like shape and sometimes using clear tape to hold it where I want it, and then doing the paper mache over top. I find that the light usually shines just fine through the cling wrap and there’s no need to remove it. I either pack the whole thing tight enough that I can just squeeze the “rock” itself and the light comes on, or I make a little space to stick a finger in to turn the light on and off. The bonus of packing the light in tightly is that it doesn’t rattle around and it tends to stay right where you put it 🙂 I hope this helps! I’m going to be doing a new witchlight tutorial in the future when I’m not so crazy overbooked XD
LikeLike
So I made one of these, and it’s a bit bigger than the one you made. I love it lots, but it honestly looks more like an egg than a rock. Any suggestions? I don’t know if I can do many more layer because I sort of ransacked the house to look for the tissue paper, so I’ve only got a bit left. I’m going to use this as a hallowed costume but I want it to be as authentic as I can get it for later Cosplaying use
LikeLike
You can push dents into the surface of the “egg” to make it look a little more irregular. It should still be fairly plastic and flexible if there aren’t too many layers. Plain white facial tissues (Kleenex or something) with no patterning on it can also do just as well as tissue paper. If you can get it nice and saturated with glue you should be able to poke it and push it around with your fingers to make the paper fray and come apart a little so it looks rougher and more natural. Just make sure the final layer has enough glue all over it so that the paper is sealed in. Feel free to poke it here and there with a paint brush and a bit of diluted white paint to get some areas that are more opaque than others. Witchlights are not as refined adamas as the Seraph Blades are after all. They’re a byproduct. There should be some imperfections and veins in the rock. 🙂
LikeLike
Thank you ffor sharing this
LikeLike
You are most welcome. 🙂
LikeLike