
Finally, the project is complete and ready to be shared. An inexpensive but beautiful staff for an evil mage or wizard. My secret weapons for crafting are tissue paper, glue, and wire. Never underestimate the power of these humble items to make something cool!
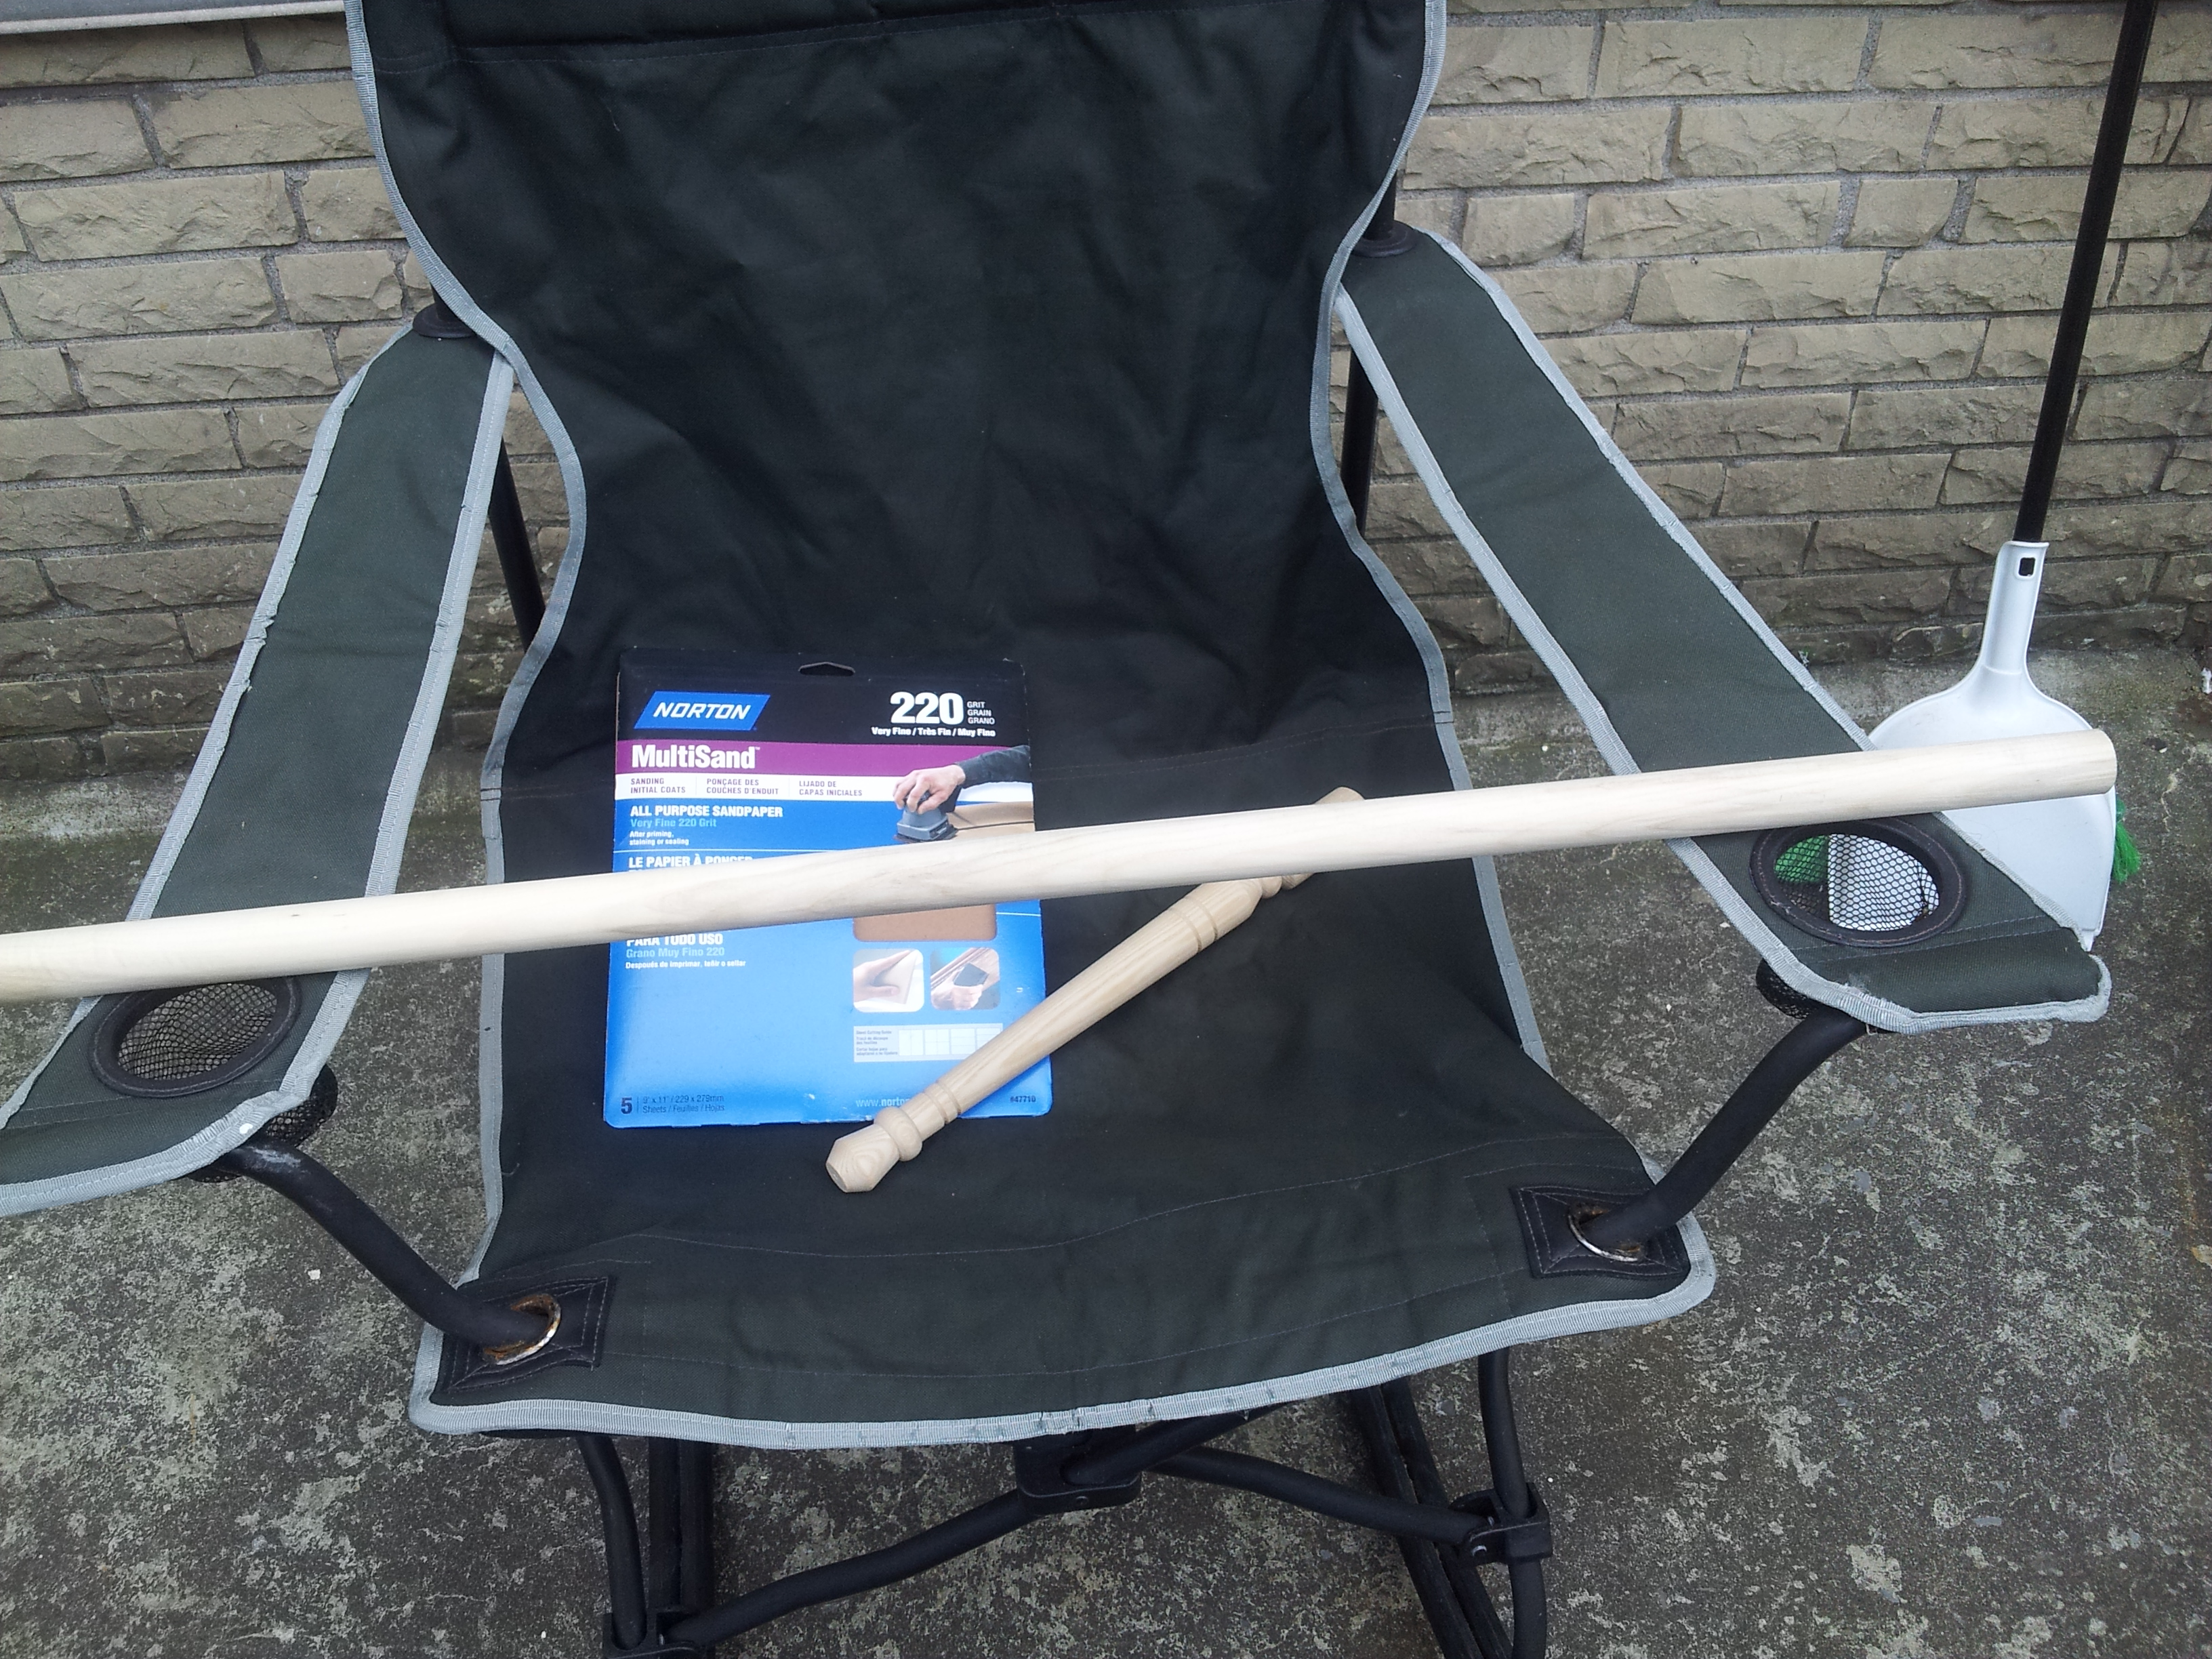
So here’s a 4′ dowel and a furniture leg, both from Home Depot. I think these both came to 12.00 CAD total. Bit of finishing sandpaper to make the shaft and base as smooth as they can be.
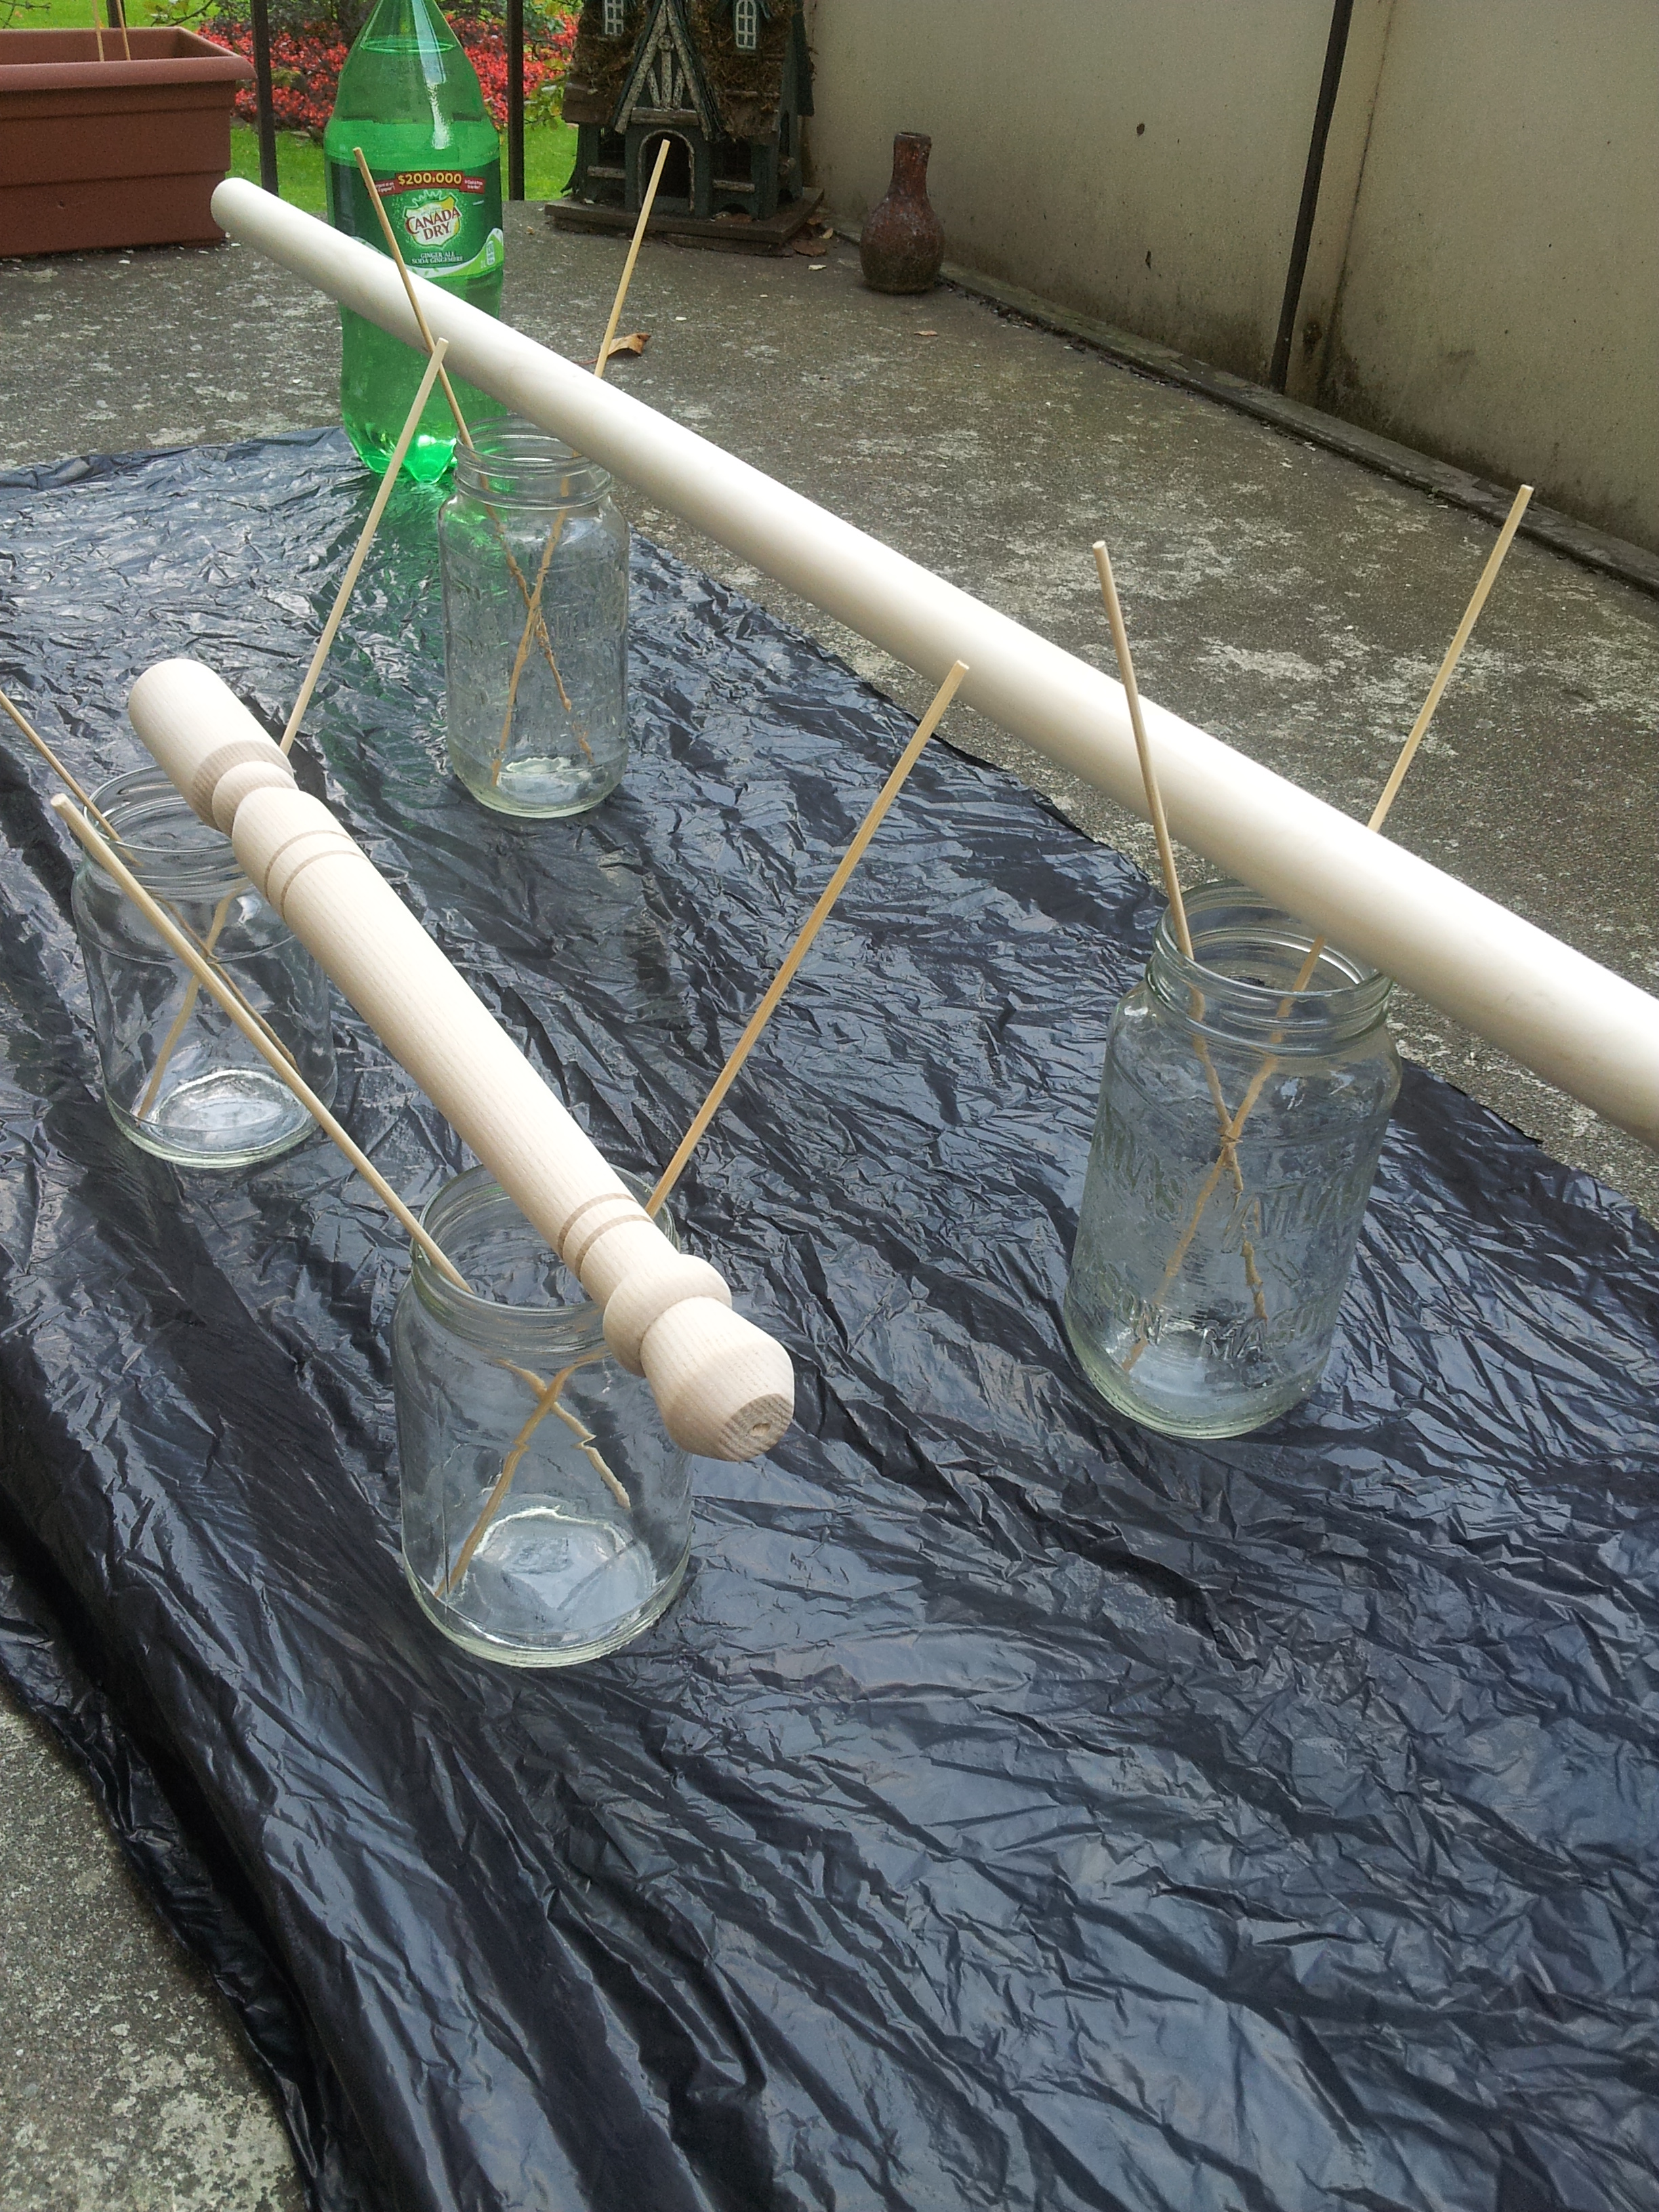
I set both pieces up on the balcony on top of empty mason jars. The skewers you can see there are to keep them from rolling off. I used these items because the surface area that touches the wood is very small while still keeping the staff pieces up off the ground to work on and subsequently dry.
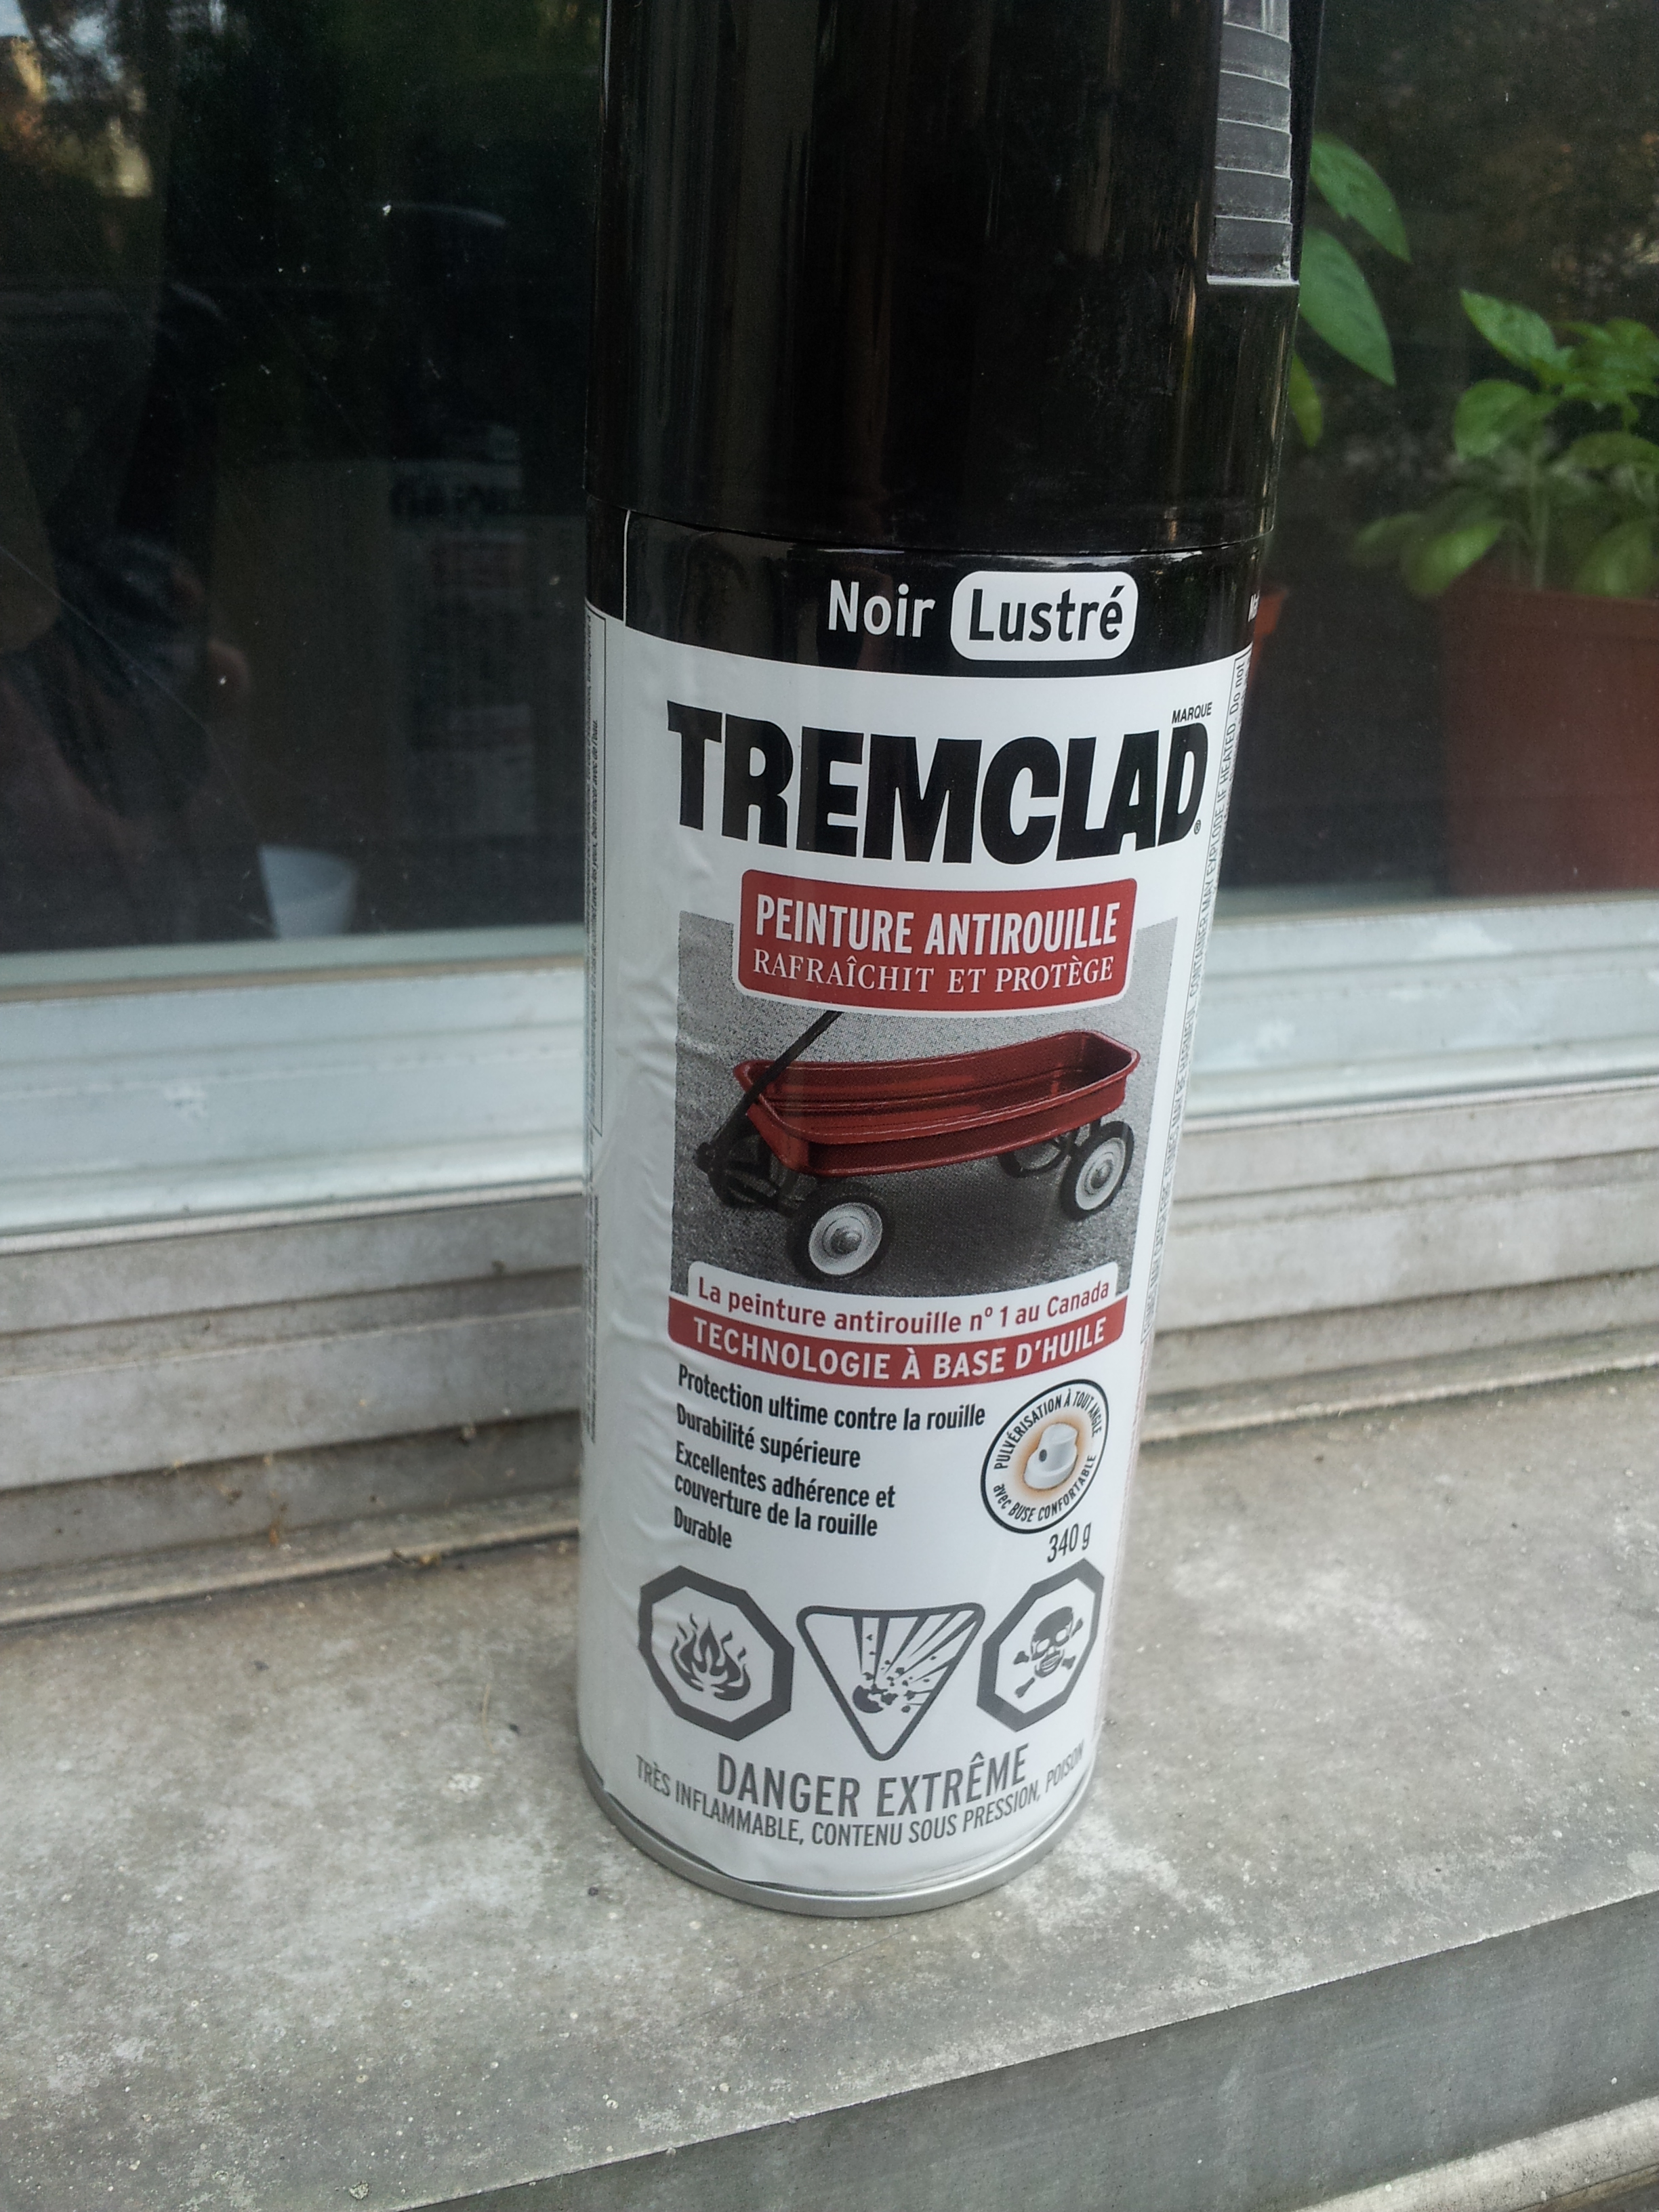
Here’s what I used to finish the wood with. Many other kinds of spray paint will work. I just happened to need rust-paint for a repair job on my bike. Hurray for multi-use items!
Here they are coated and drying. After a couple applications, I had a nice even coat except for a few drips that needed some sanding and re-finishing. I think the most tedious part of the project is simply waiting for all the paint and glue and such to dry and cure properly.
I marked off the centre of the staff shaft and drilled into it far enough to accommodate the bolt end that the furniture leg came equipped with. Handy!
Here are the two pieces joined together. After making sure that the bolt fit nicely into the shaft, I unscrewed it slightly and put a little carpenter’s glue in between the sections before re-tightening it. This ensures no wobbles. It’s not coming apart now!
A hockey puck! I swear this is relevant …
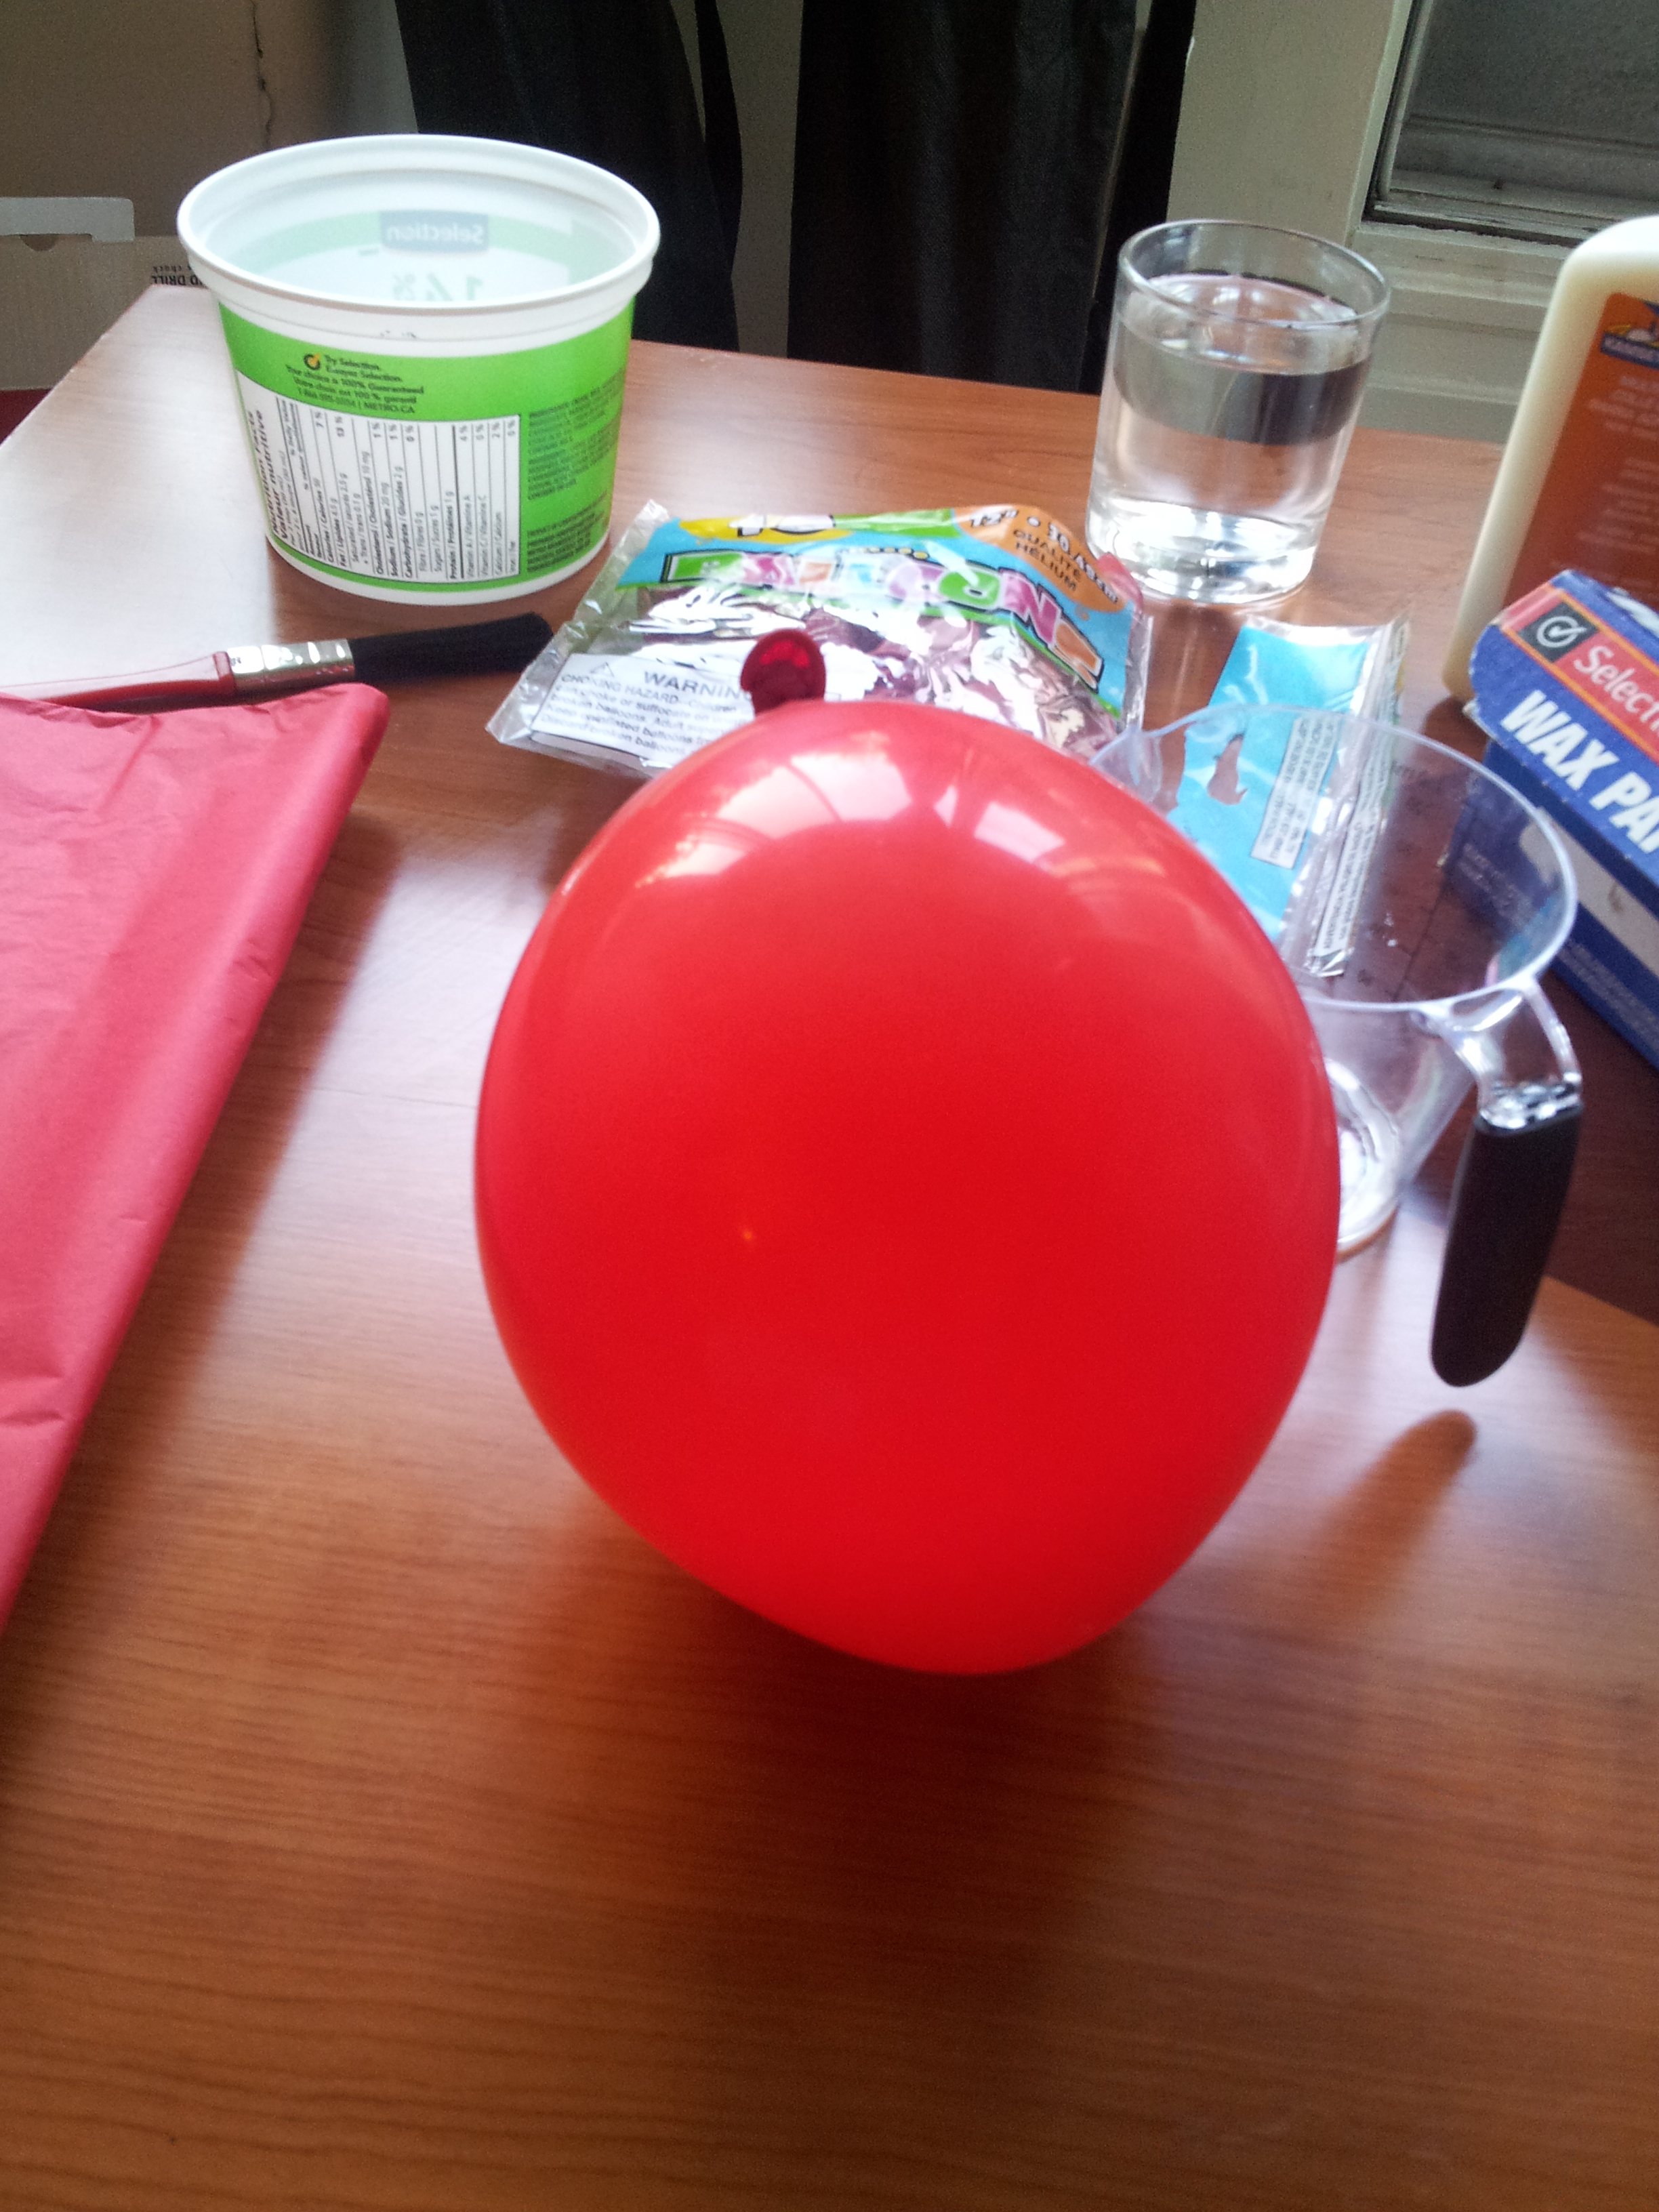
A balloon? What madness is this?
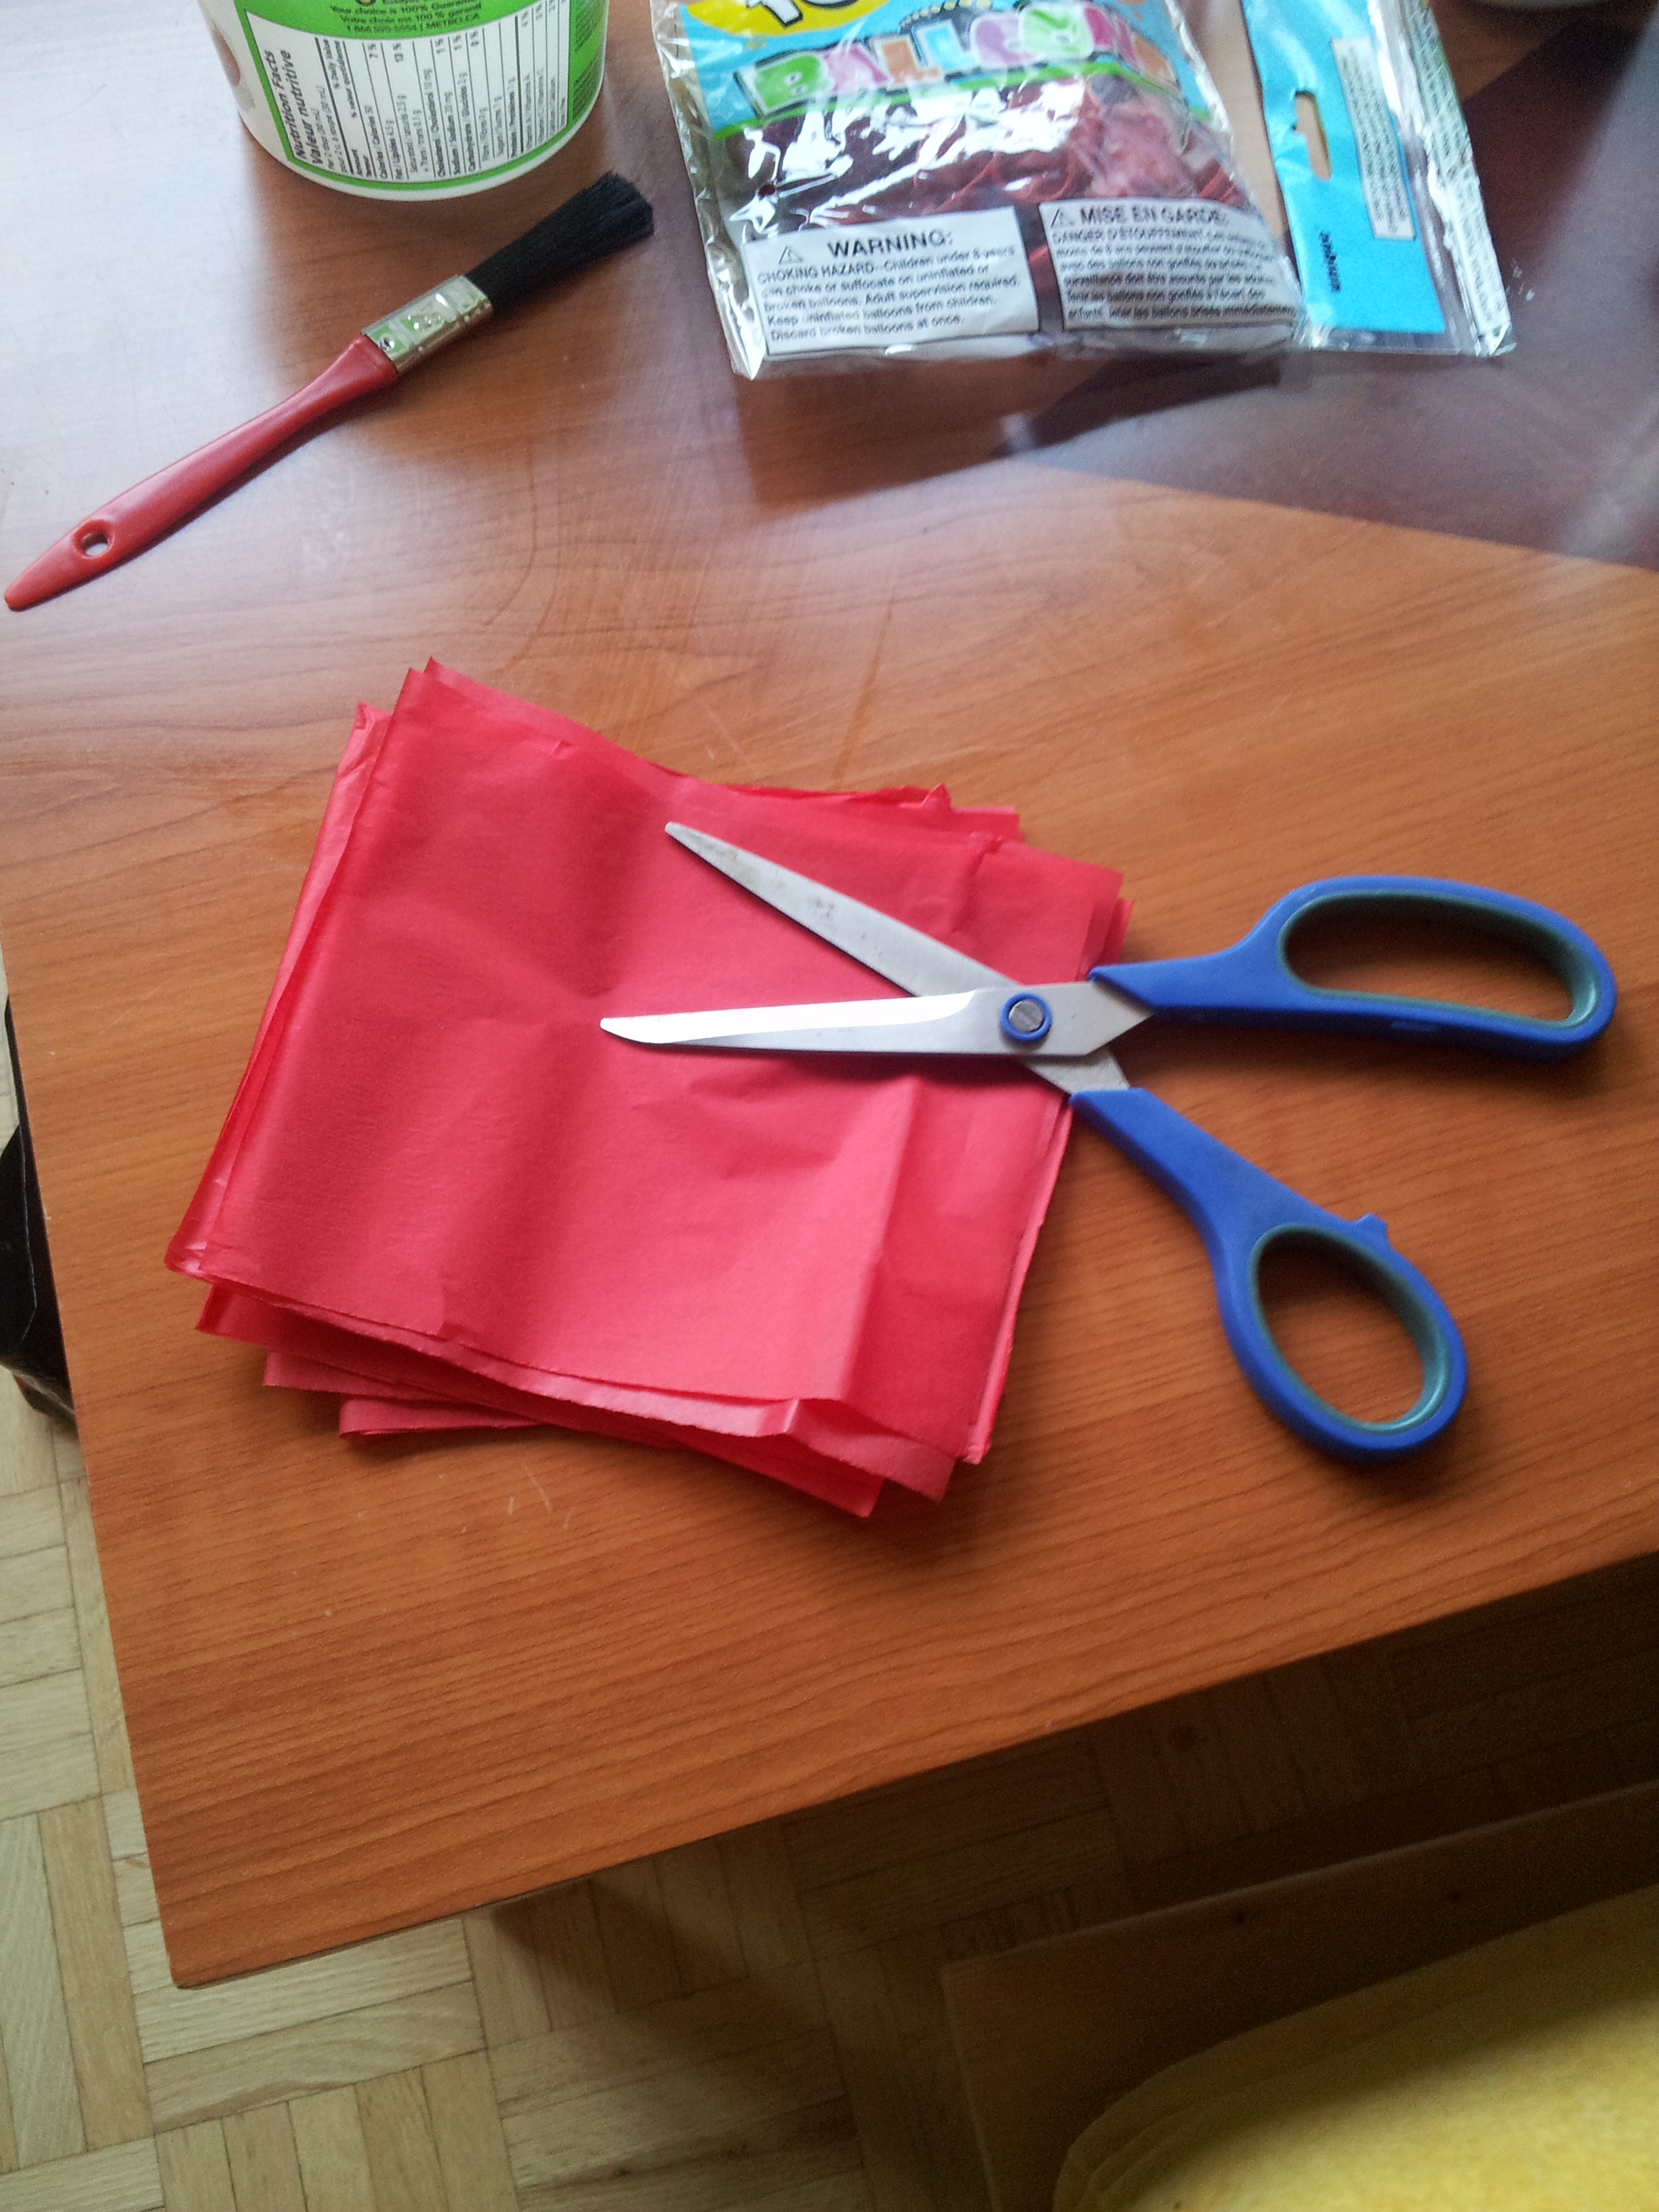
And tissue paper in the colour I desire for my finished product. Mix up some glue and water. (2 parts glue to 1 part water) Awww yeah it’s paper mache time.
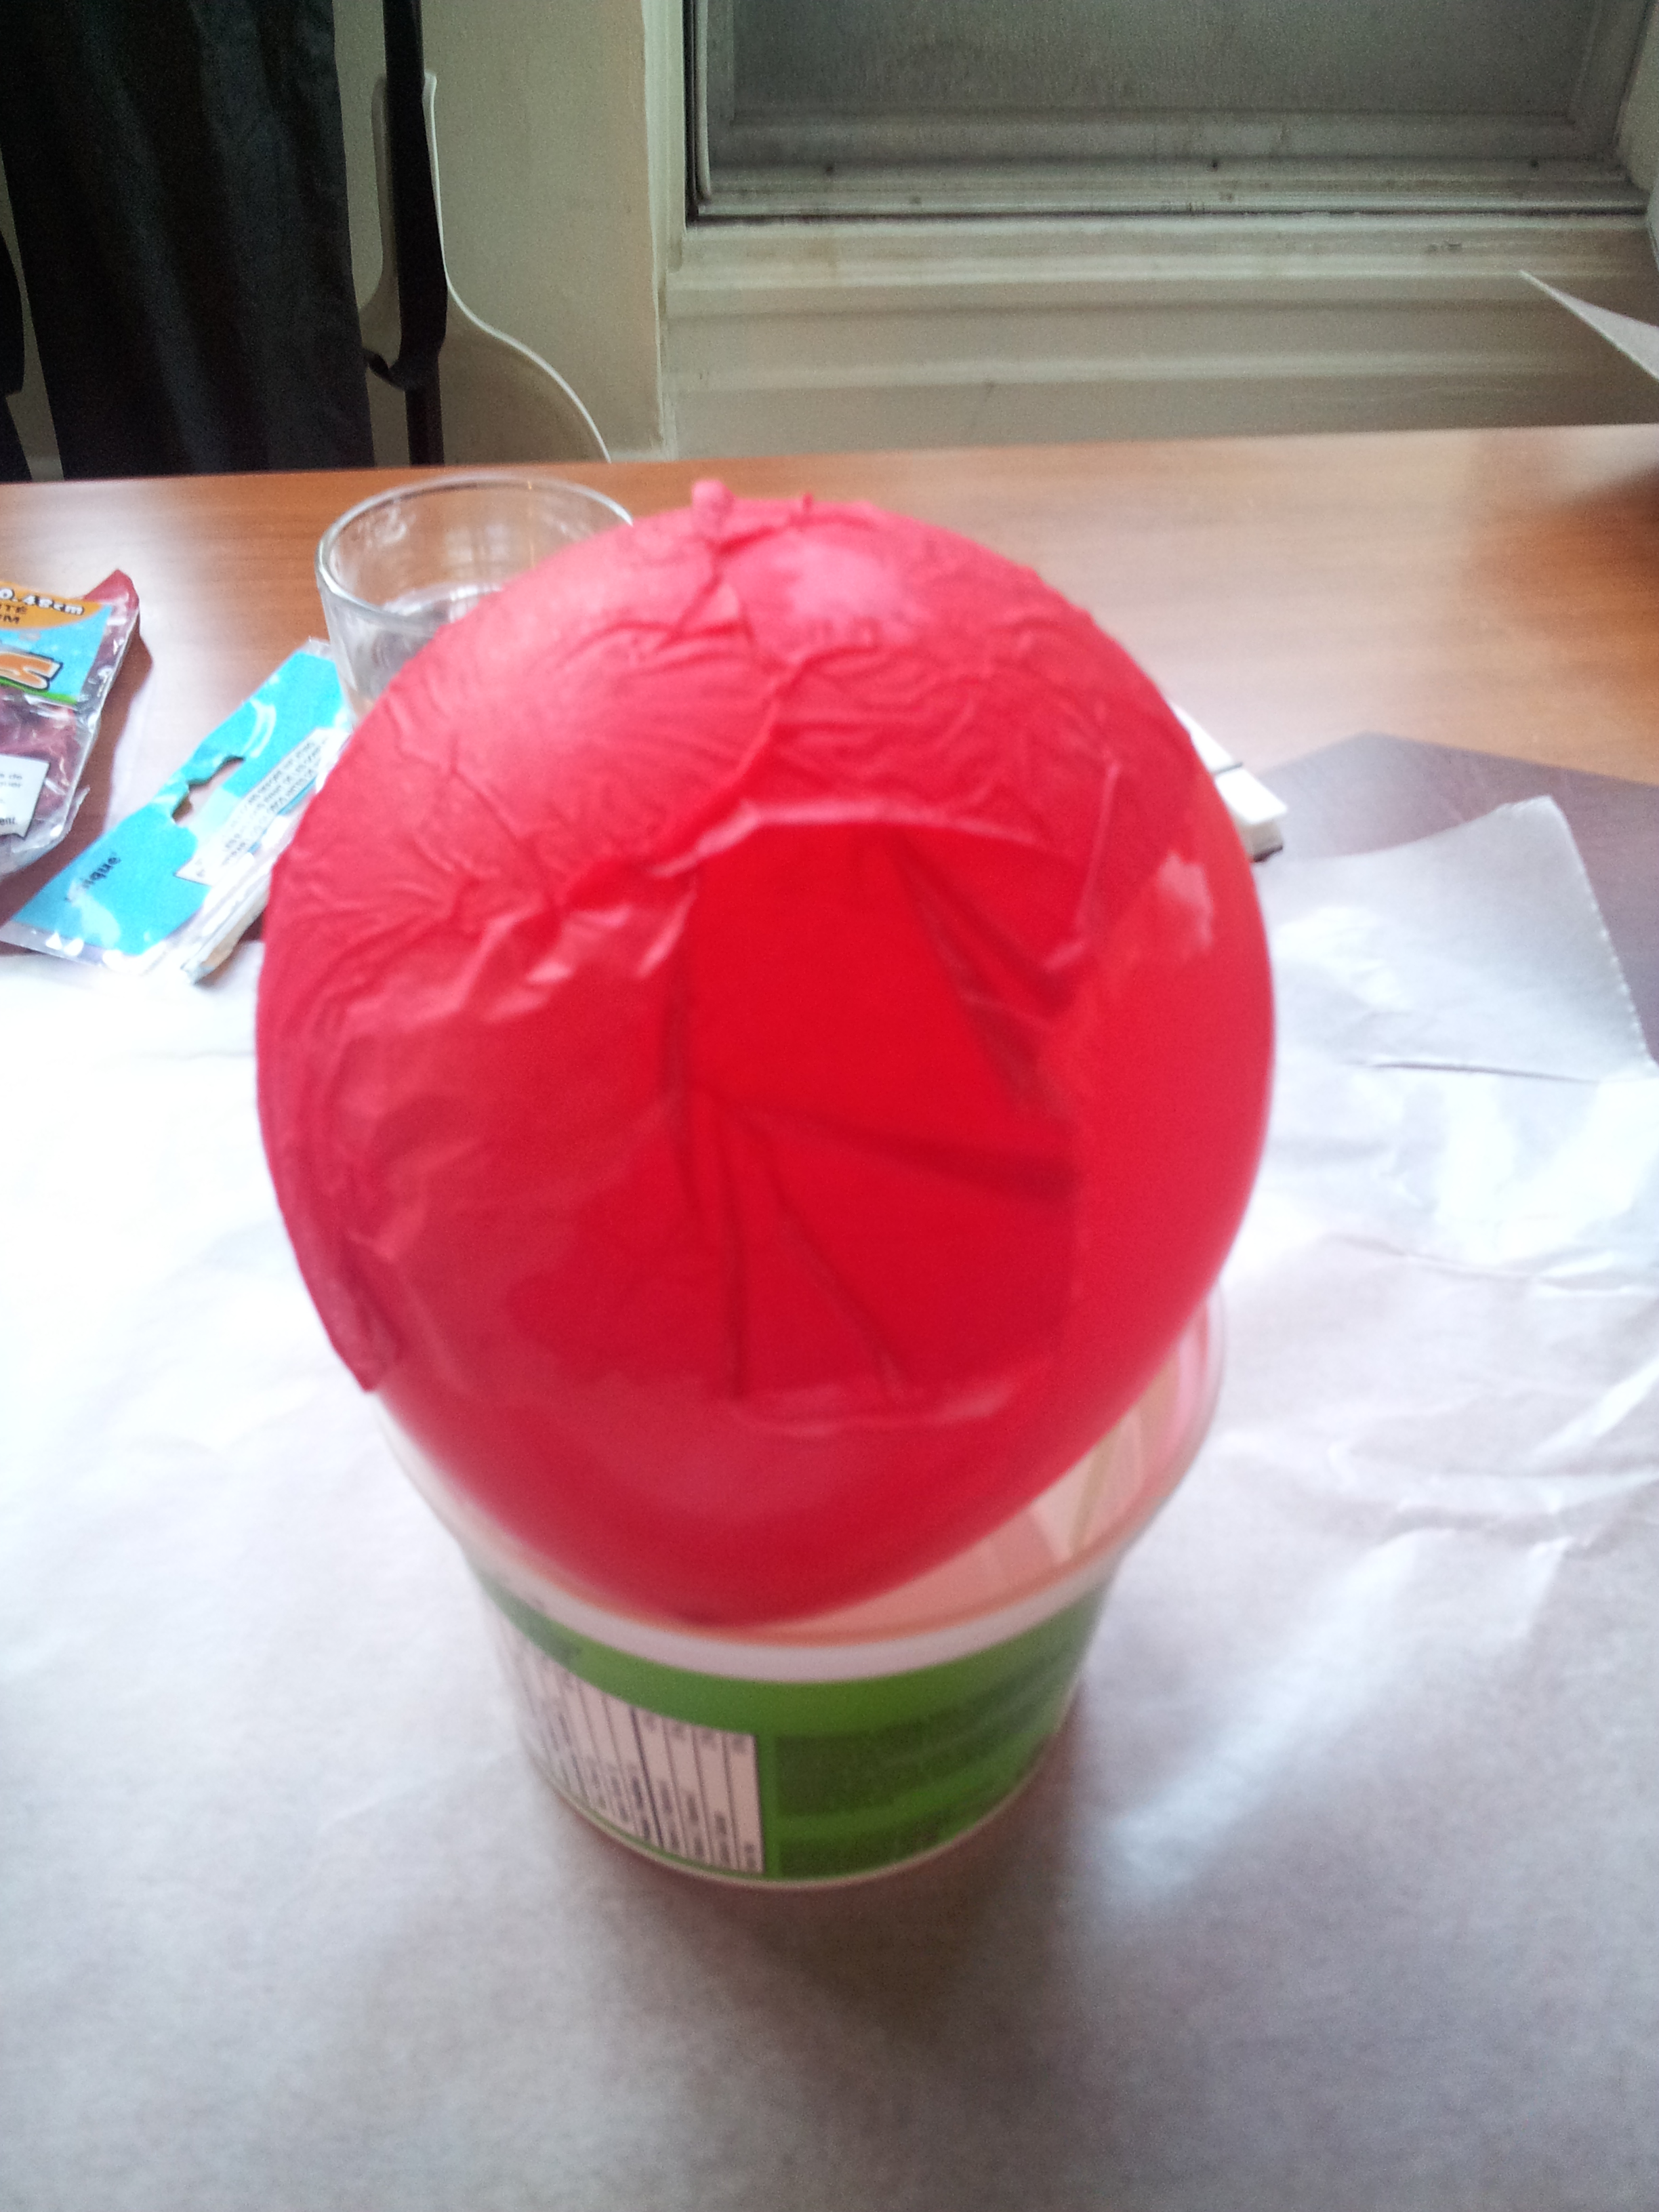
I gave this balloon about six or seven coats of tissue paper and glue.
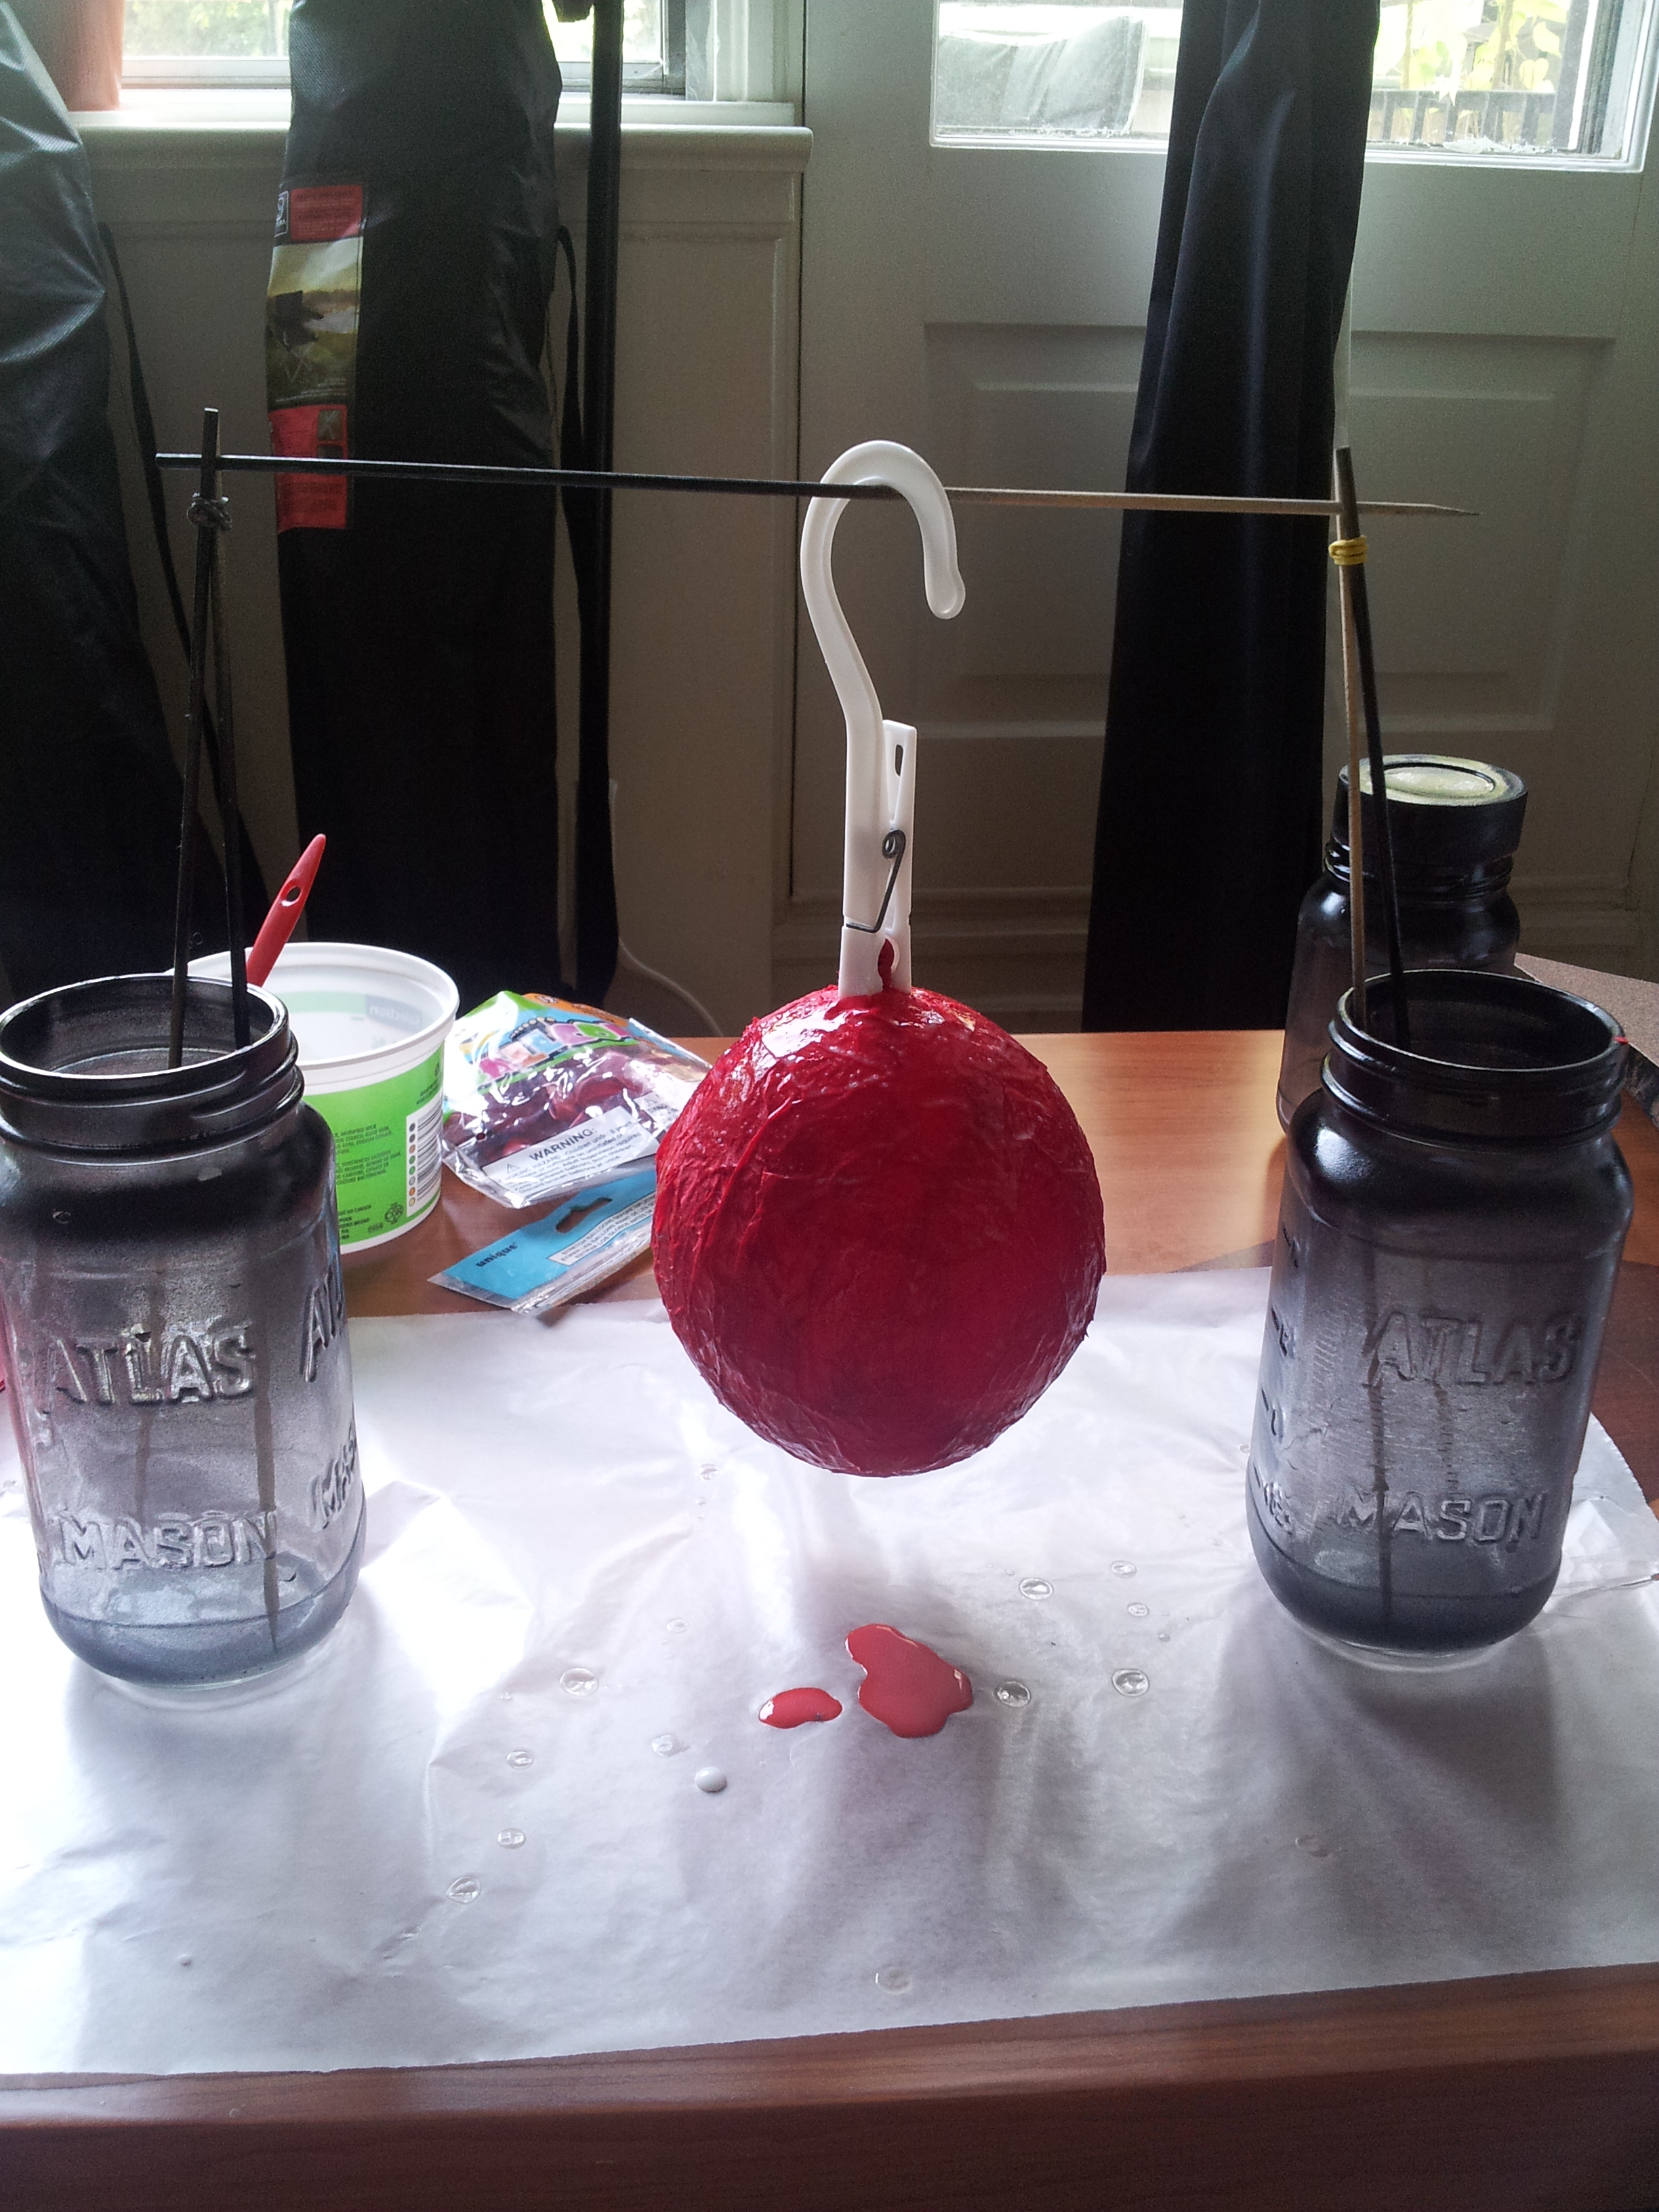
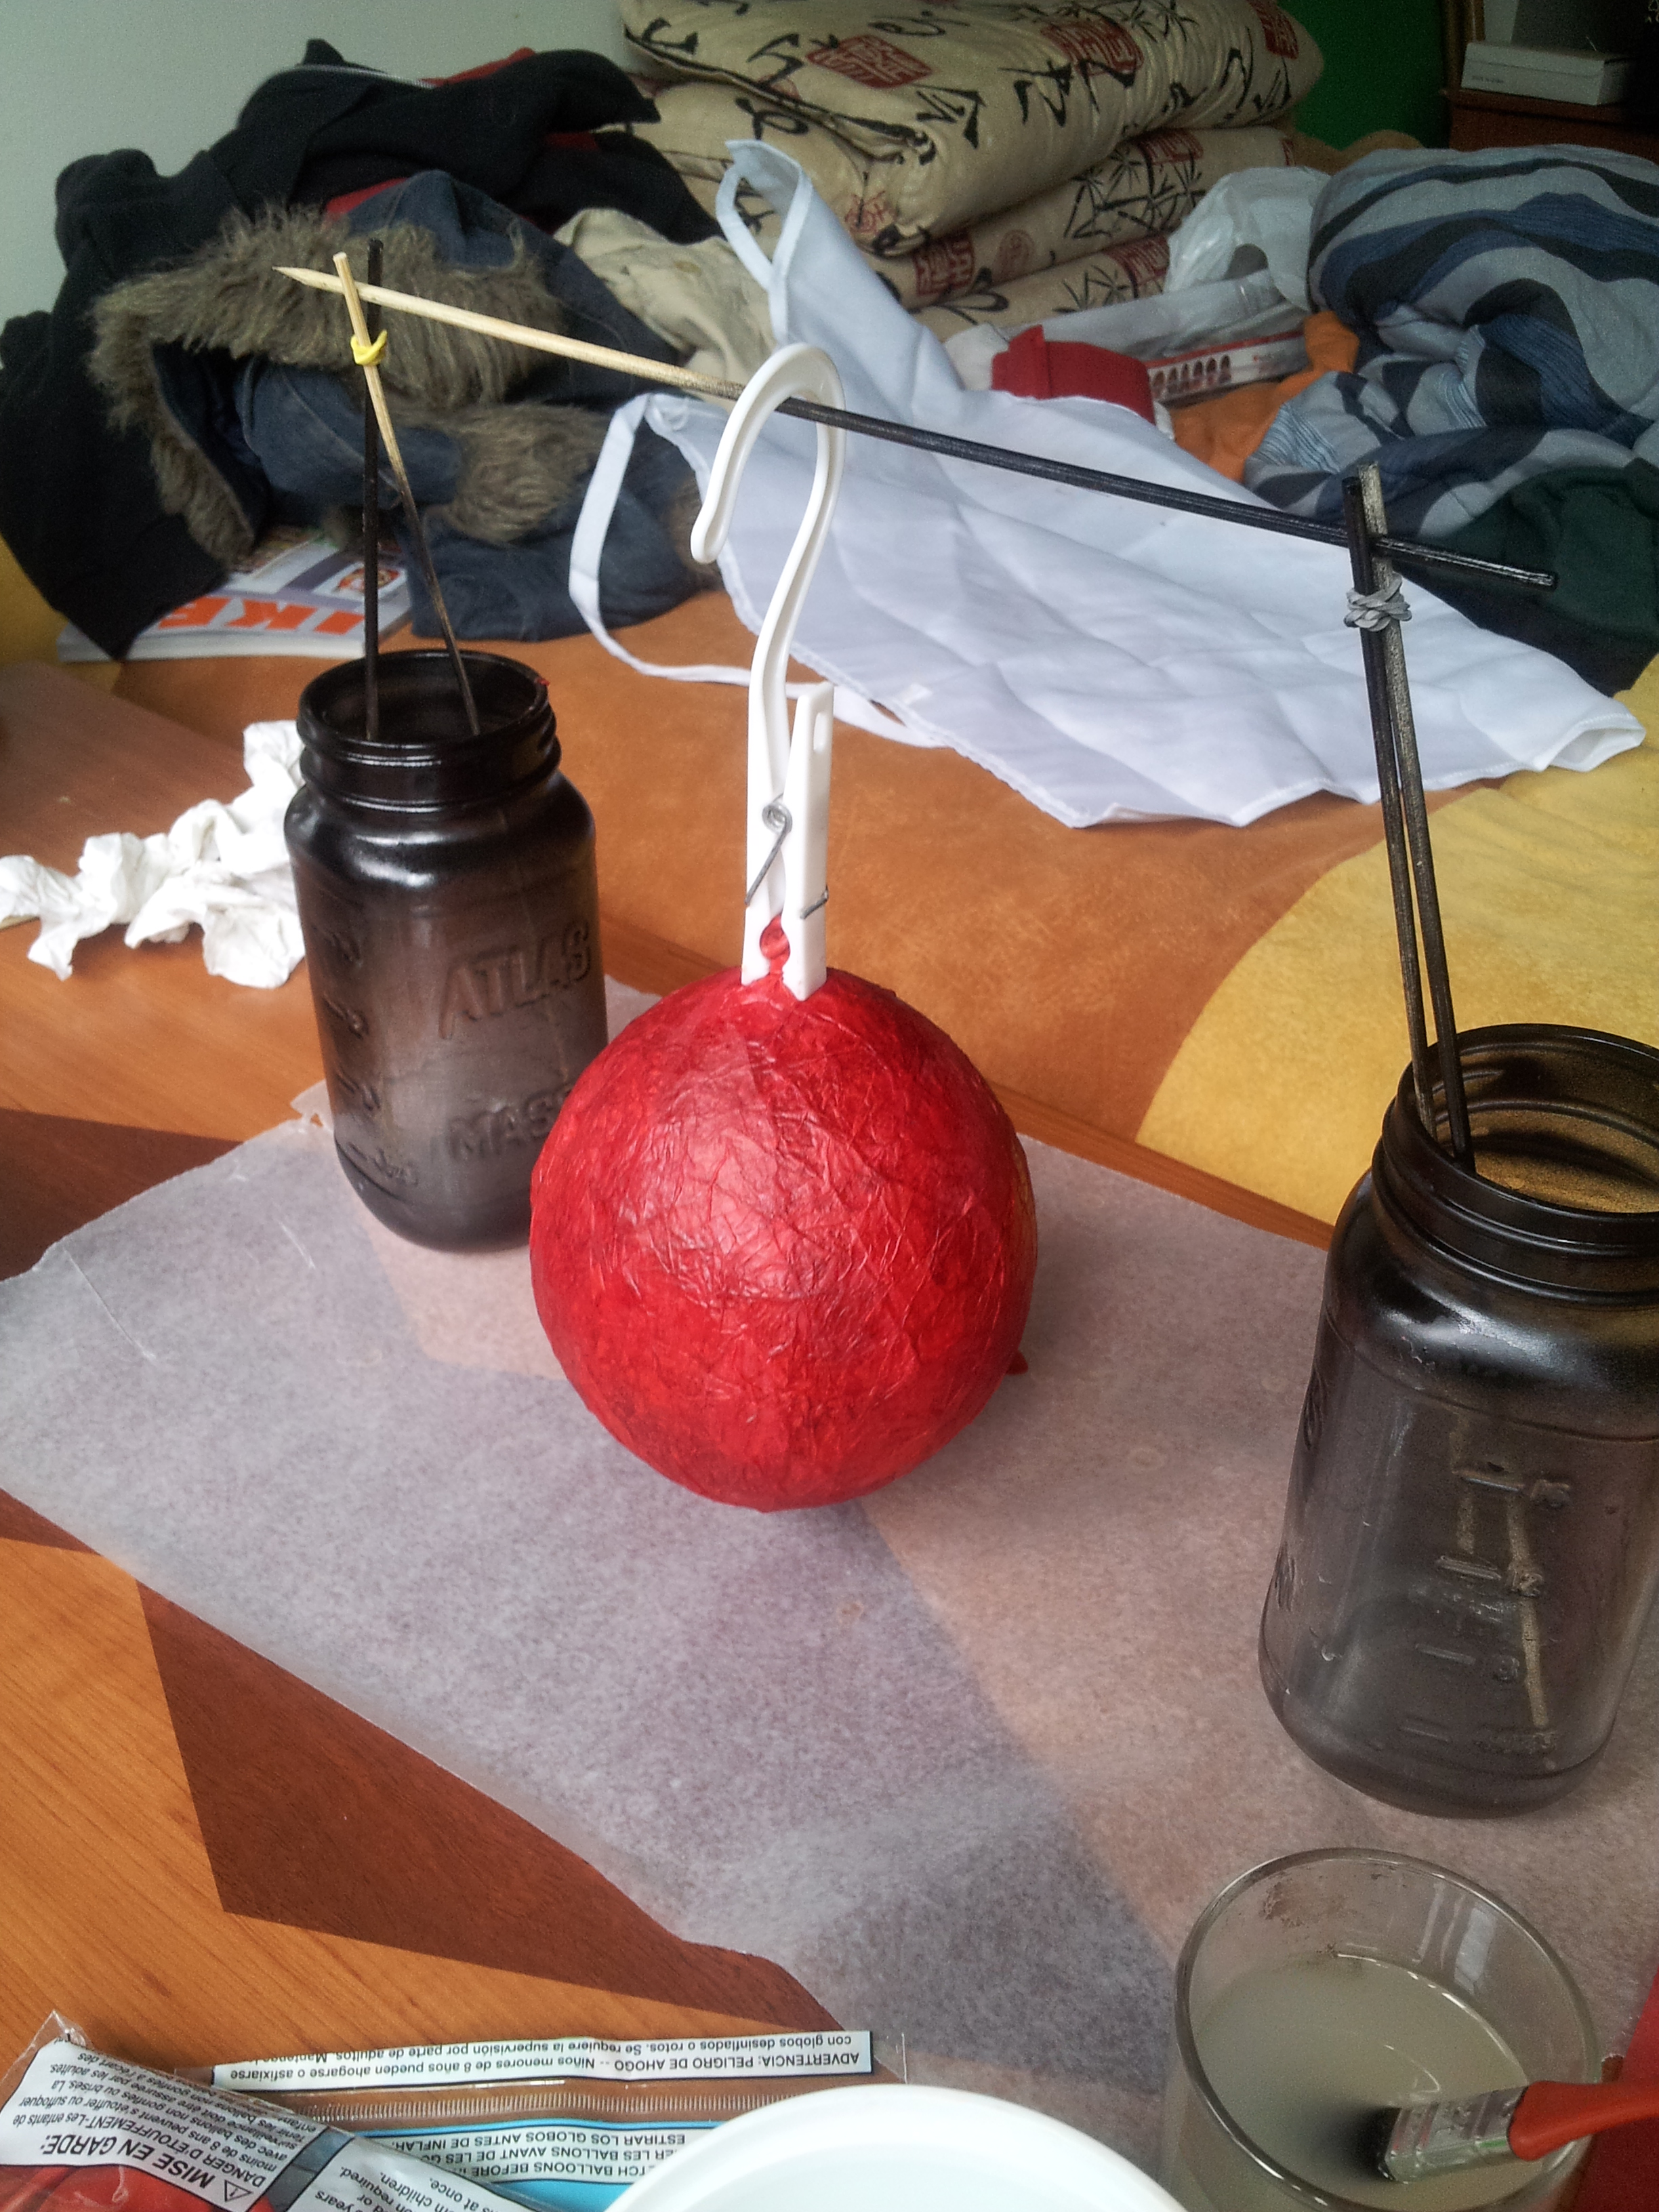
It’s those jars again. So useful. Here, I have a couple rubber bands around the skewers so they form a little frame for me to stick one more skewer across the top. This little clippy hanger … thing was in my bag of clothes pins in the closet and works rather nicely for holding the balloon suspended while it dries.
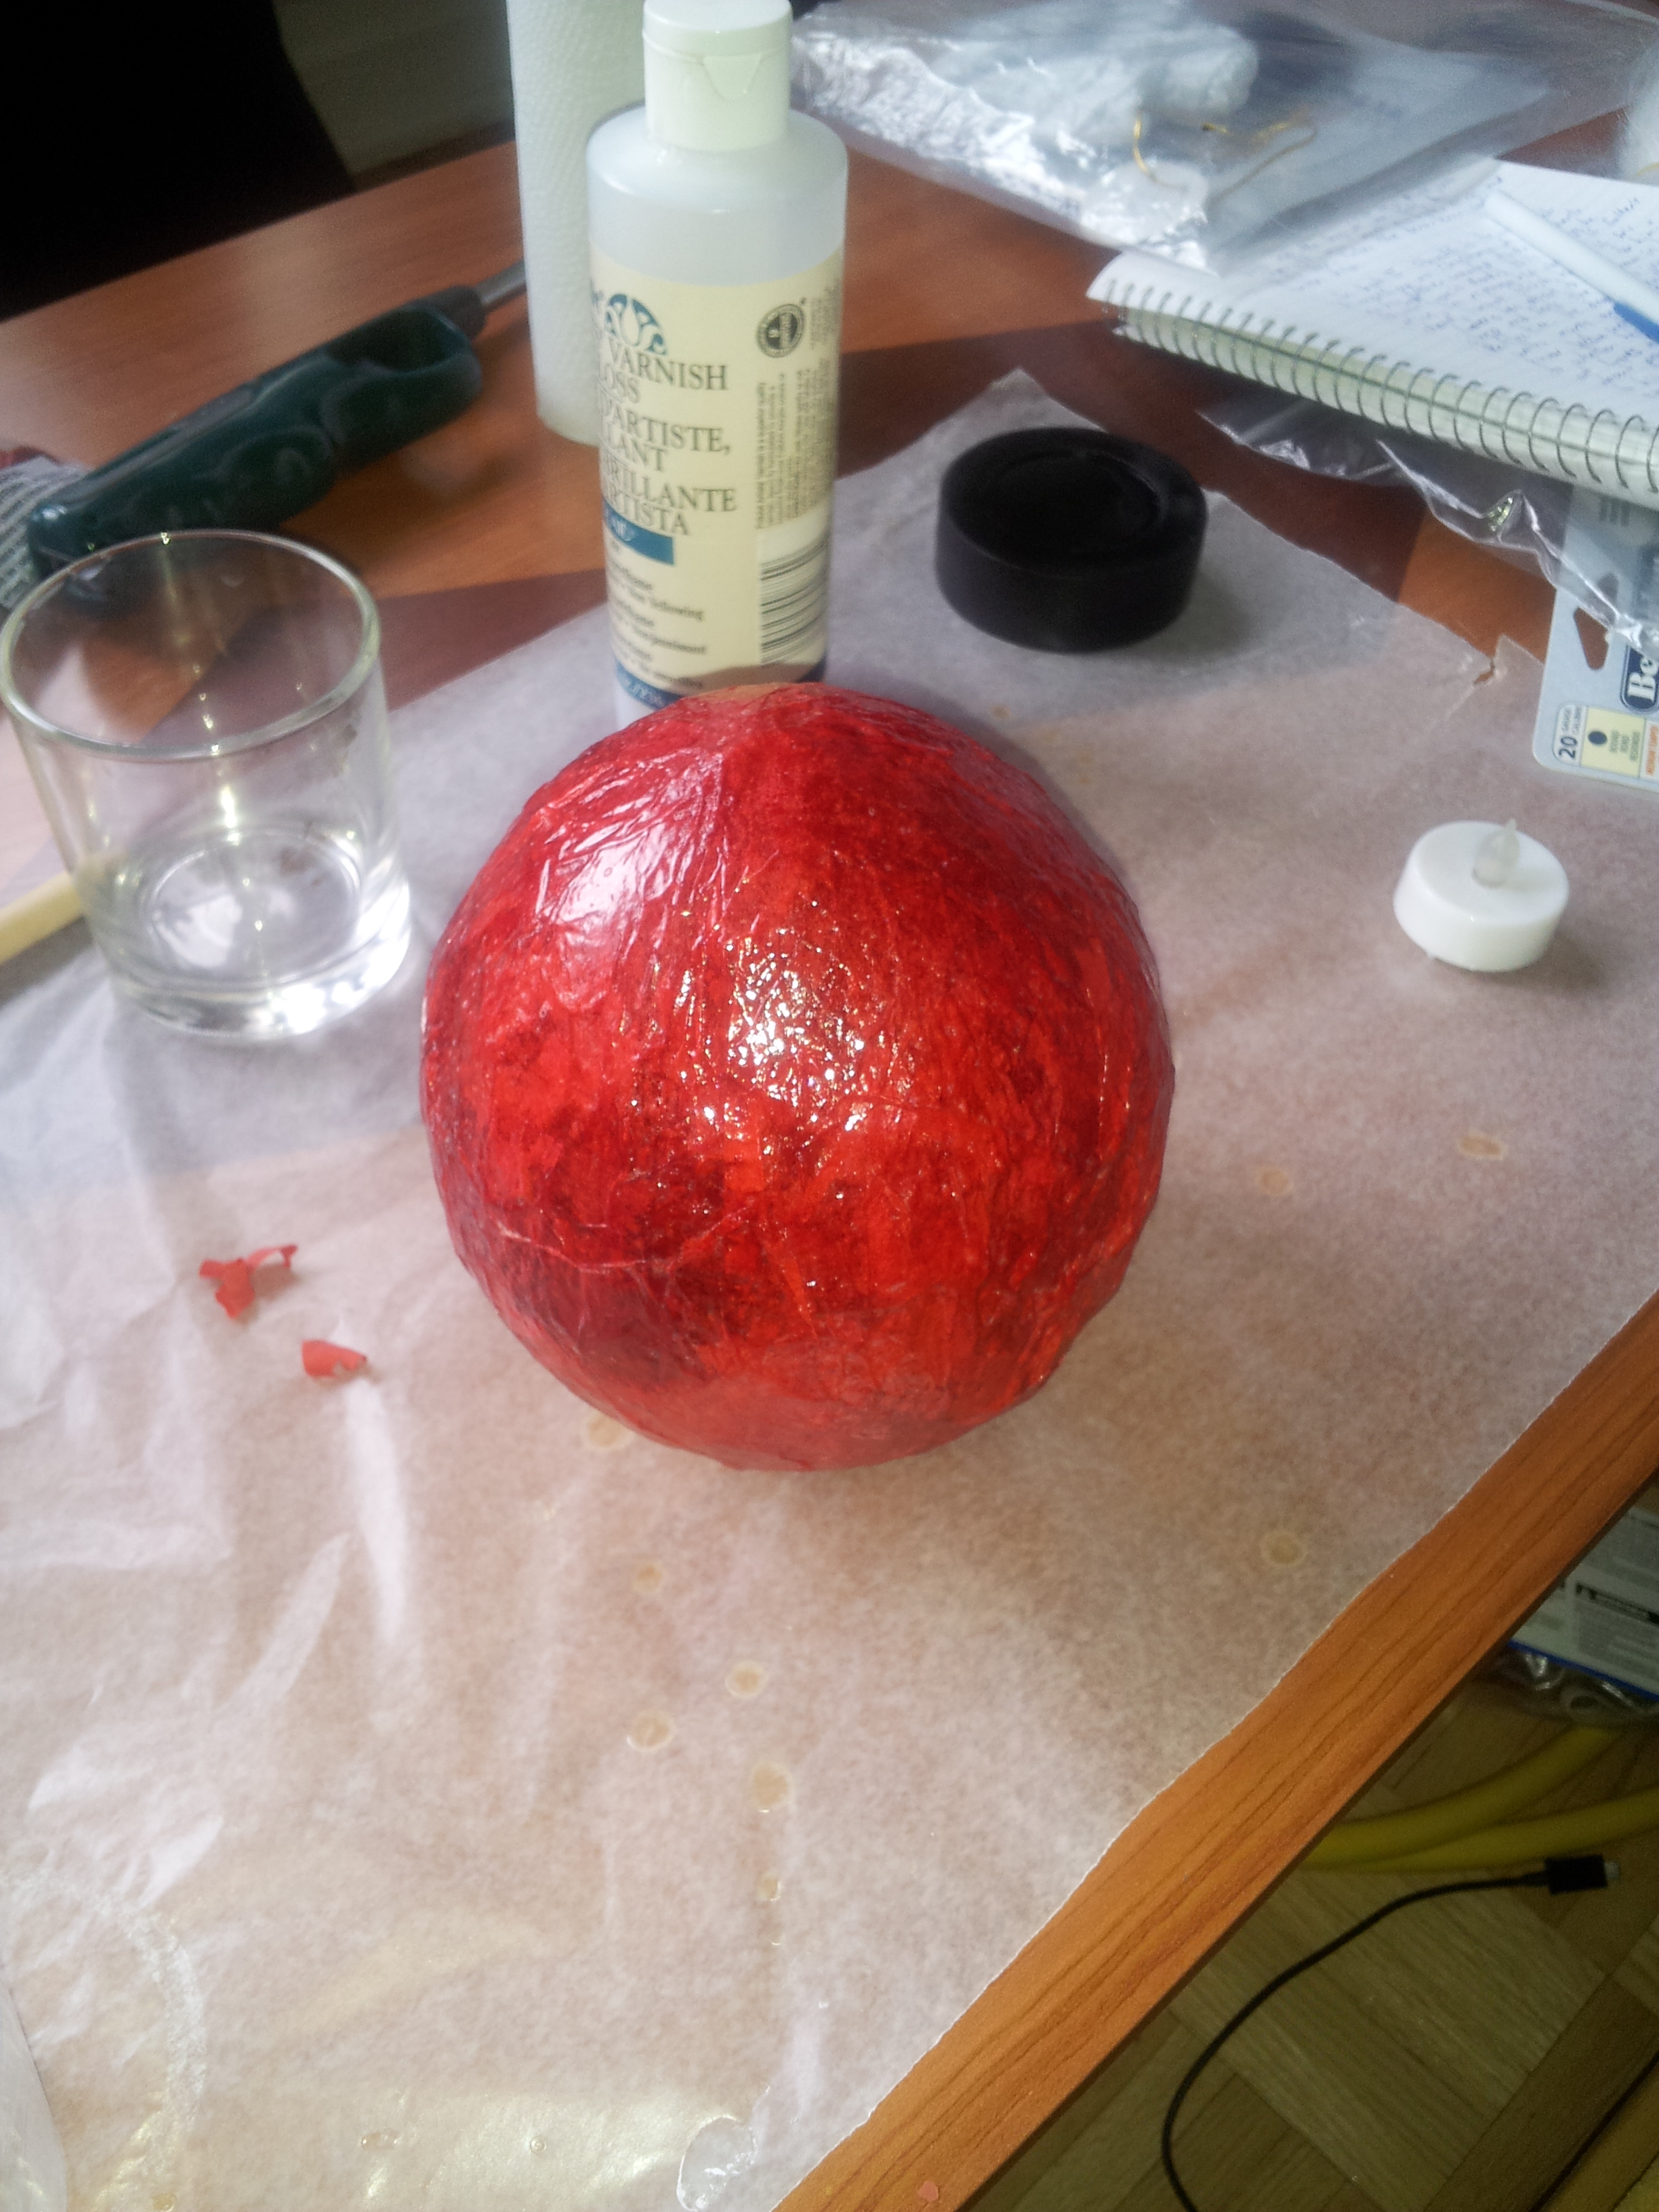
When dry, the balloon loses its lustre. Now it’s time to take it down and cut off the knot in preparation for the next step.
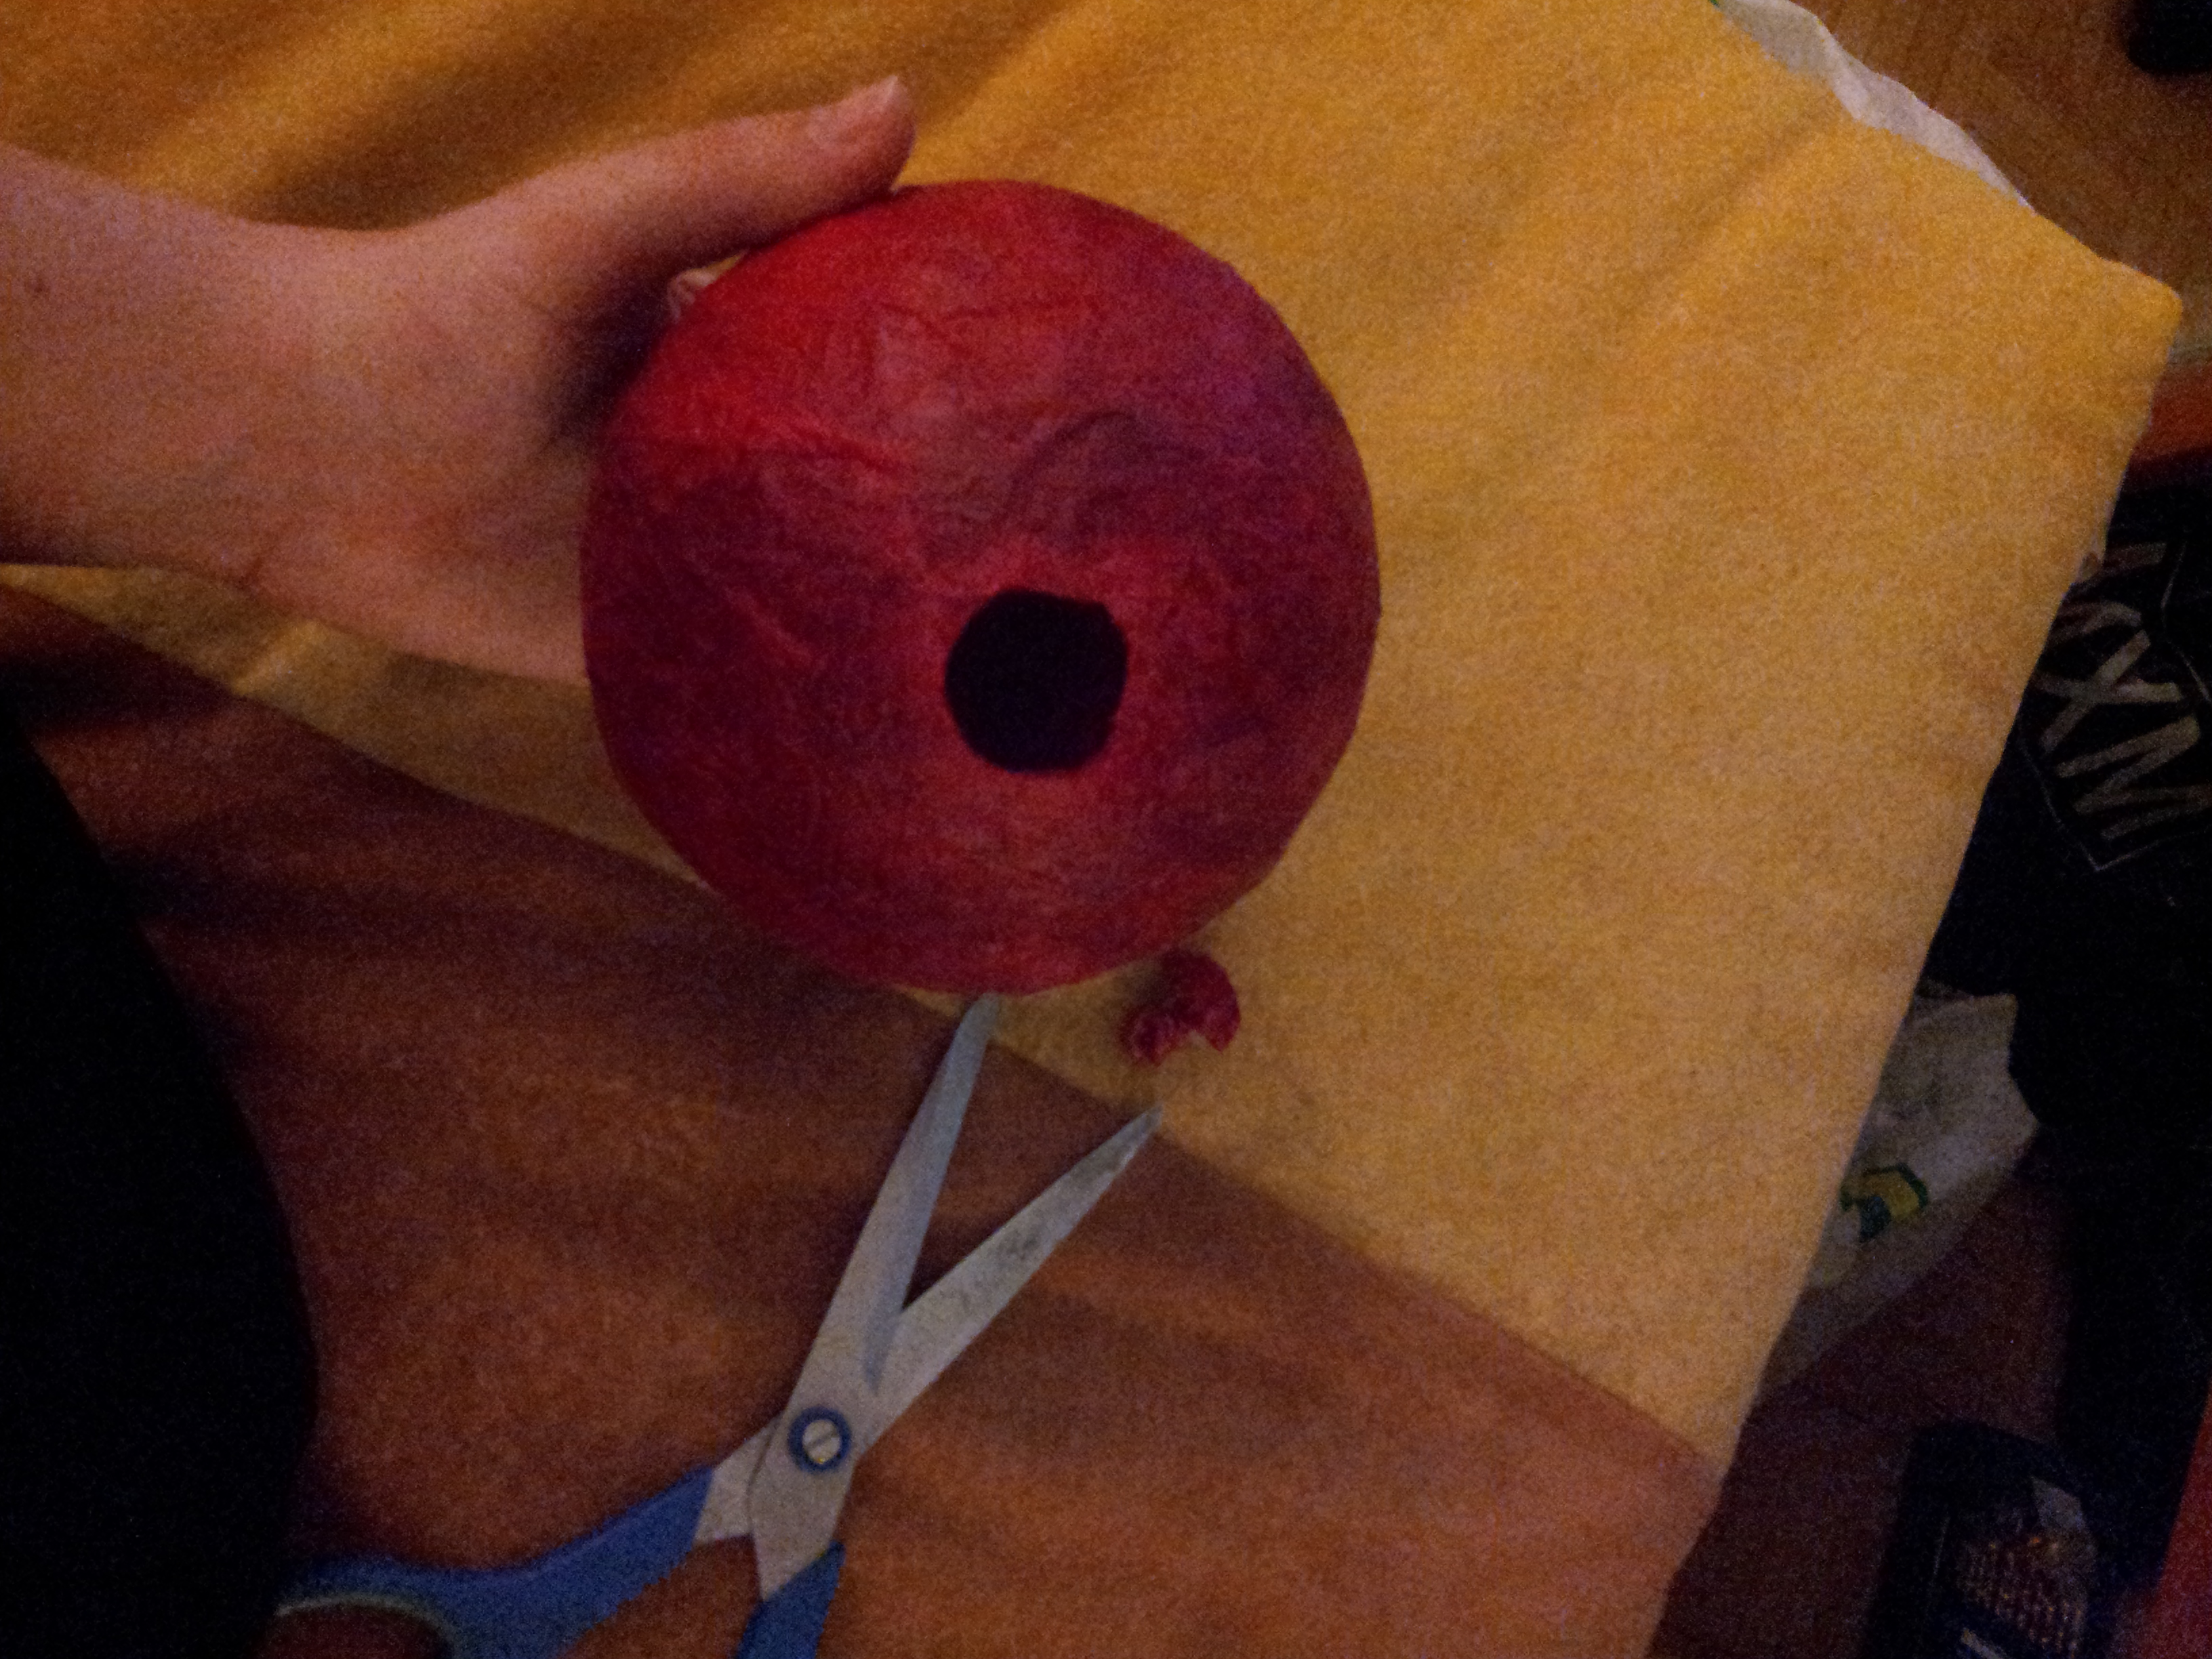
I started small with the opening and gradually widened it as I experimented with what manner of light source I wanted to put inside.
The balloon inside the paper-mache ball will pull away from the tissue paper over the course of a few hours. This will deform the ball a bit but do not panic! The ball remains rather flexible and it’s no trouble to reach in with a couple fingers and gently peel the balloon away from the paper. Just press on the inside of the paper and the dents will pop right back out again.
See? No problemo.
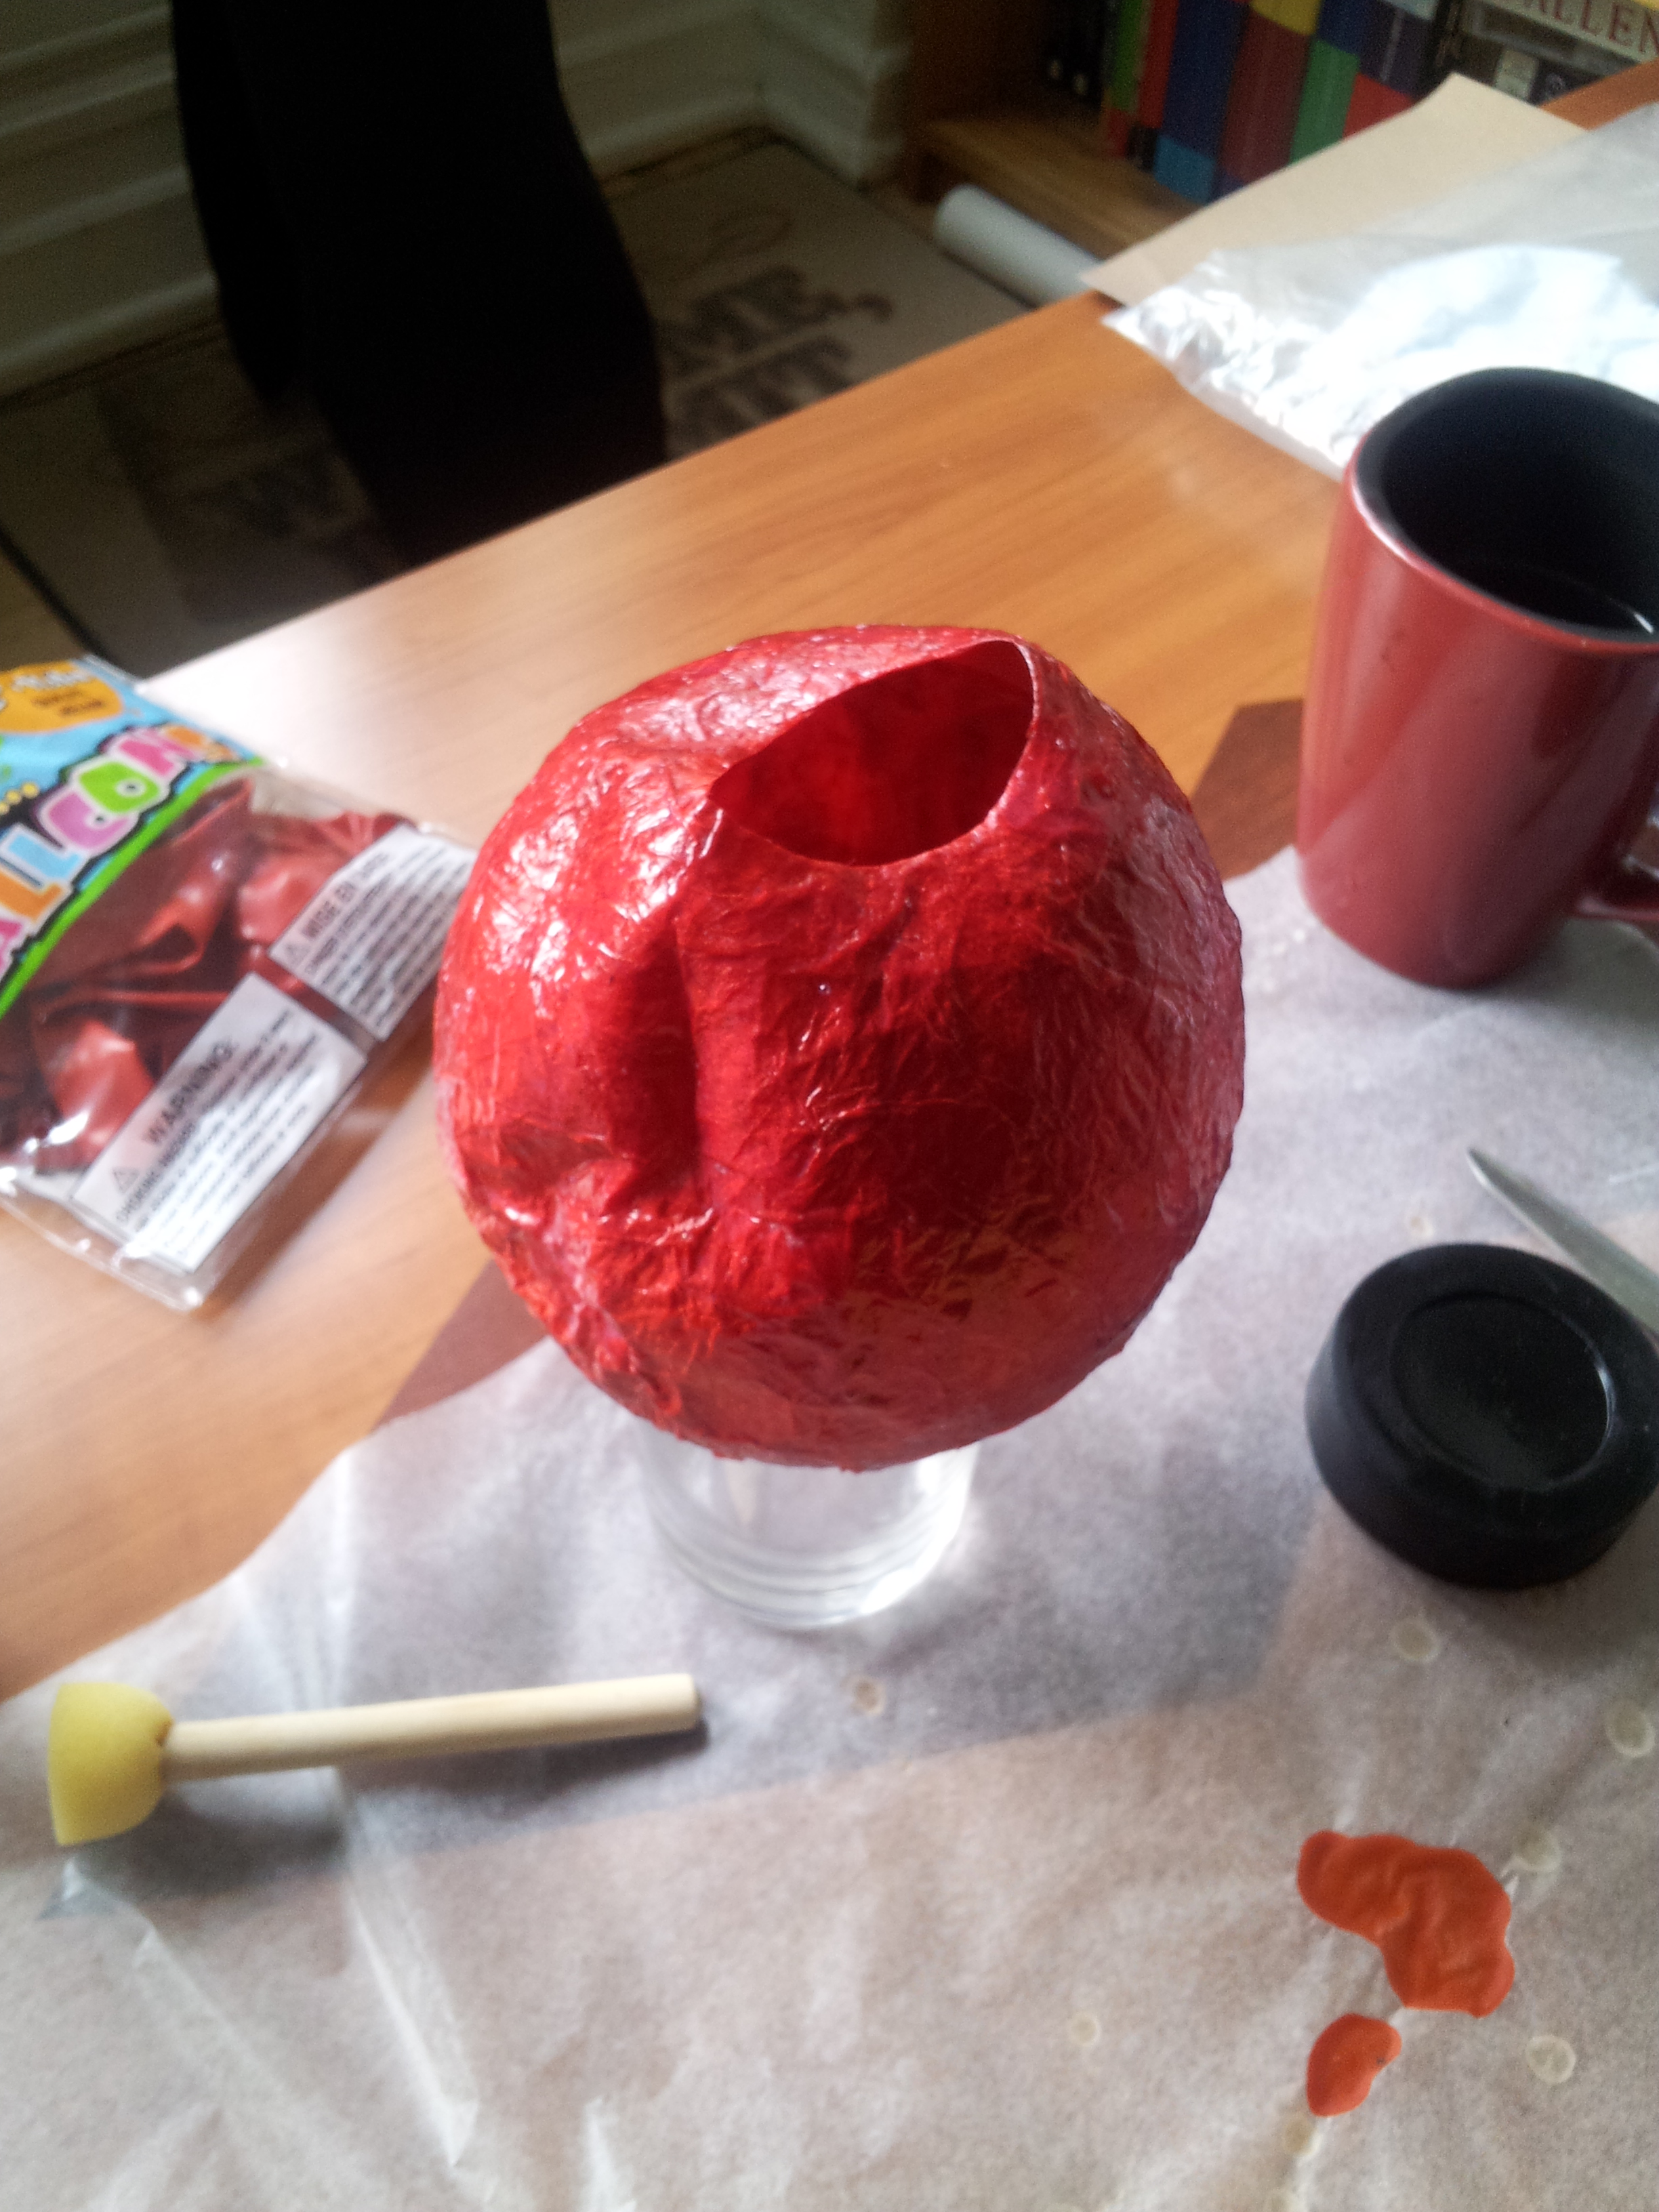
Here’s what it looks like from the top.
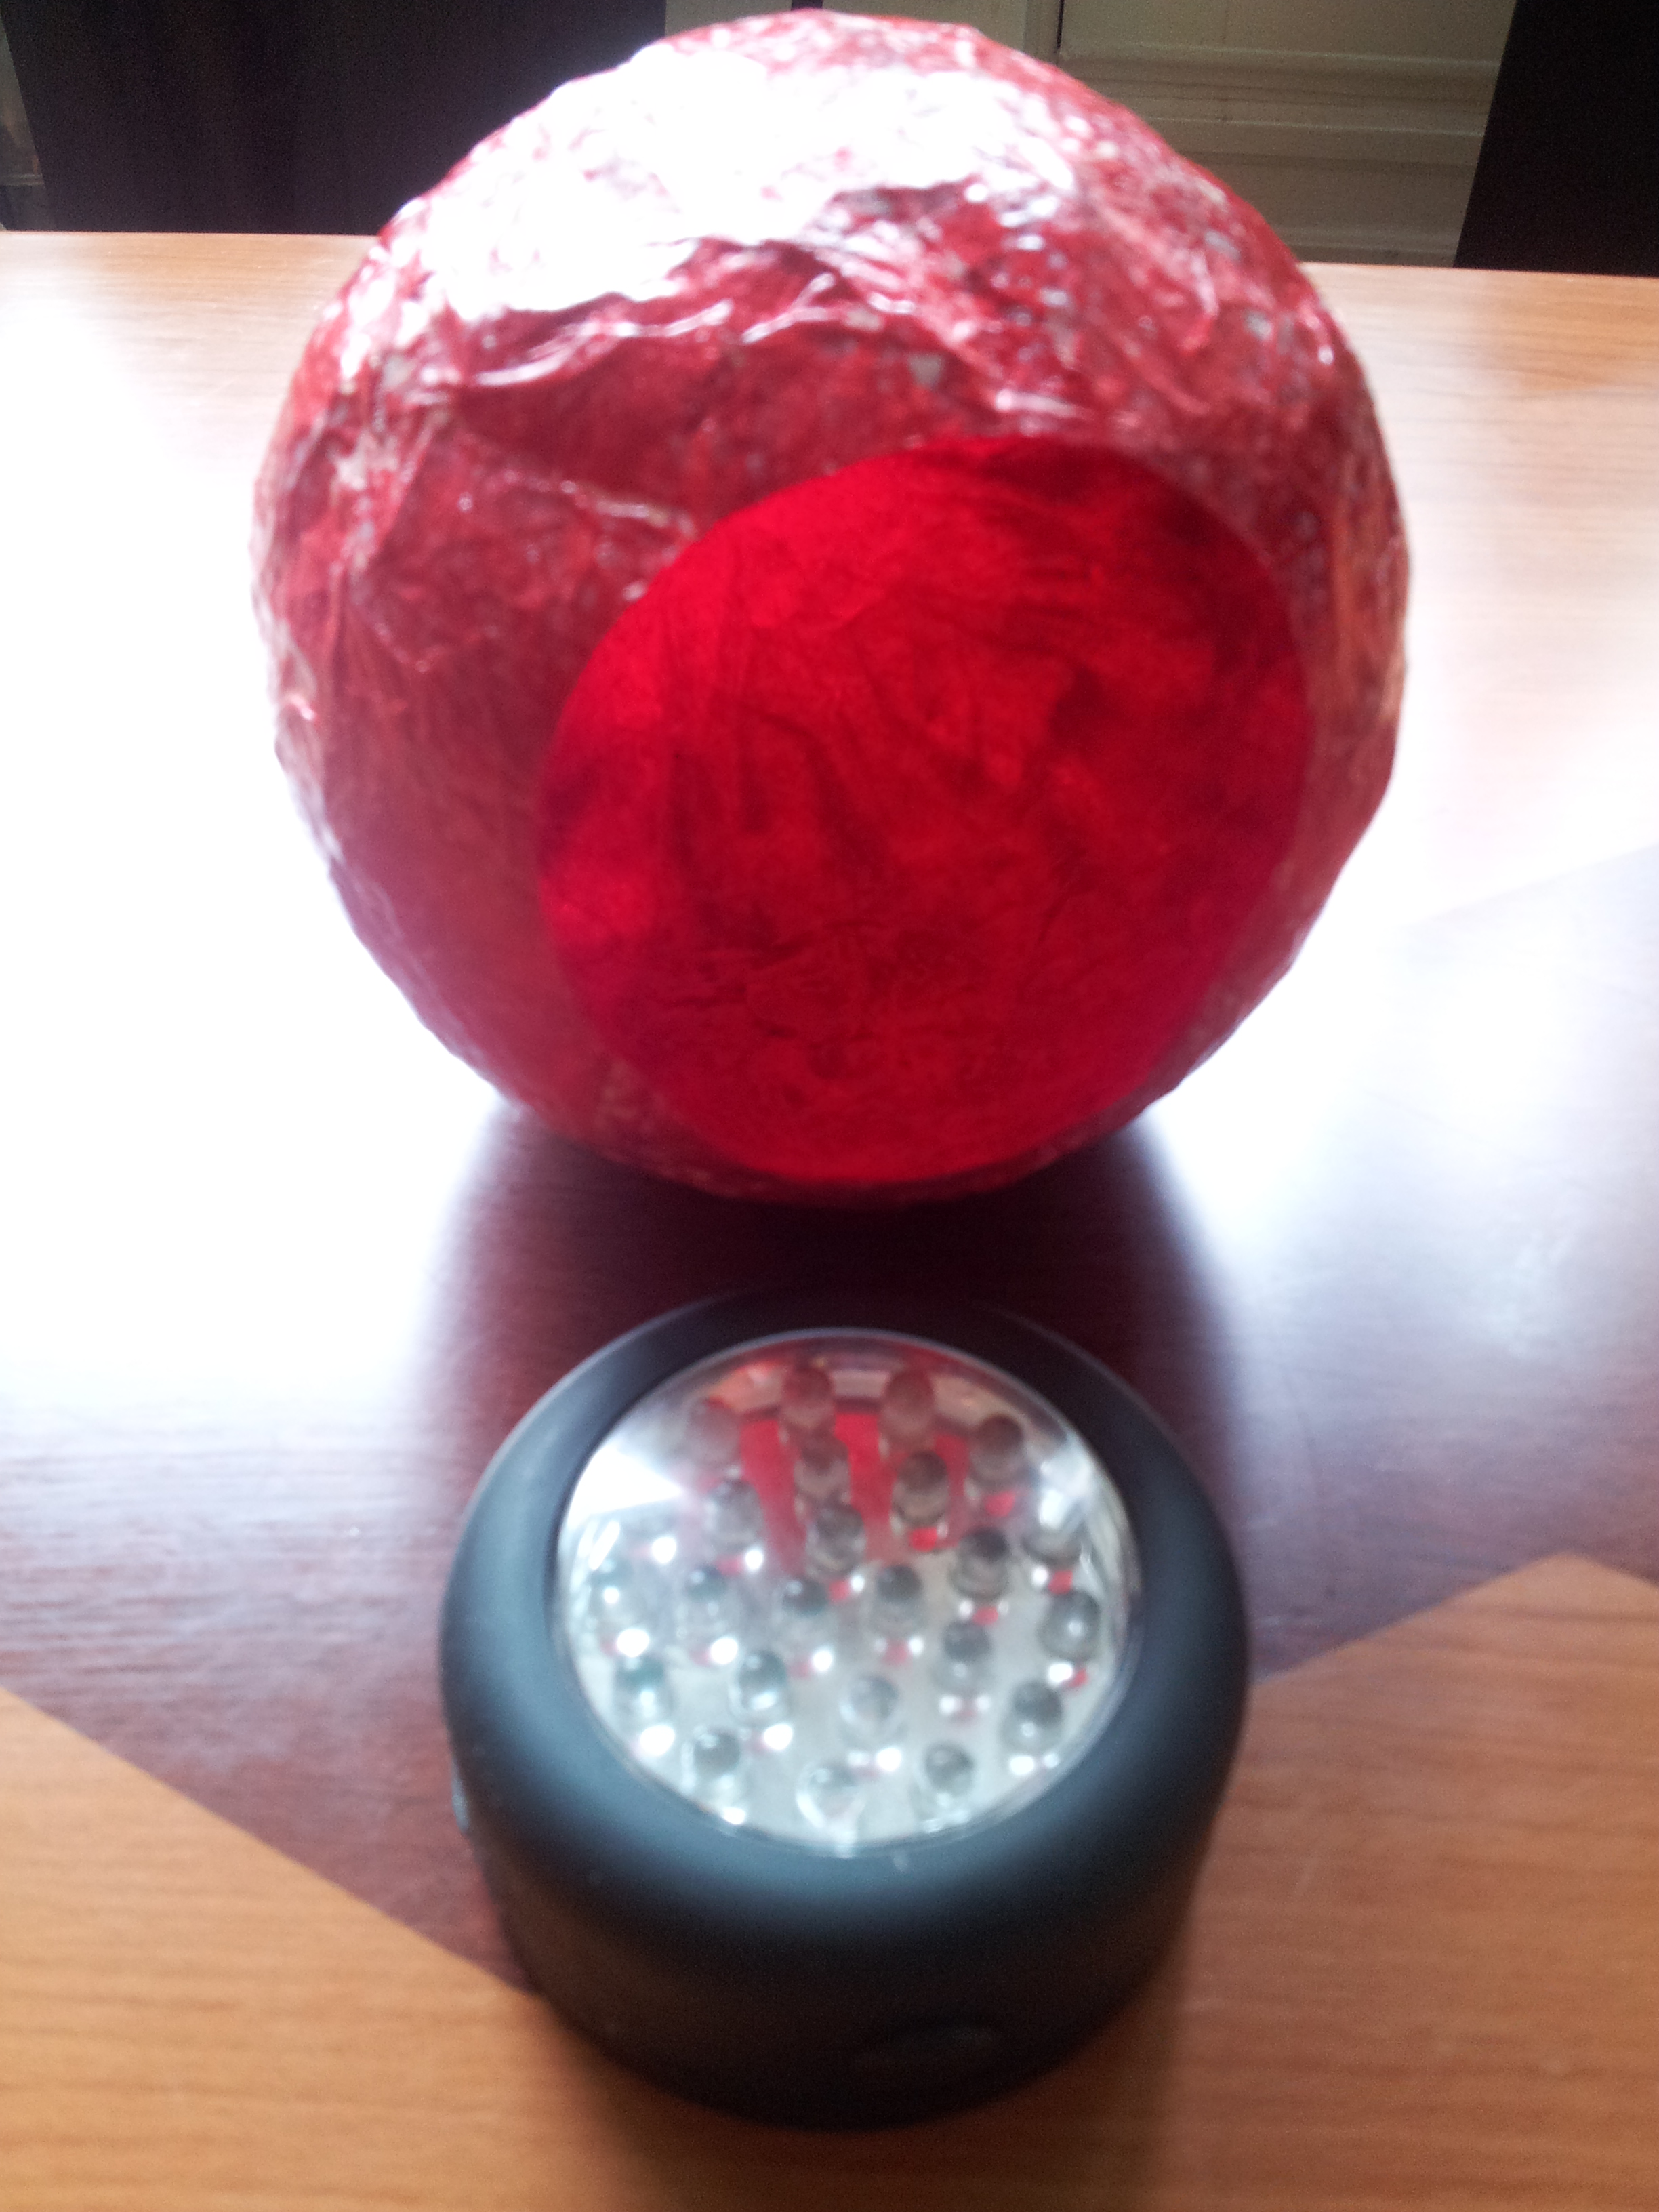
Not very glamorous until we add a light-source to it. Here’s a AAA (x3) battery powered medallion light. Turn it on, pop it under the paper “lampshade” and stick it in a dark room …
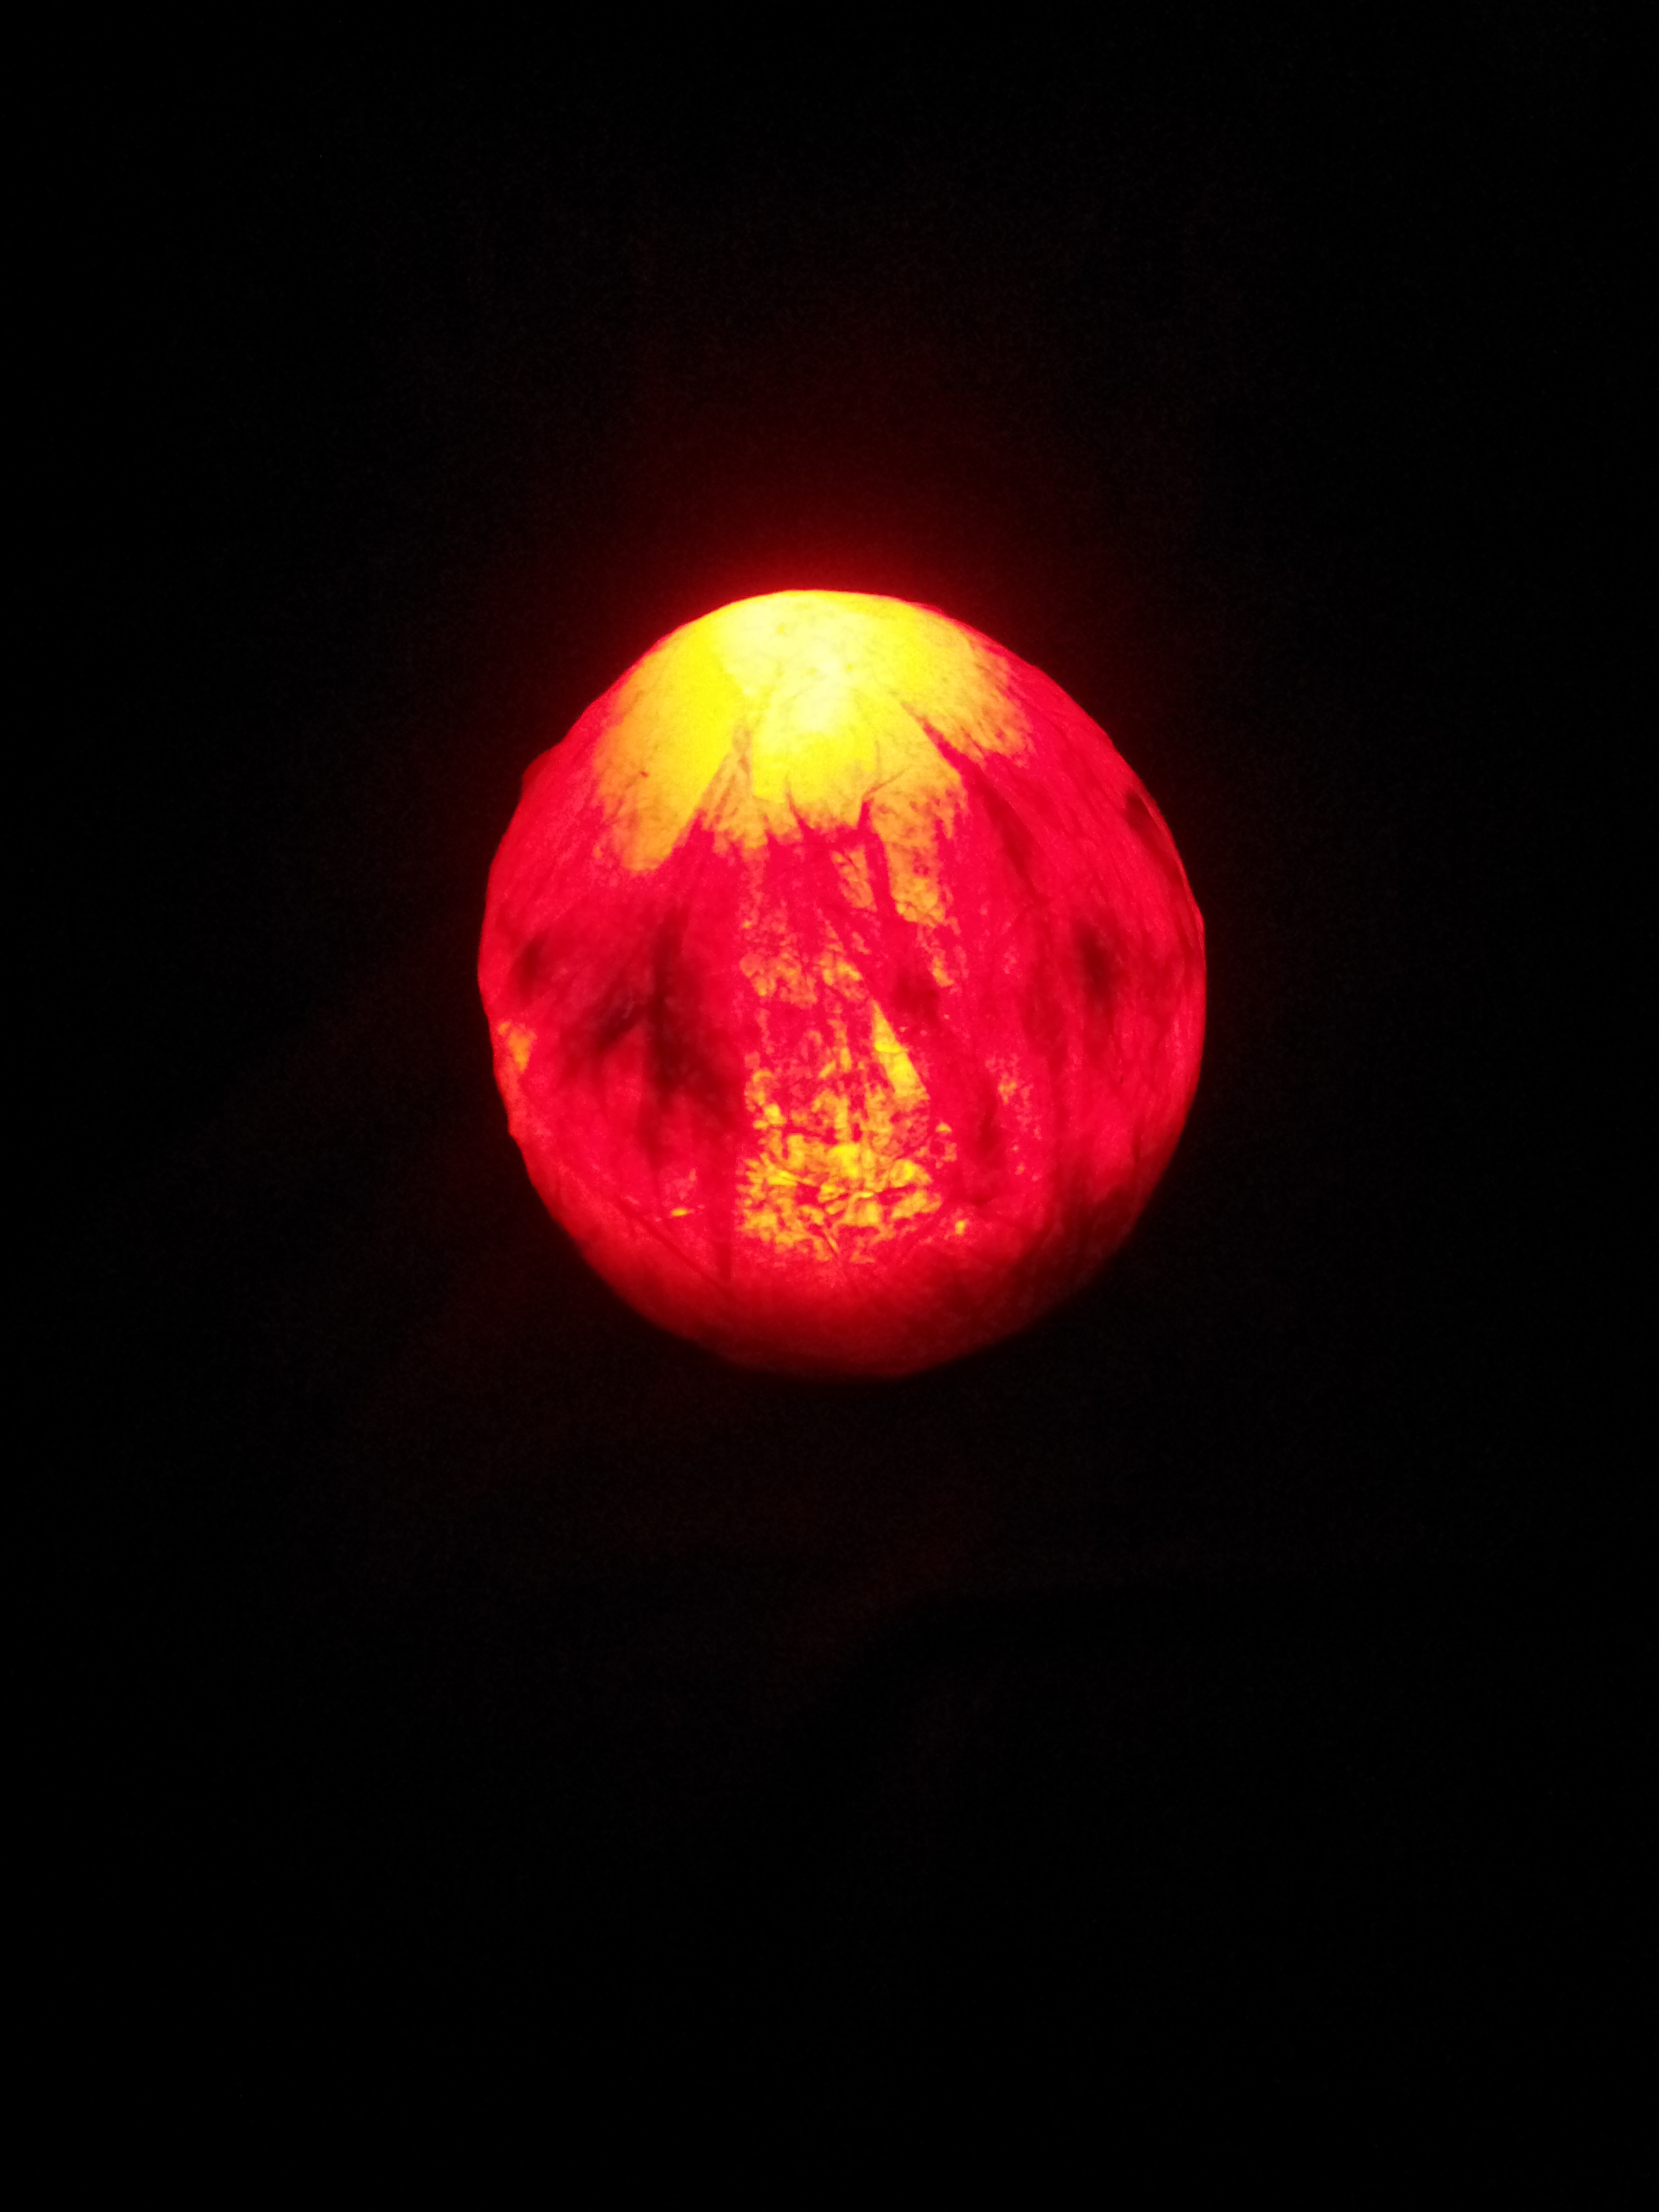
Here there be dragons? The picture doesn’t even do it justice. It looks amazing!
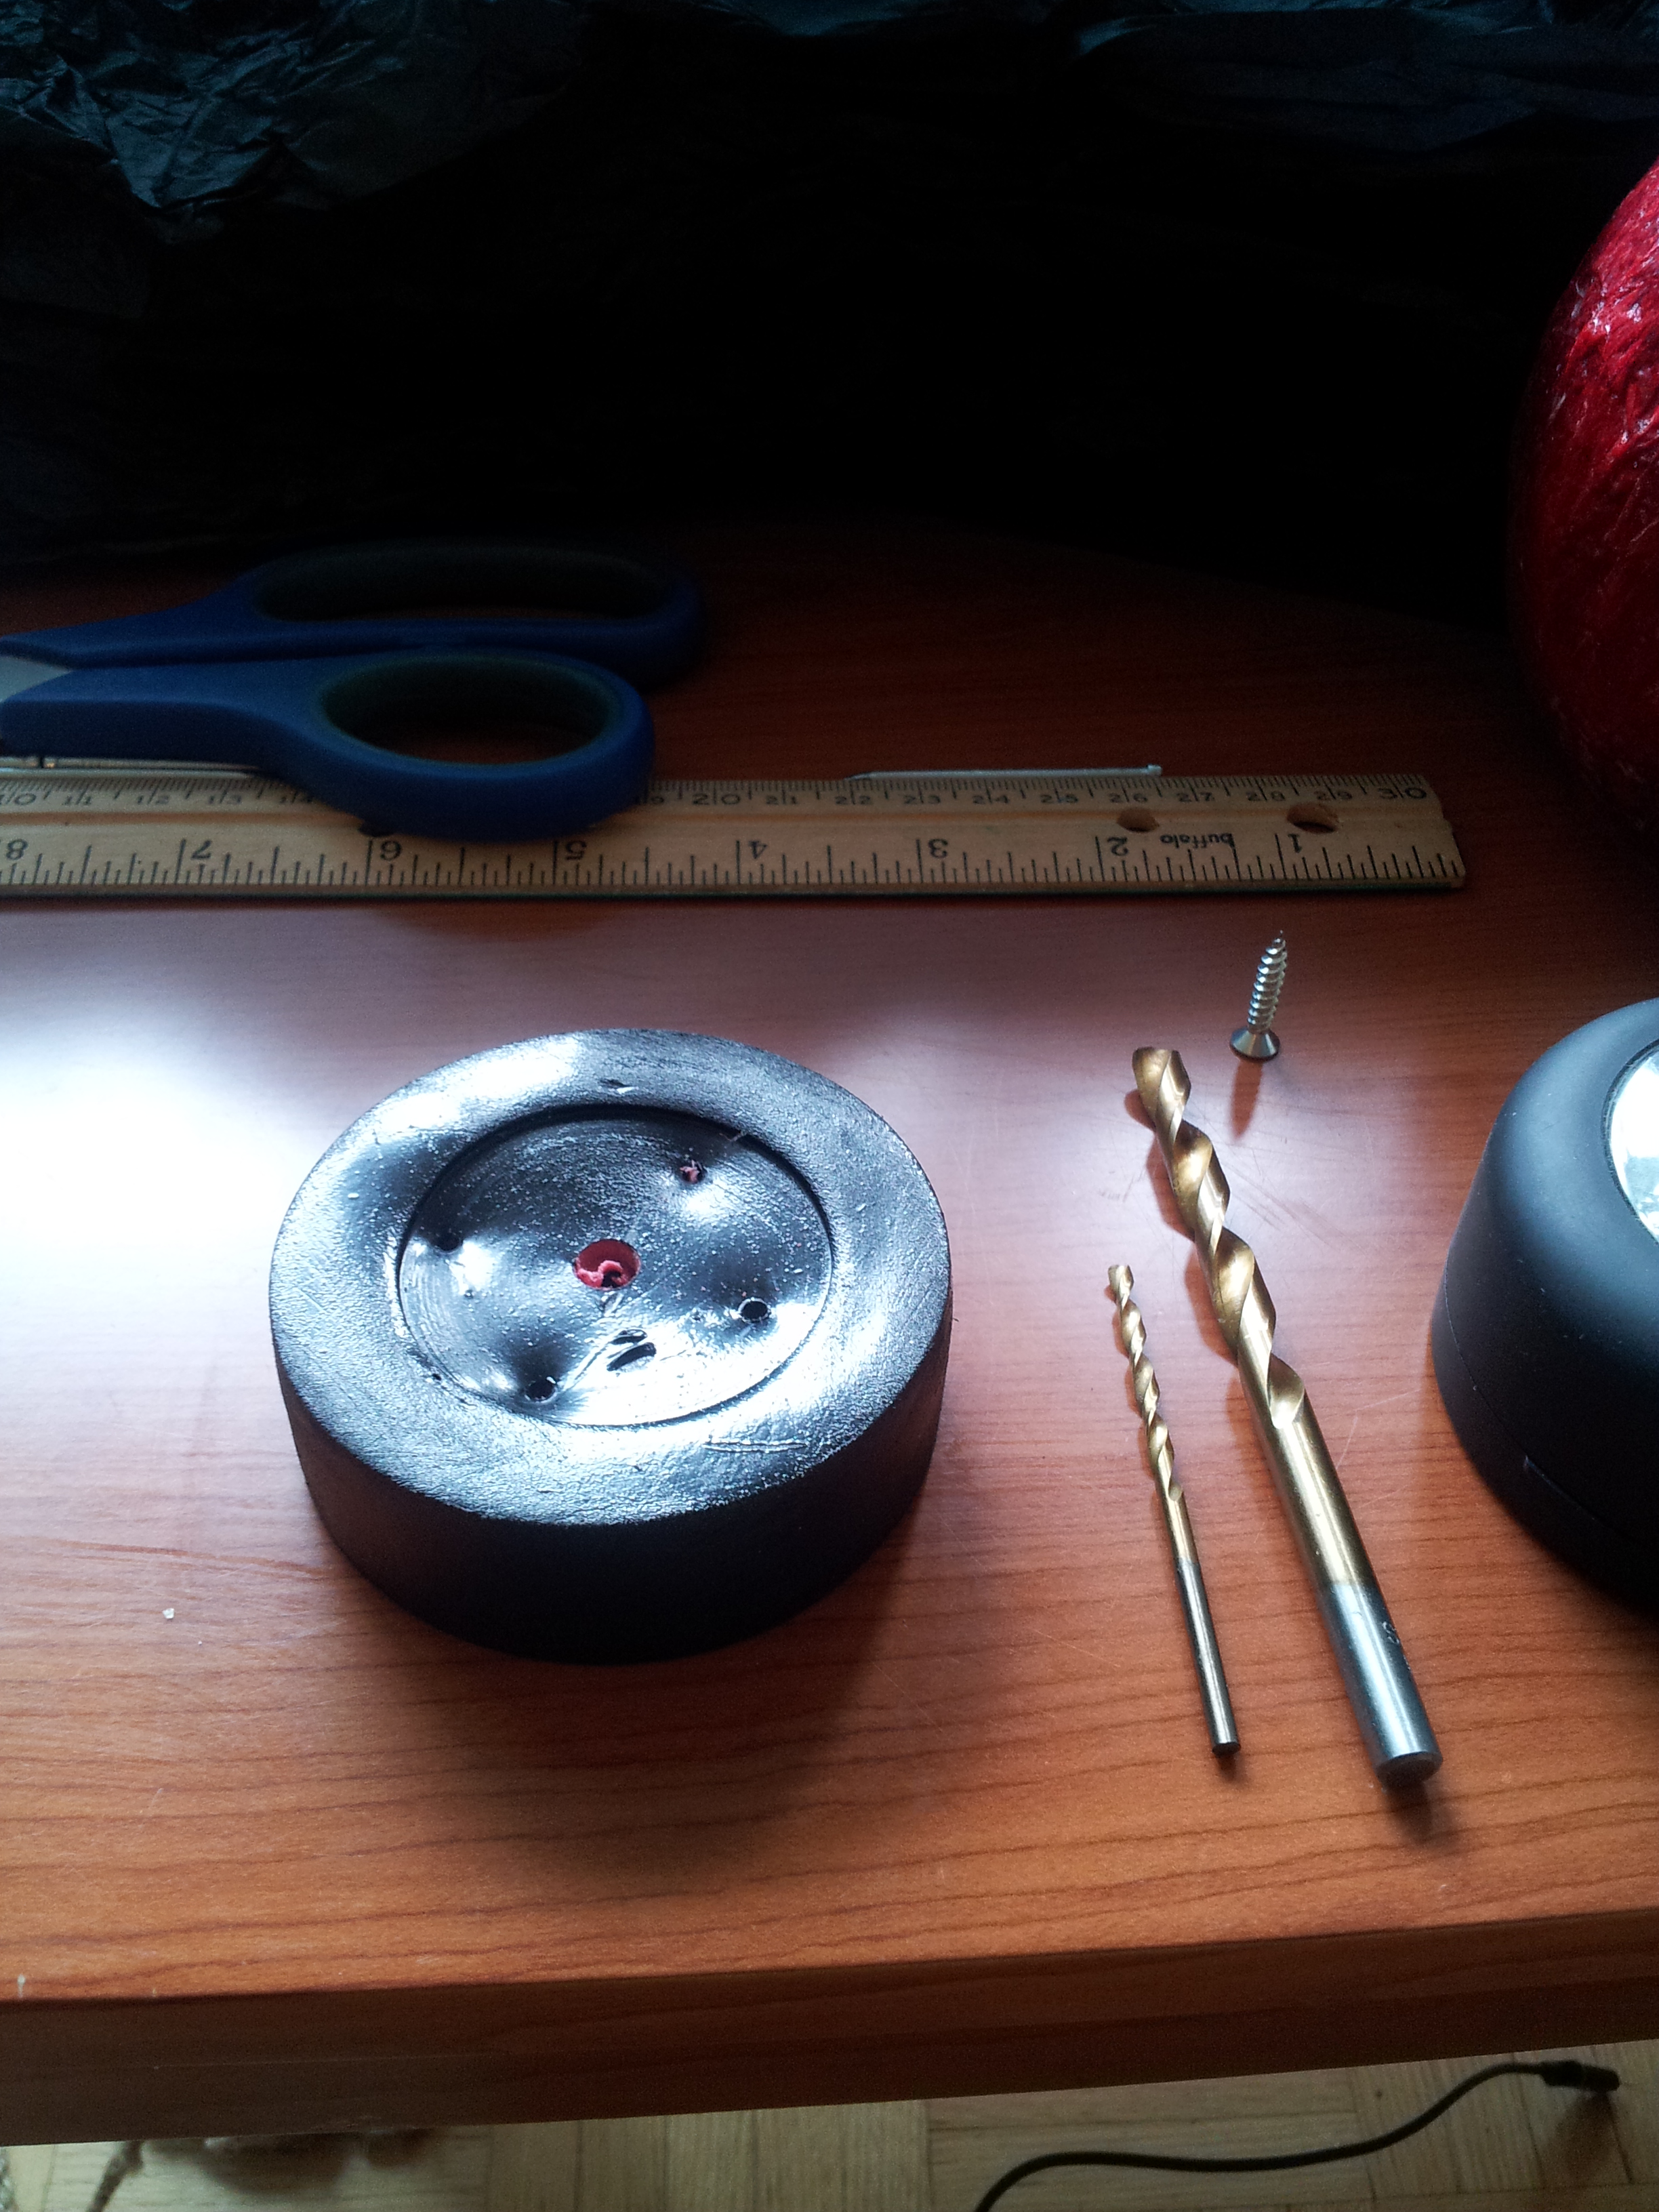
I drilled through my hockey puck with a couple of bits. The small one all the way through to accommodate the shaft of the wood screw, the large one most of the way through to accommodate the butt of said screw. This way, I could screw the puck onto the shaft of the staff to serve as a secure base for the topper to go on. I’m sure there’s a sex joke in all of this but I need more coffee before it’ll come to mind.
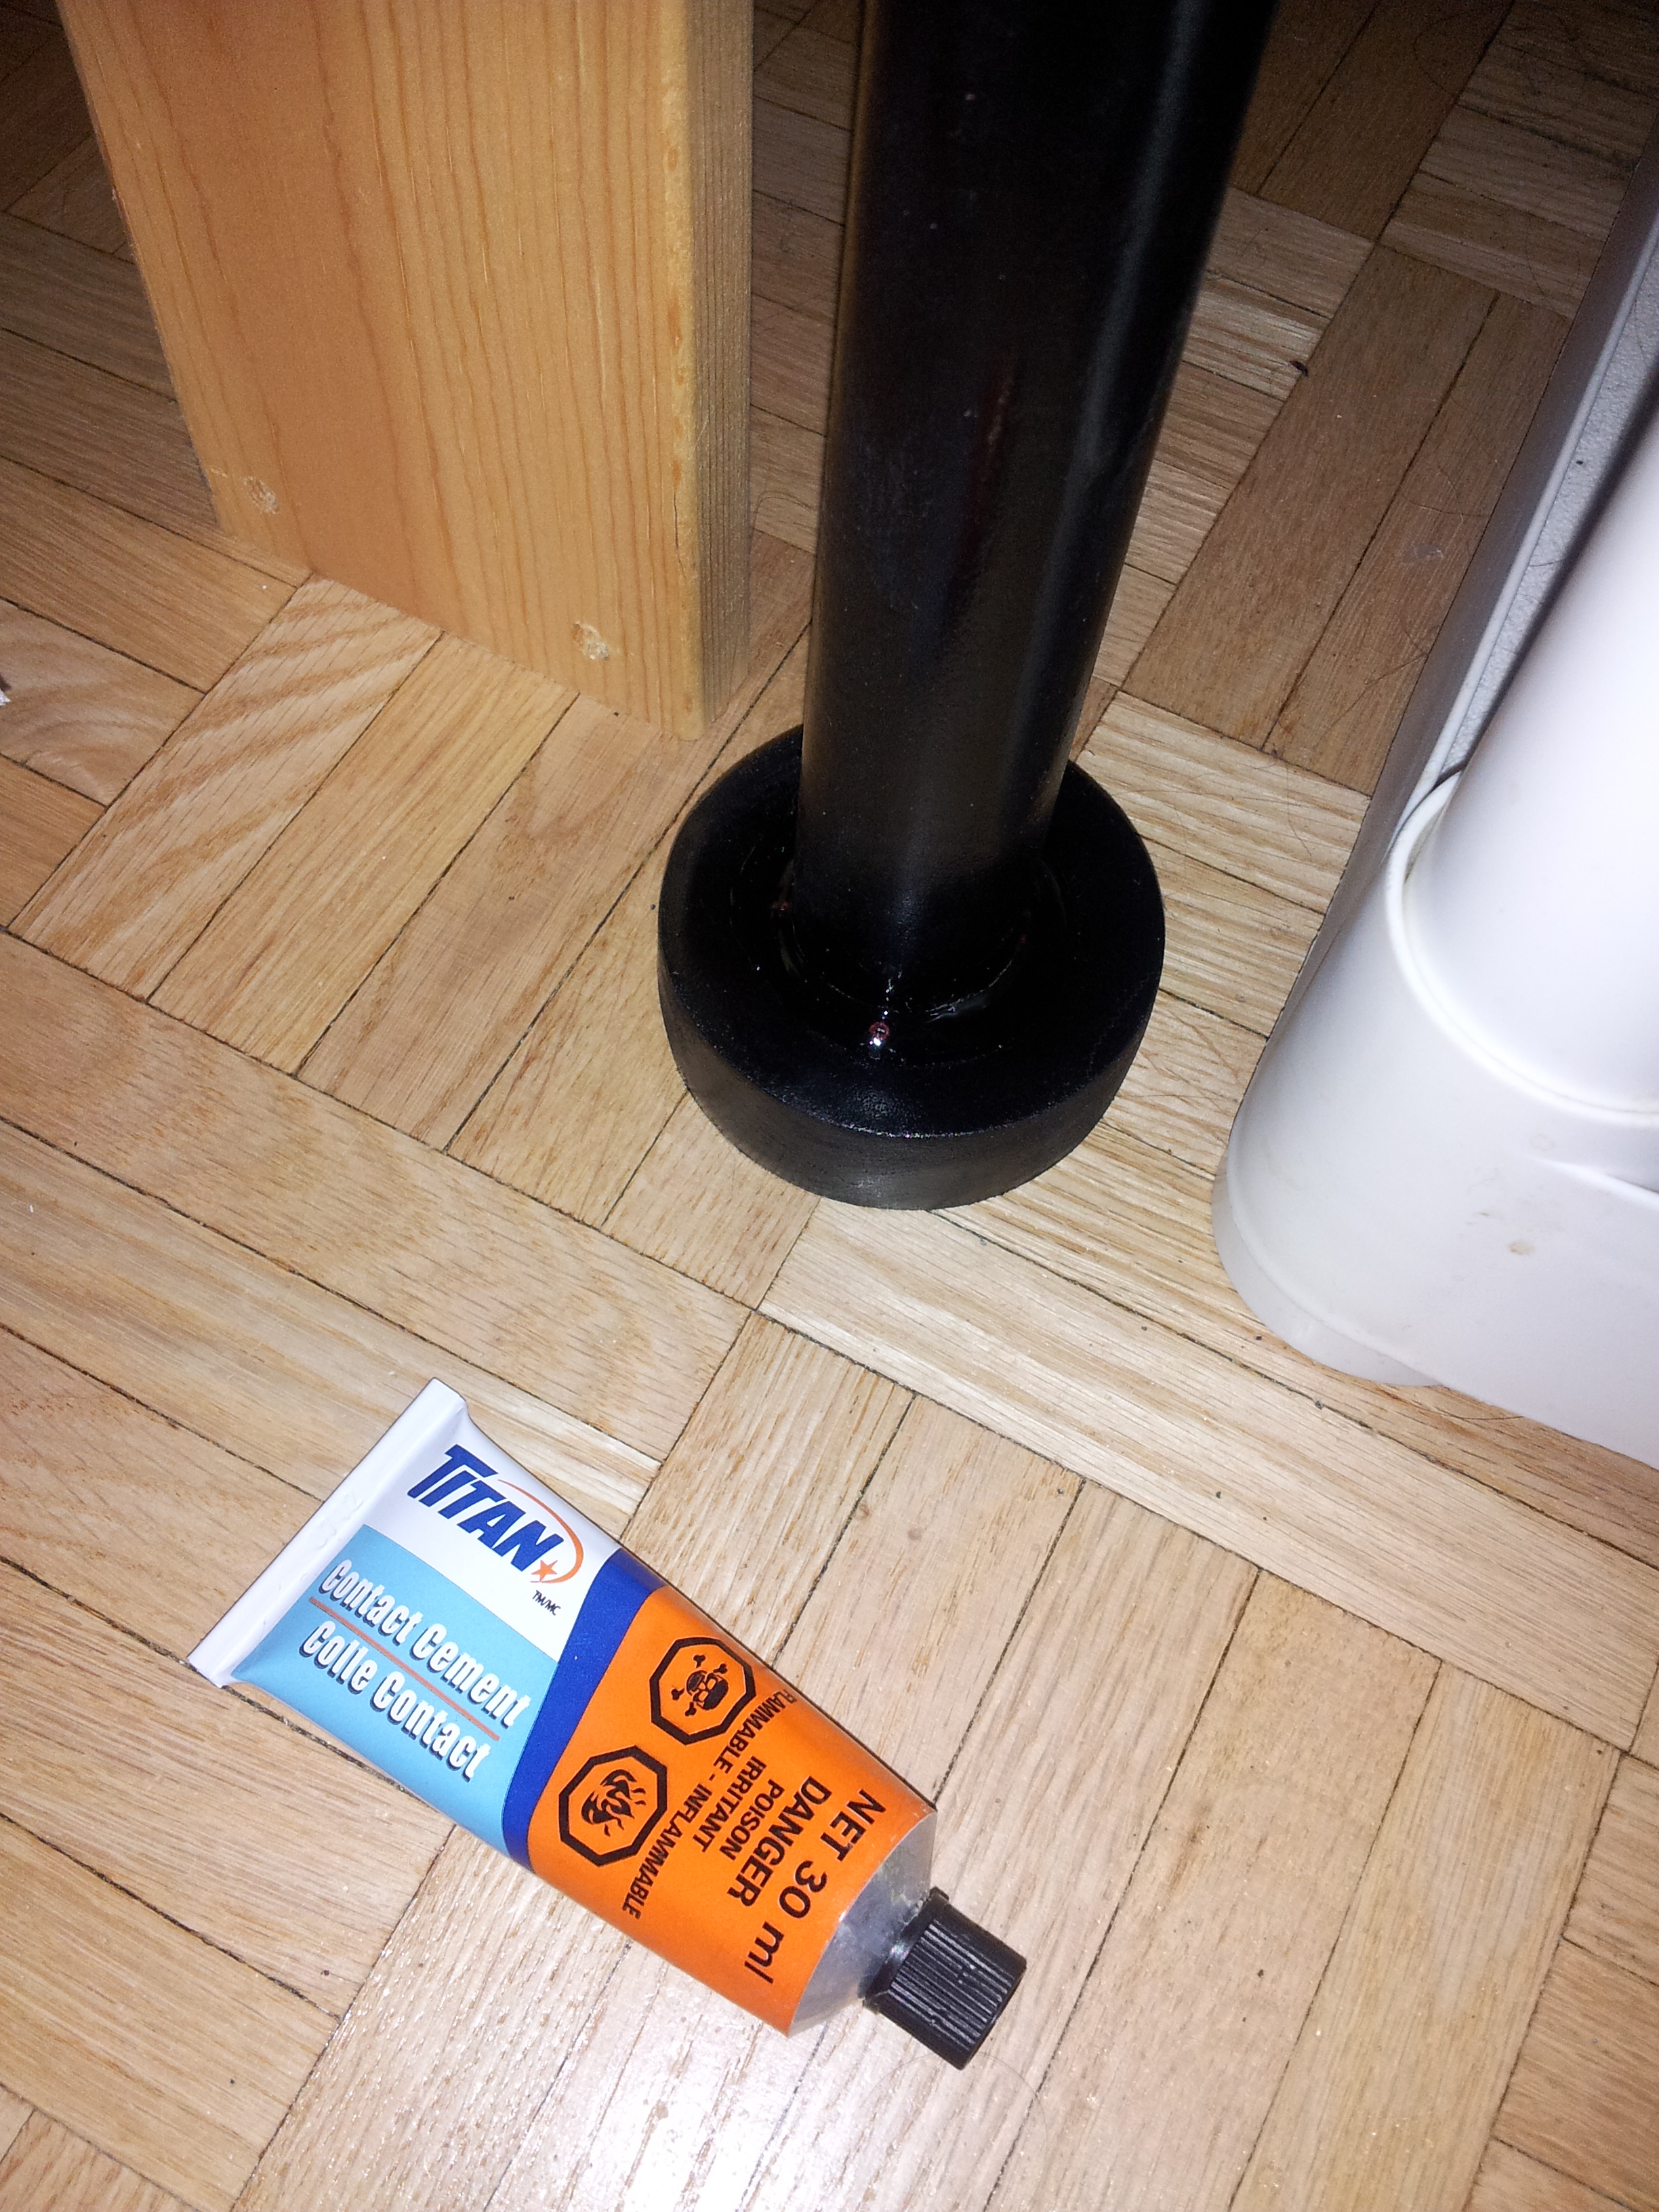
The puck did not take my suggestion to stay on the top of the shaft without wobbling so I convinced it with a little contact cement and let it dry upside down so the pressure of the staff bearing down on it would help it cure nicely to the wood.
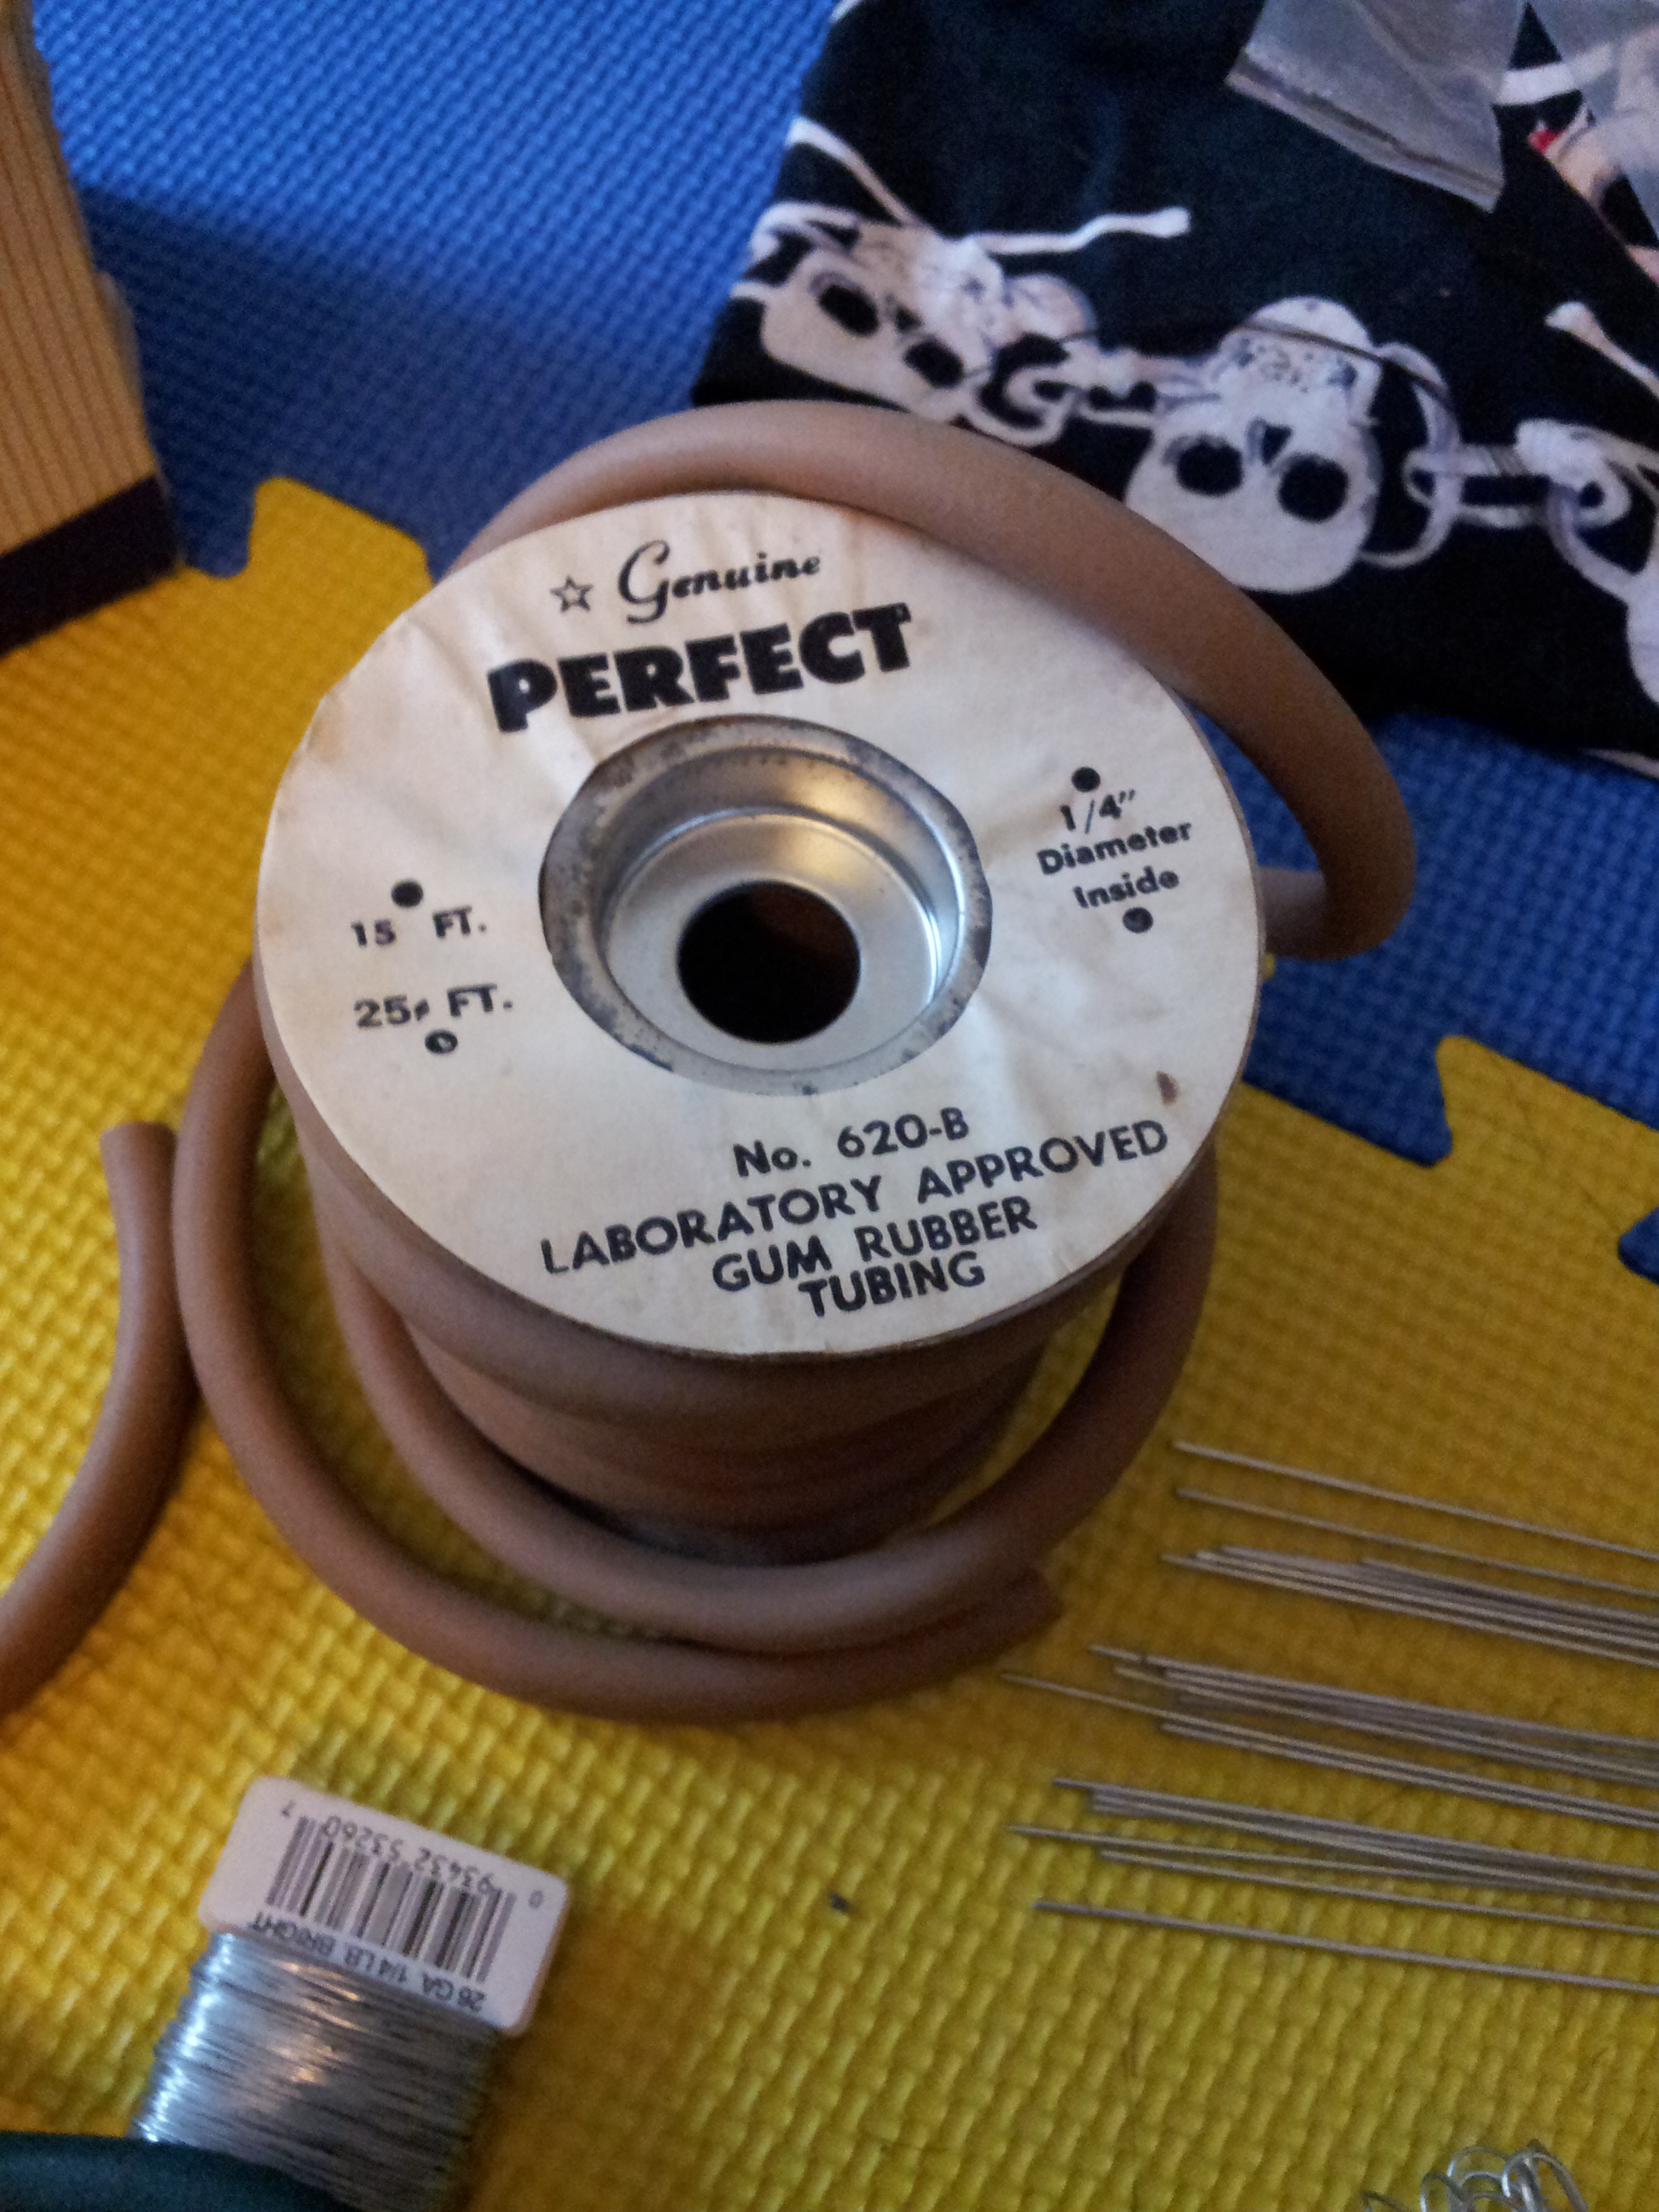
When dried, it still didn’t quite want to stay still so I pulled out some of this rubber tubing. … kind of a pretentious brand name. Oh well.
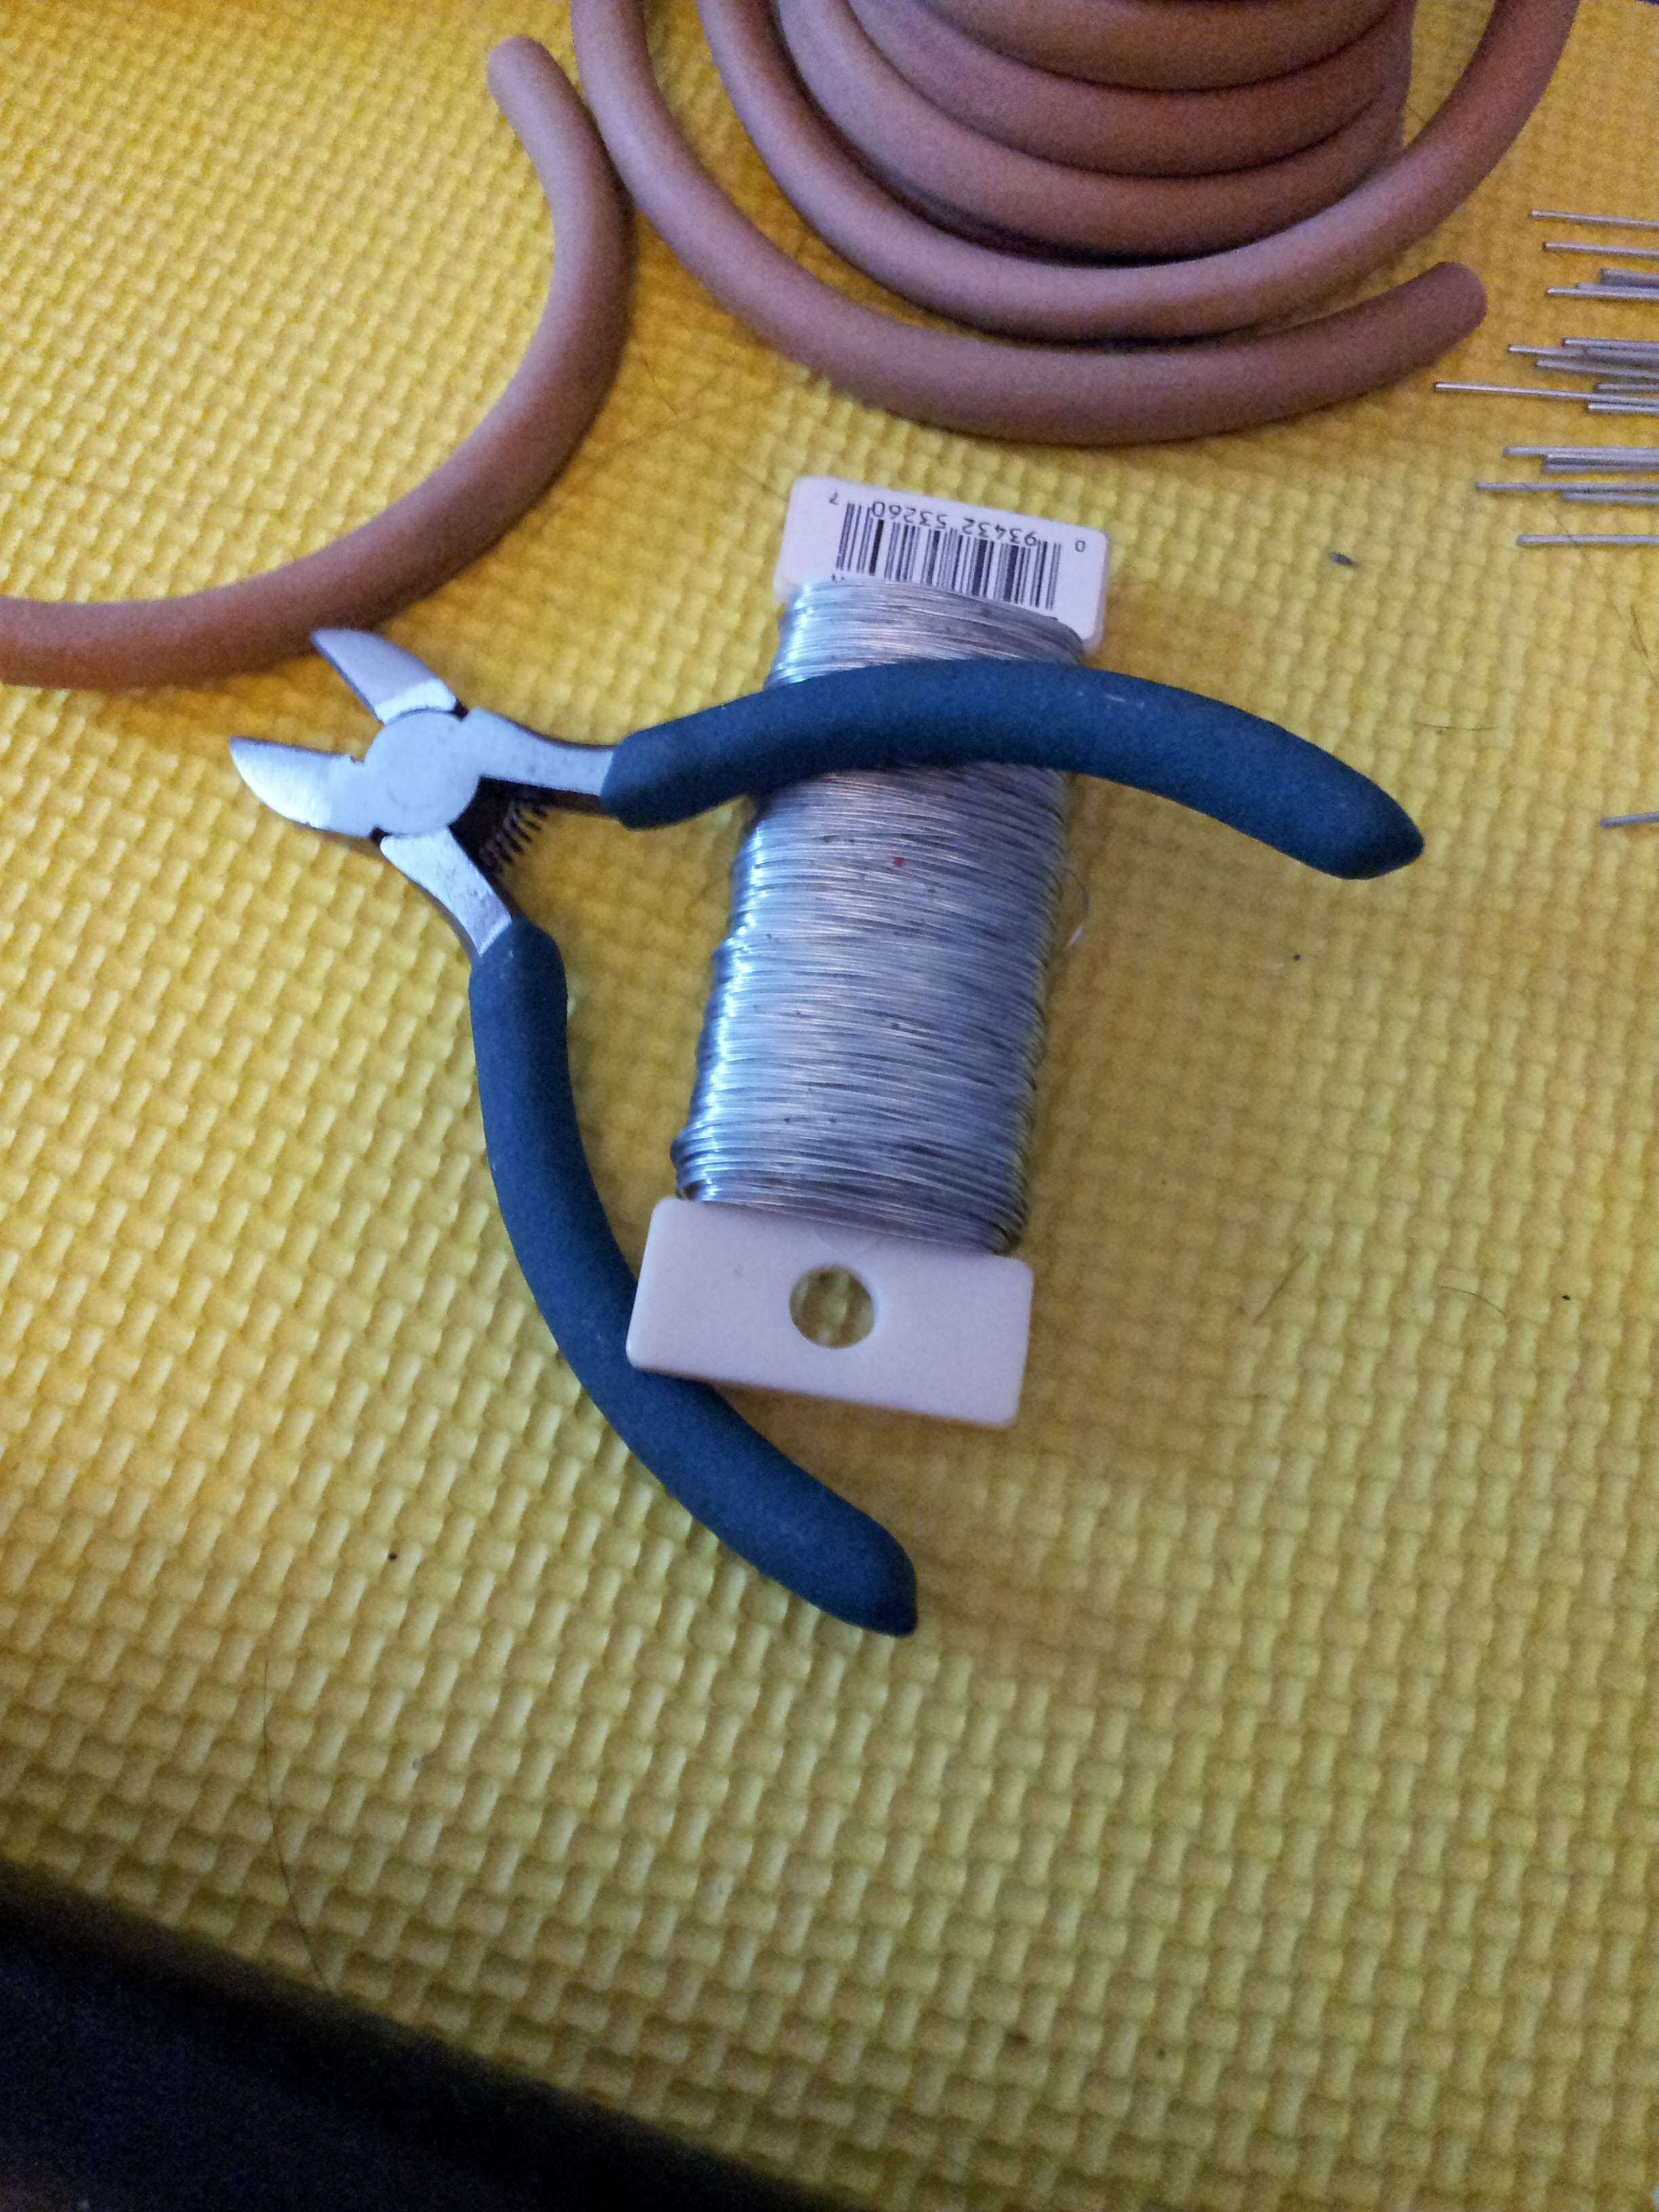
Crafting wire! I think this is 30 gauge. Not sure. It’s quite slender.
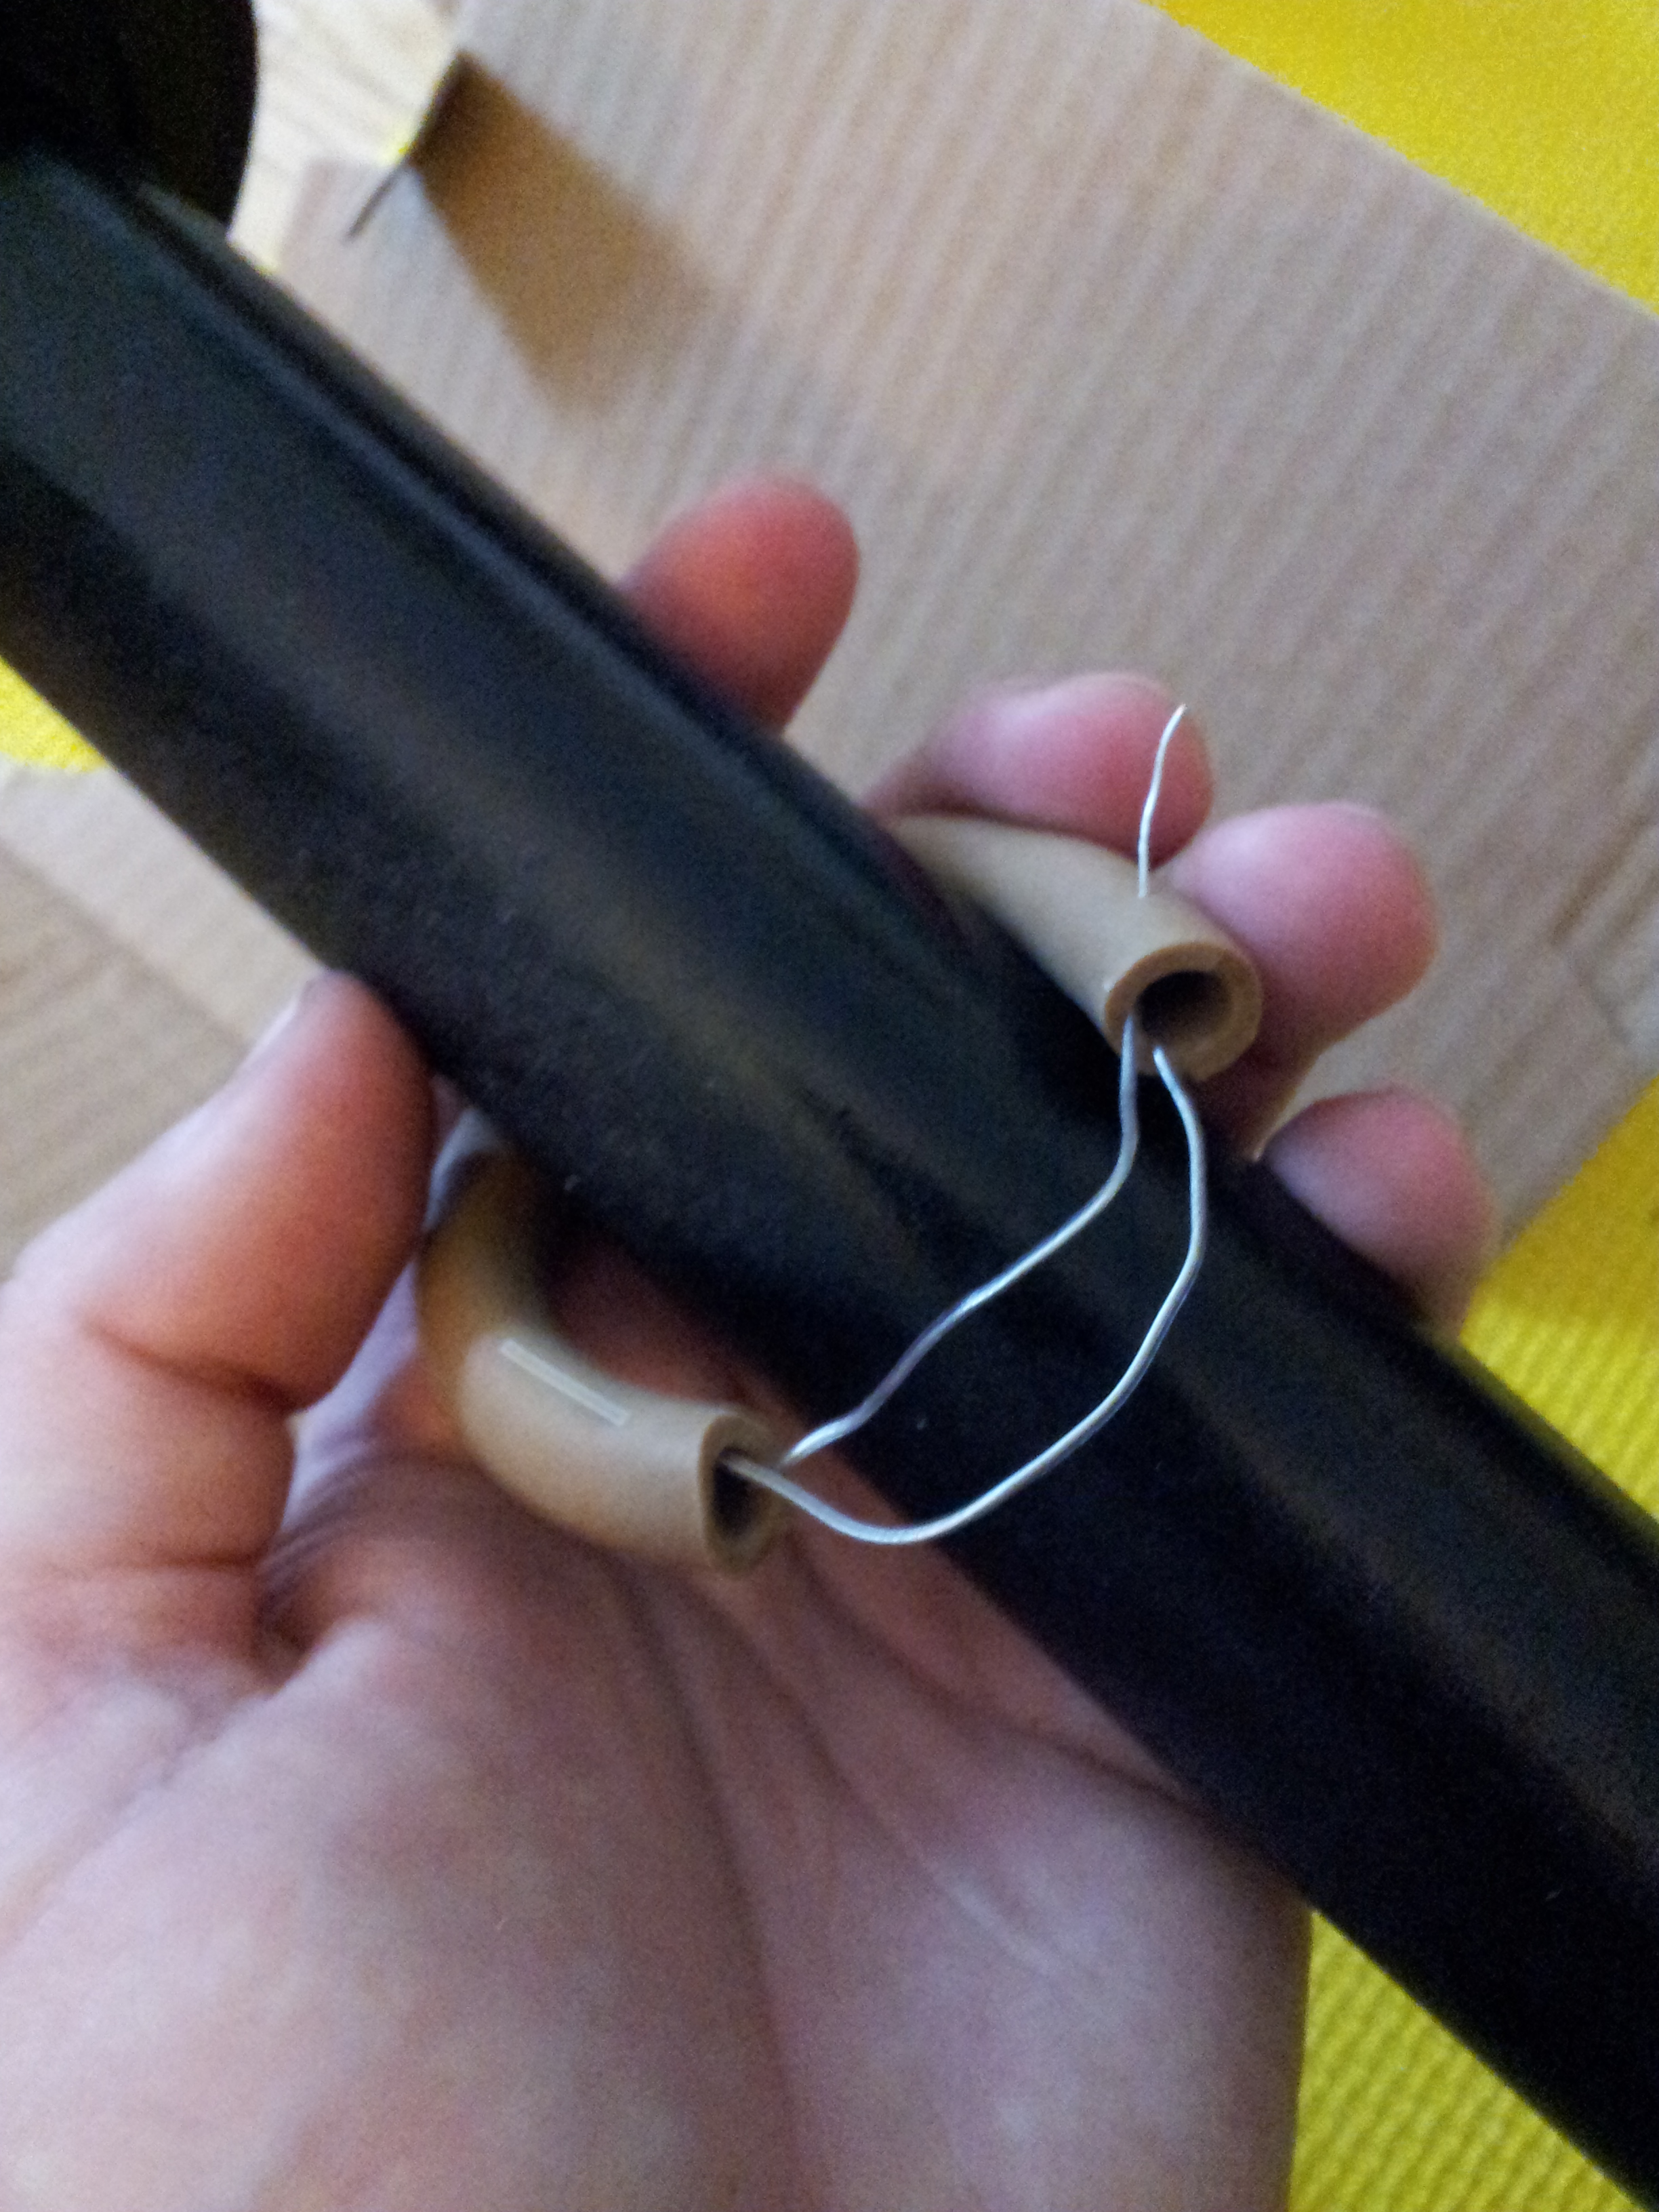
I stuck the wire through the tubing and used it to pull it tight around the shaft.
A little extra piece was needed to close the gap.
And hot-glued the ever-loving crap out of it. It’s okay. No one’s going to see it when I’m done.
I stuck eight nails into the puck in preparation to put some more wiring on it.
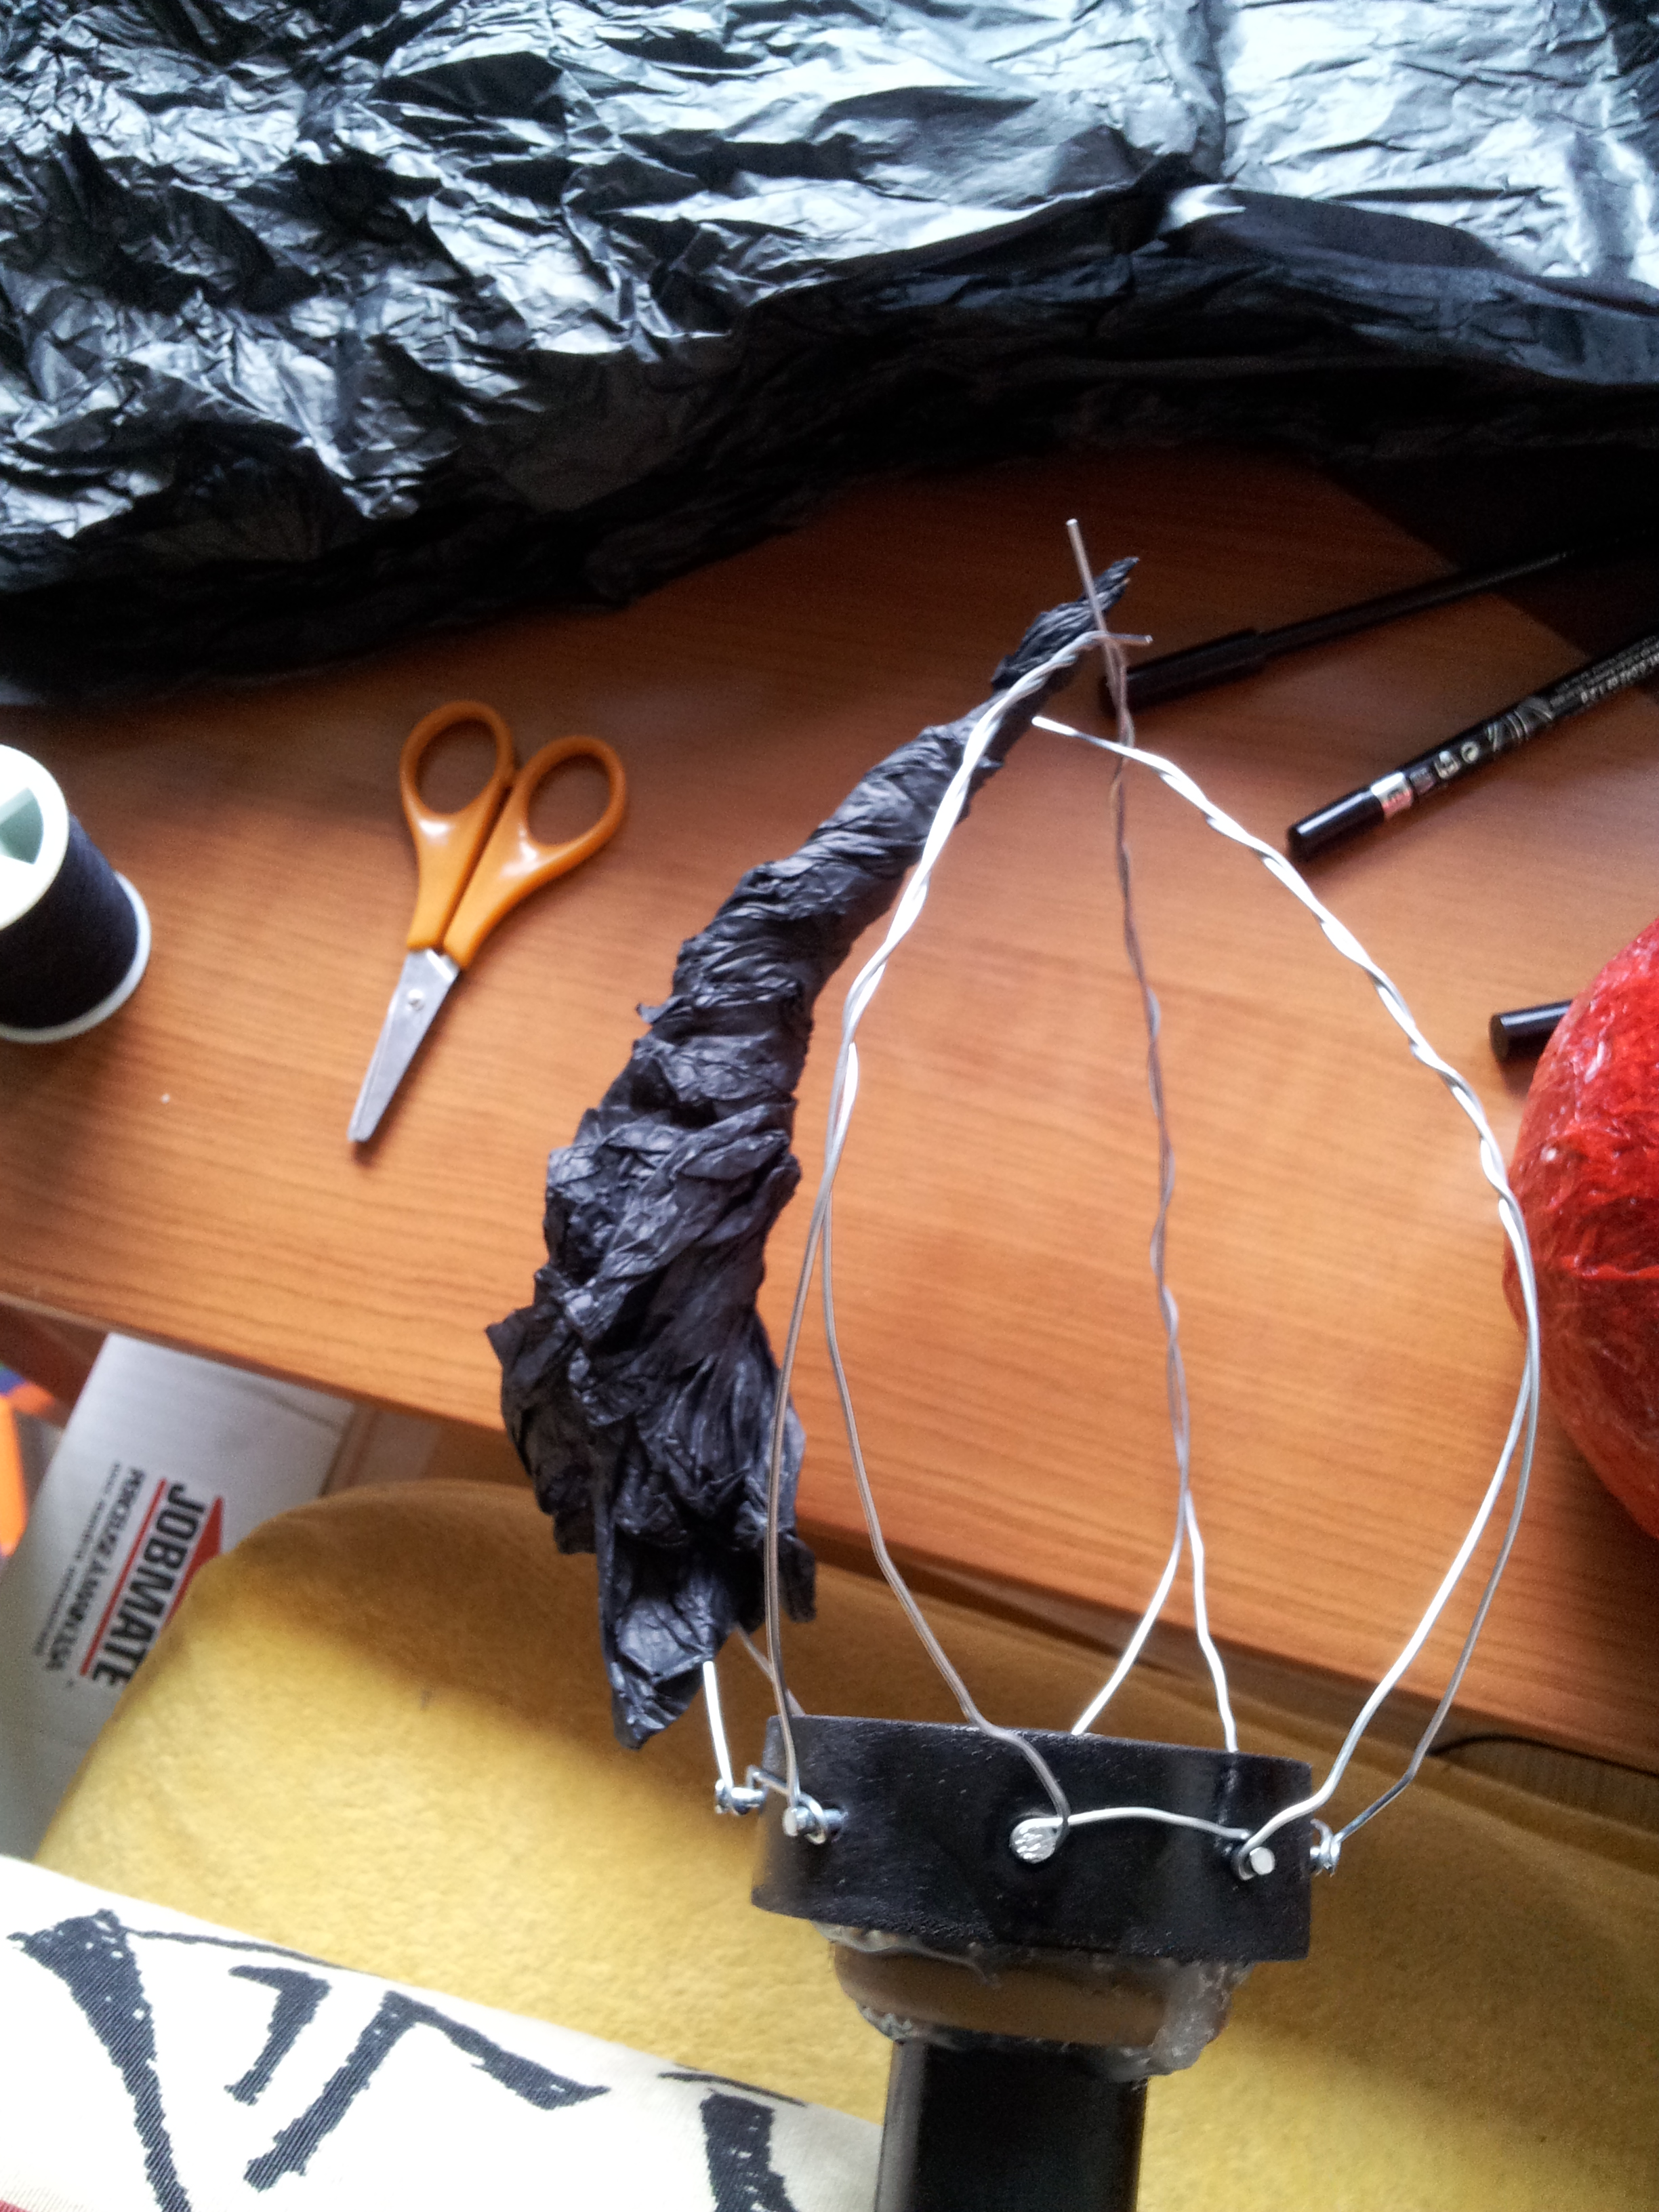
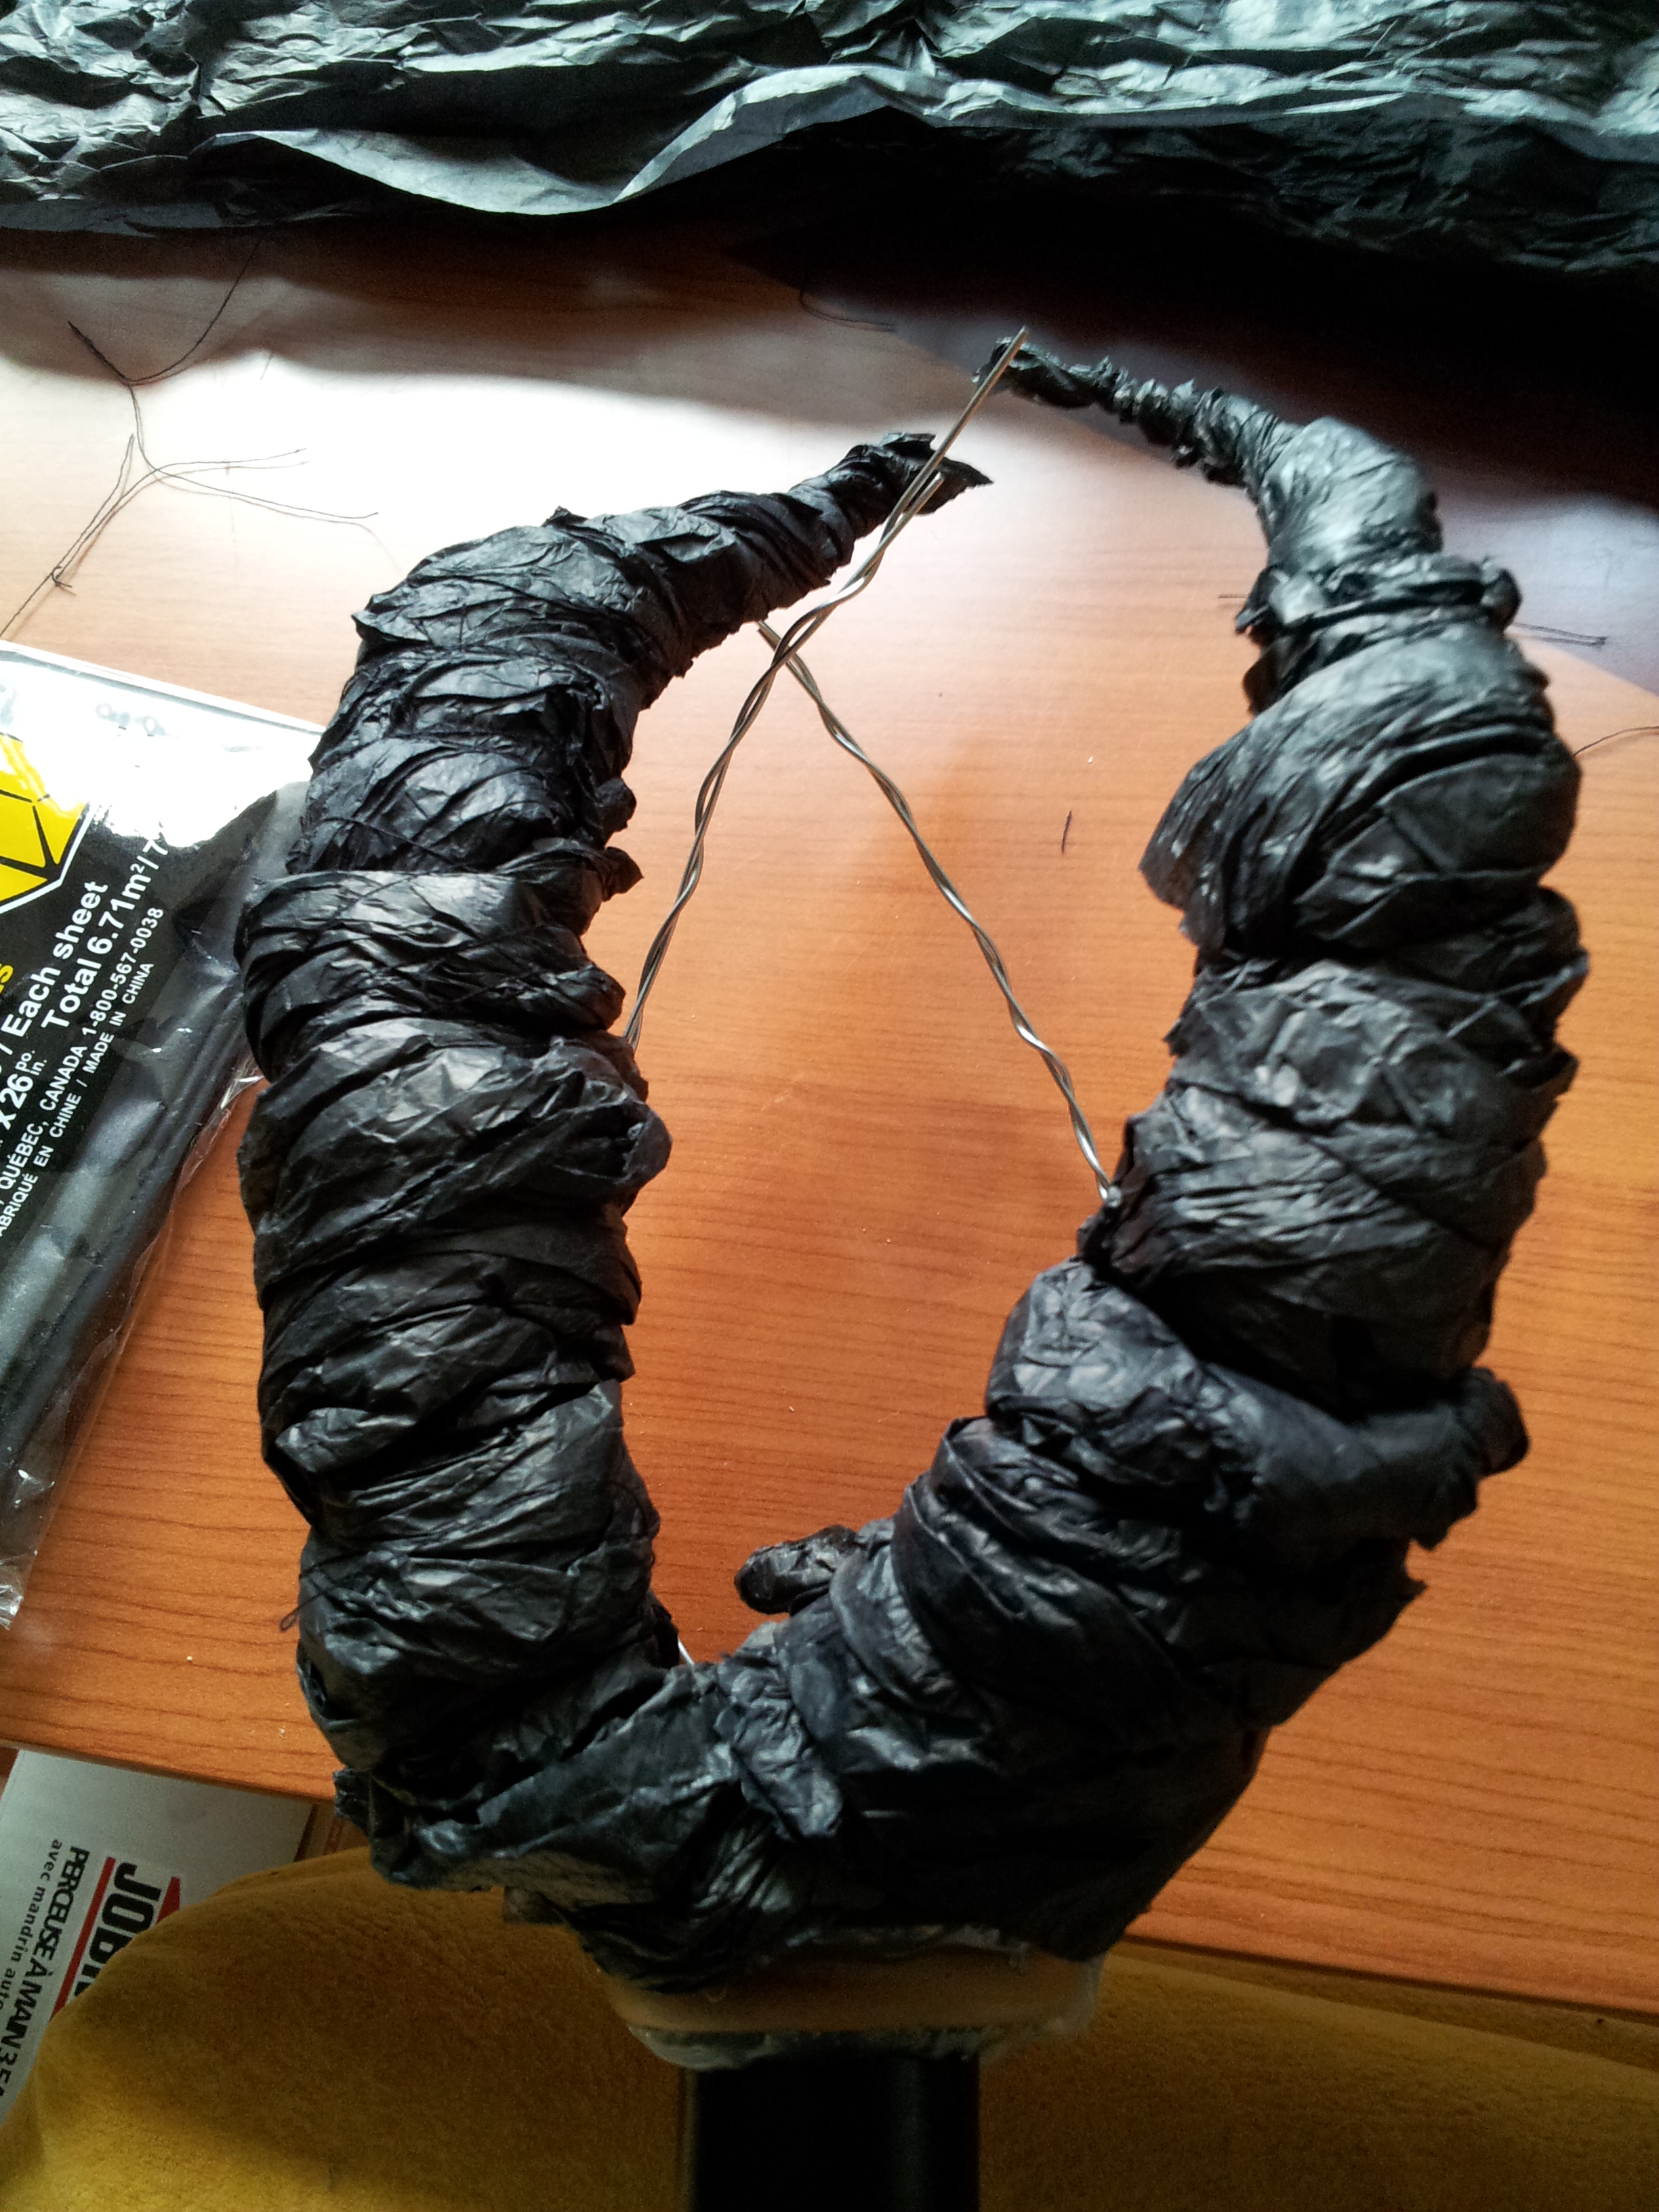
I took some floral wire (12 gauge I think?). I got it from the dollar store and it didn’t say on the package but it’s very stiff and precisely what I needed to make the framework for the topper. I bent four lengths of it around the nails, 2 nails per 1 length of wire.
Then I bent both ends of each wire upward and twined them around each other. After that, I worked a curve into each of them.

And made sure they fit the size and shape of the lamp-shade.
Next, I carefully and patiently twisted tissue paper around and around each curve of wire. Two of the wires needed two pieces of tissue paper, and two of them needed three to get a proper horn-shape. It just depends on the way the paper twists.
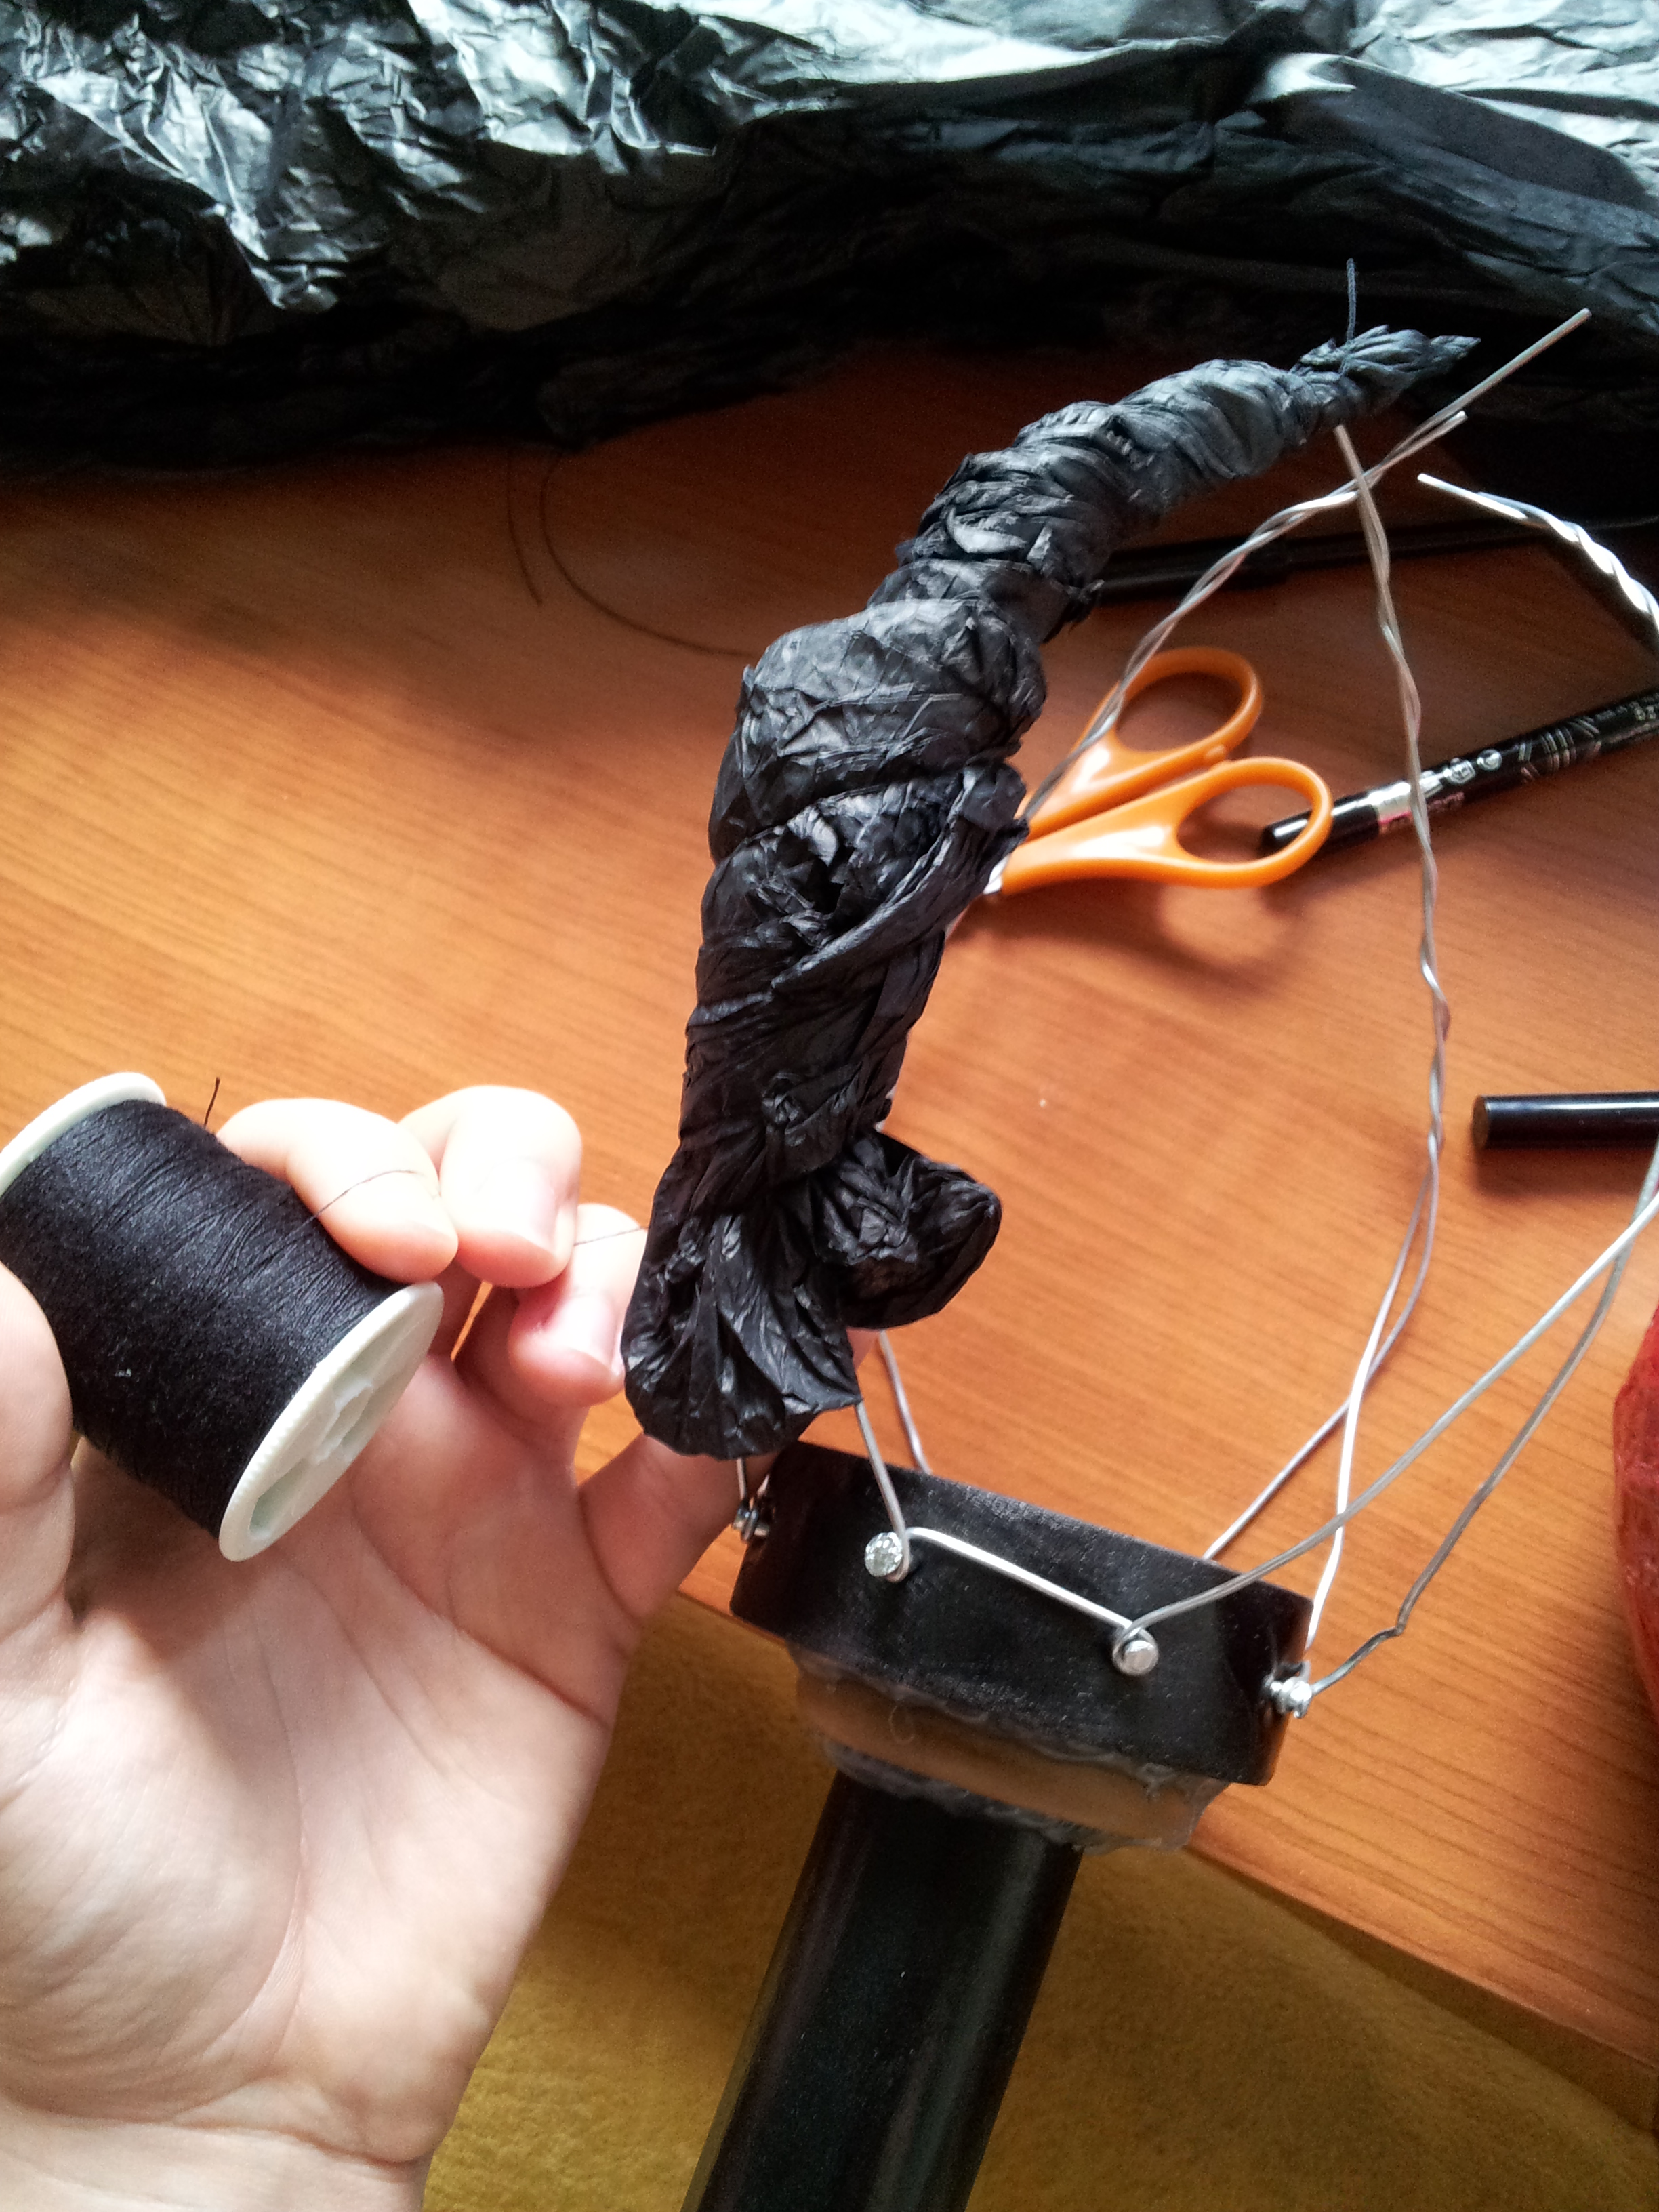
I bound the “horns” to the wire by wrapping some very fine thread of the same colour around the tissue paper.
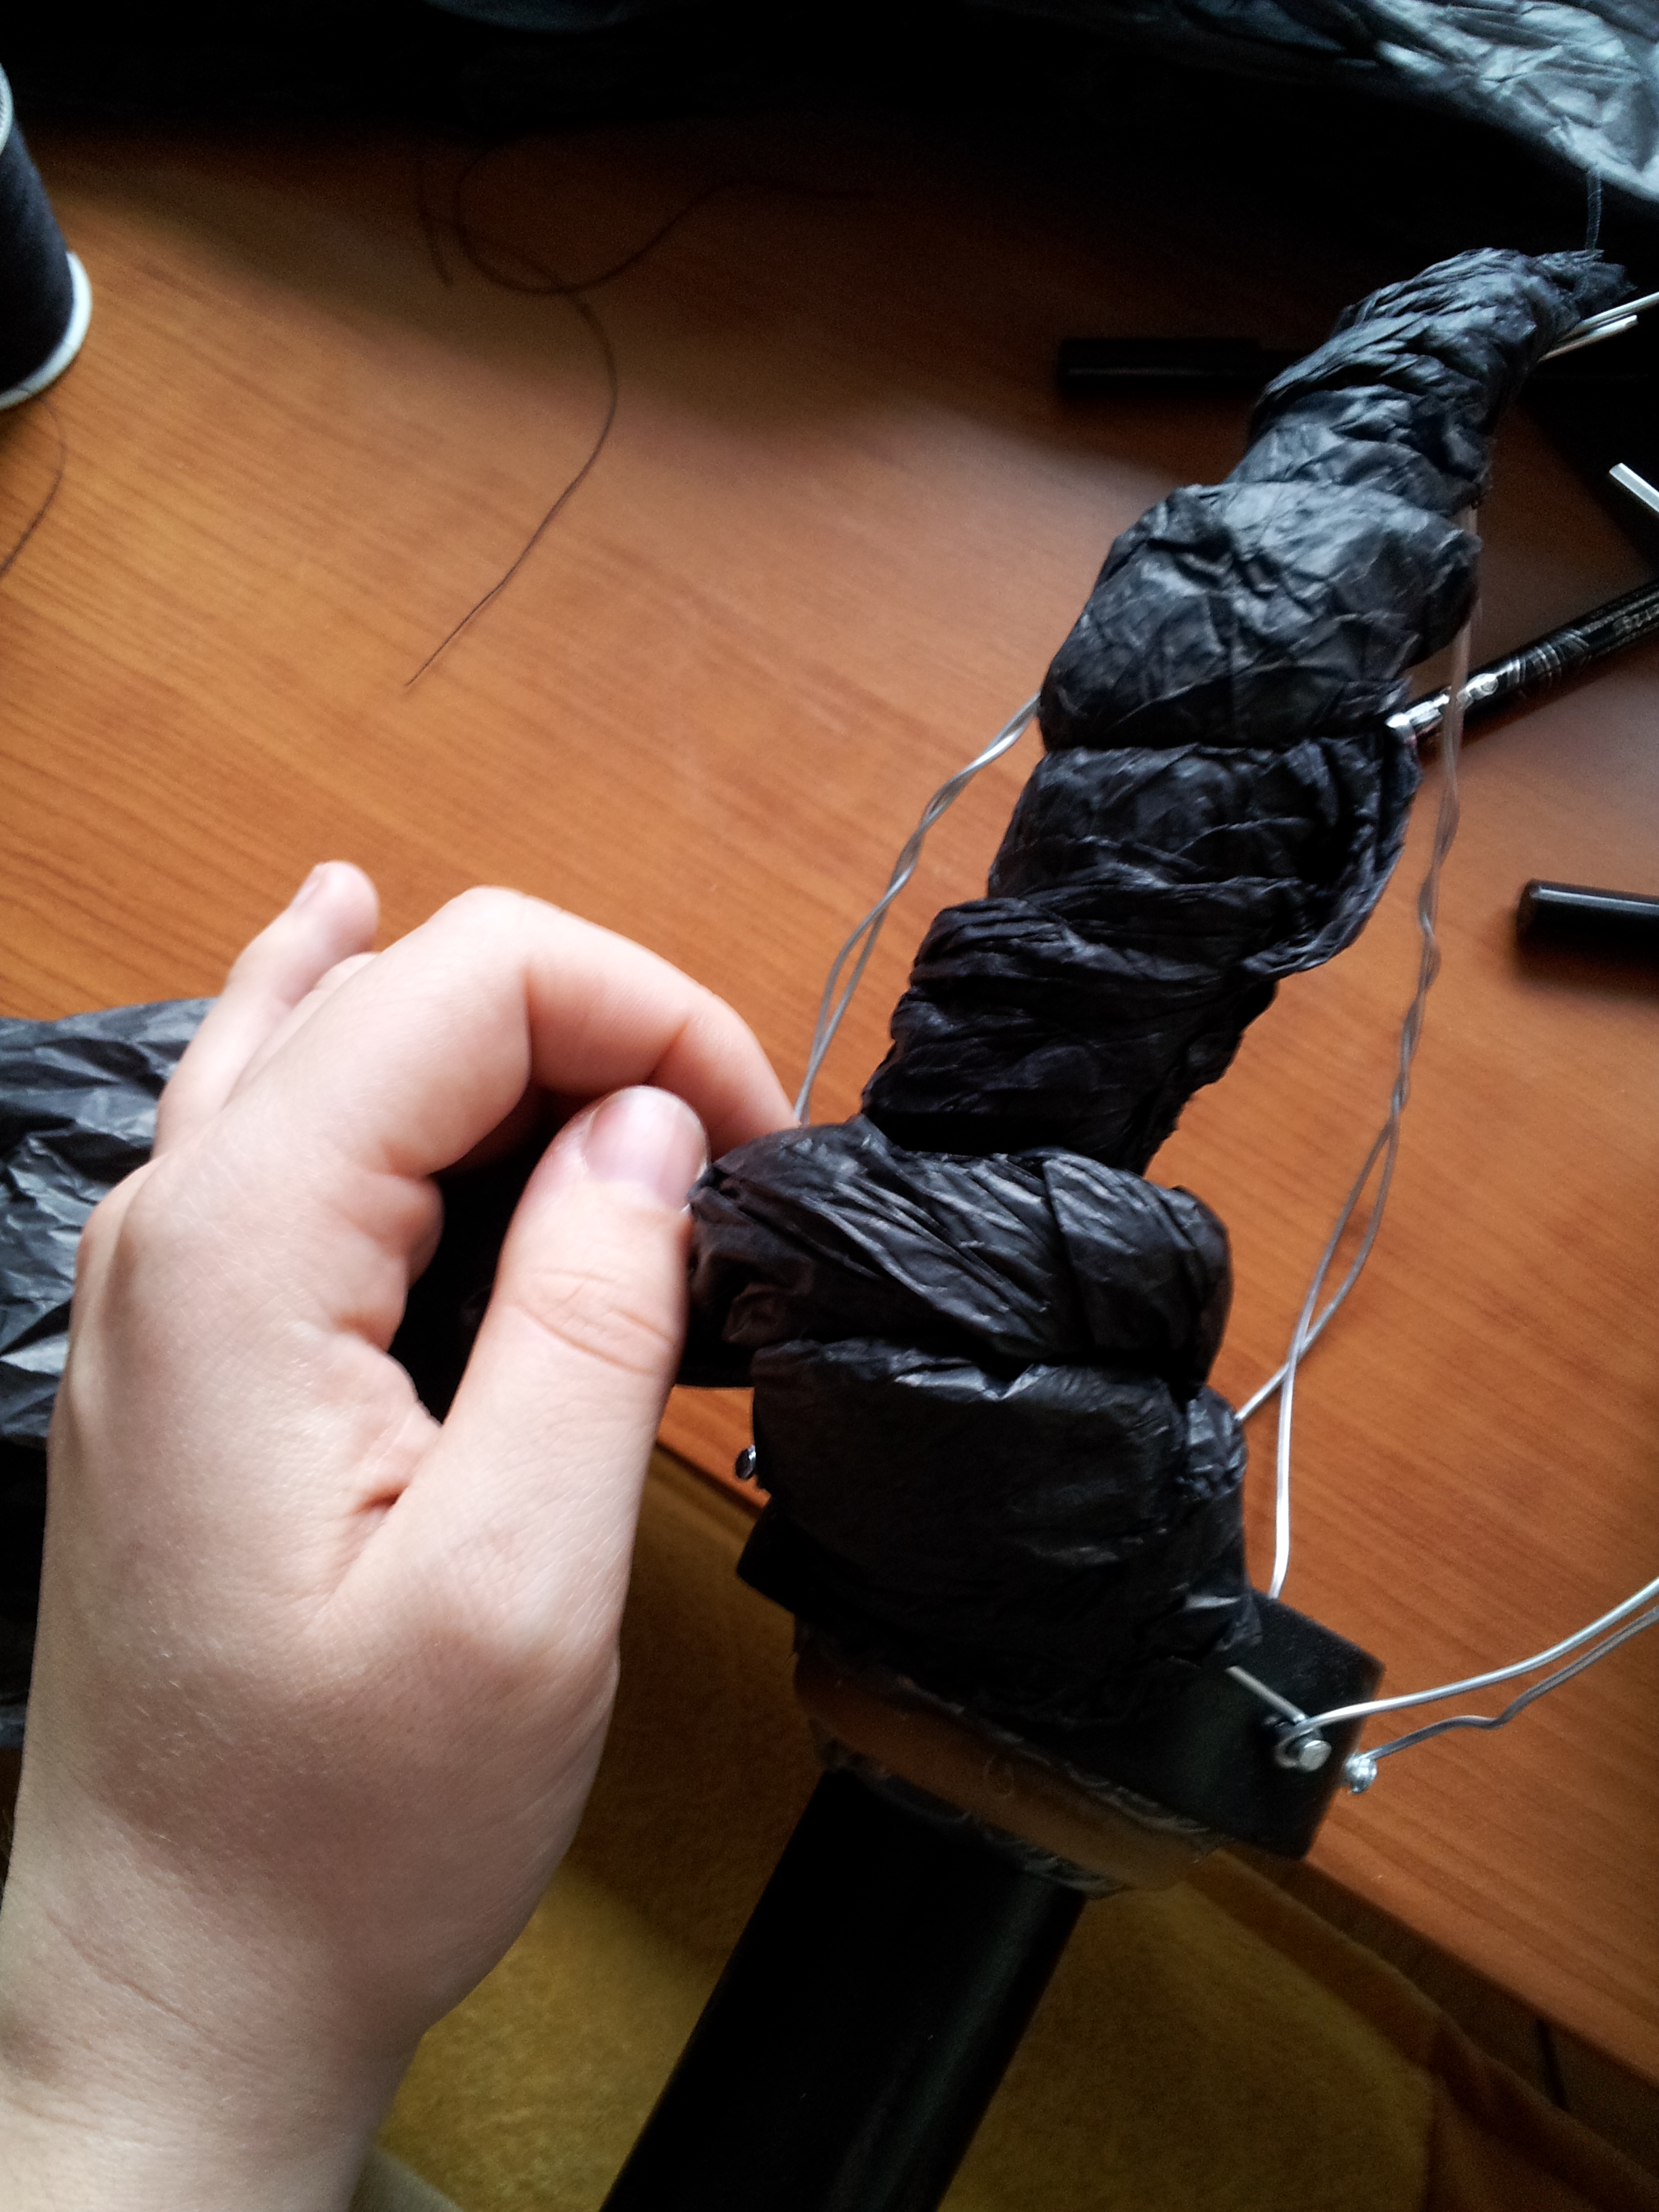
Here you can see how I use another piece of tissue paper to bulk up the base of the “horn” to give it that nice tapered look.
Voila! Here is two of the horns finished. No two will be alike. It’s a very natural, organic look.
Here are all four horns completed and awaiting a finish.
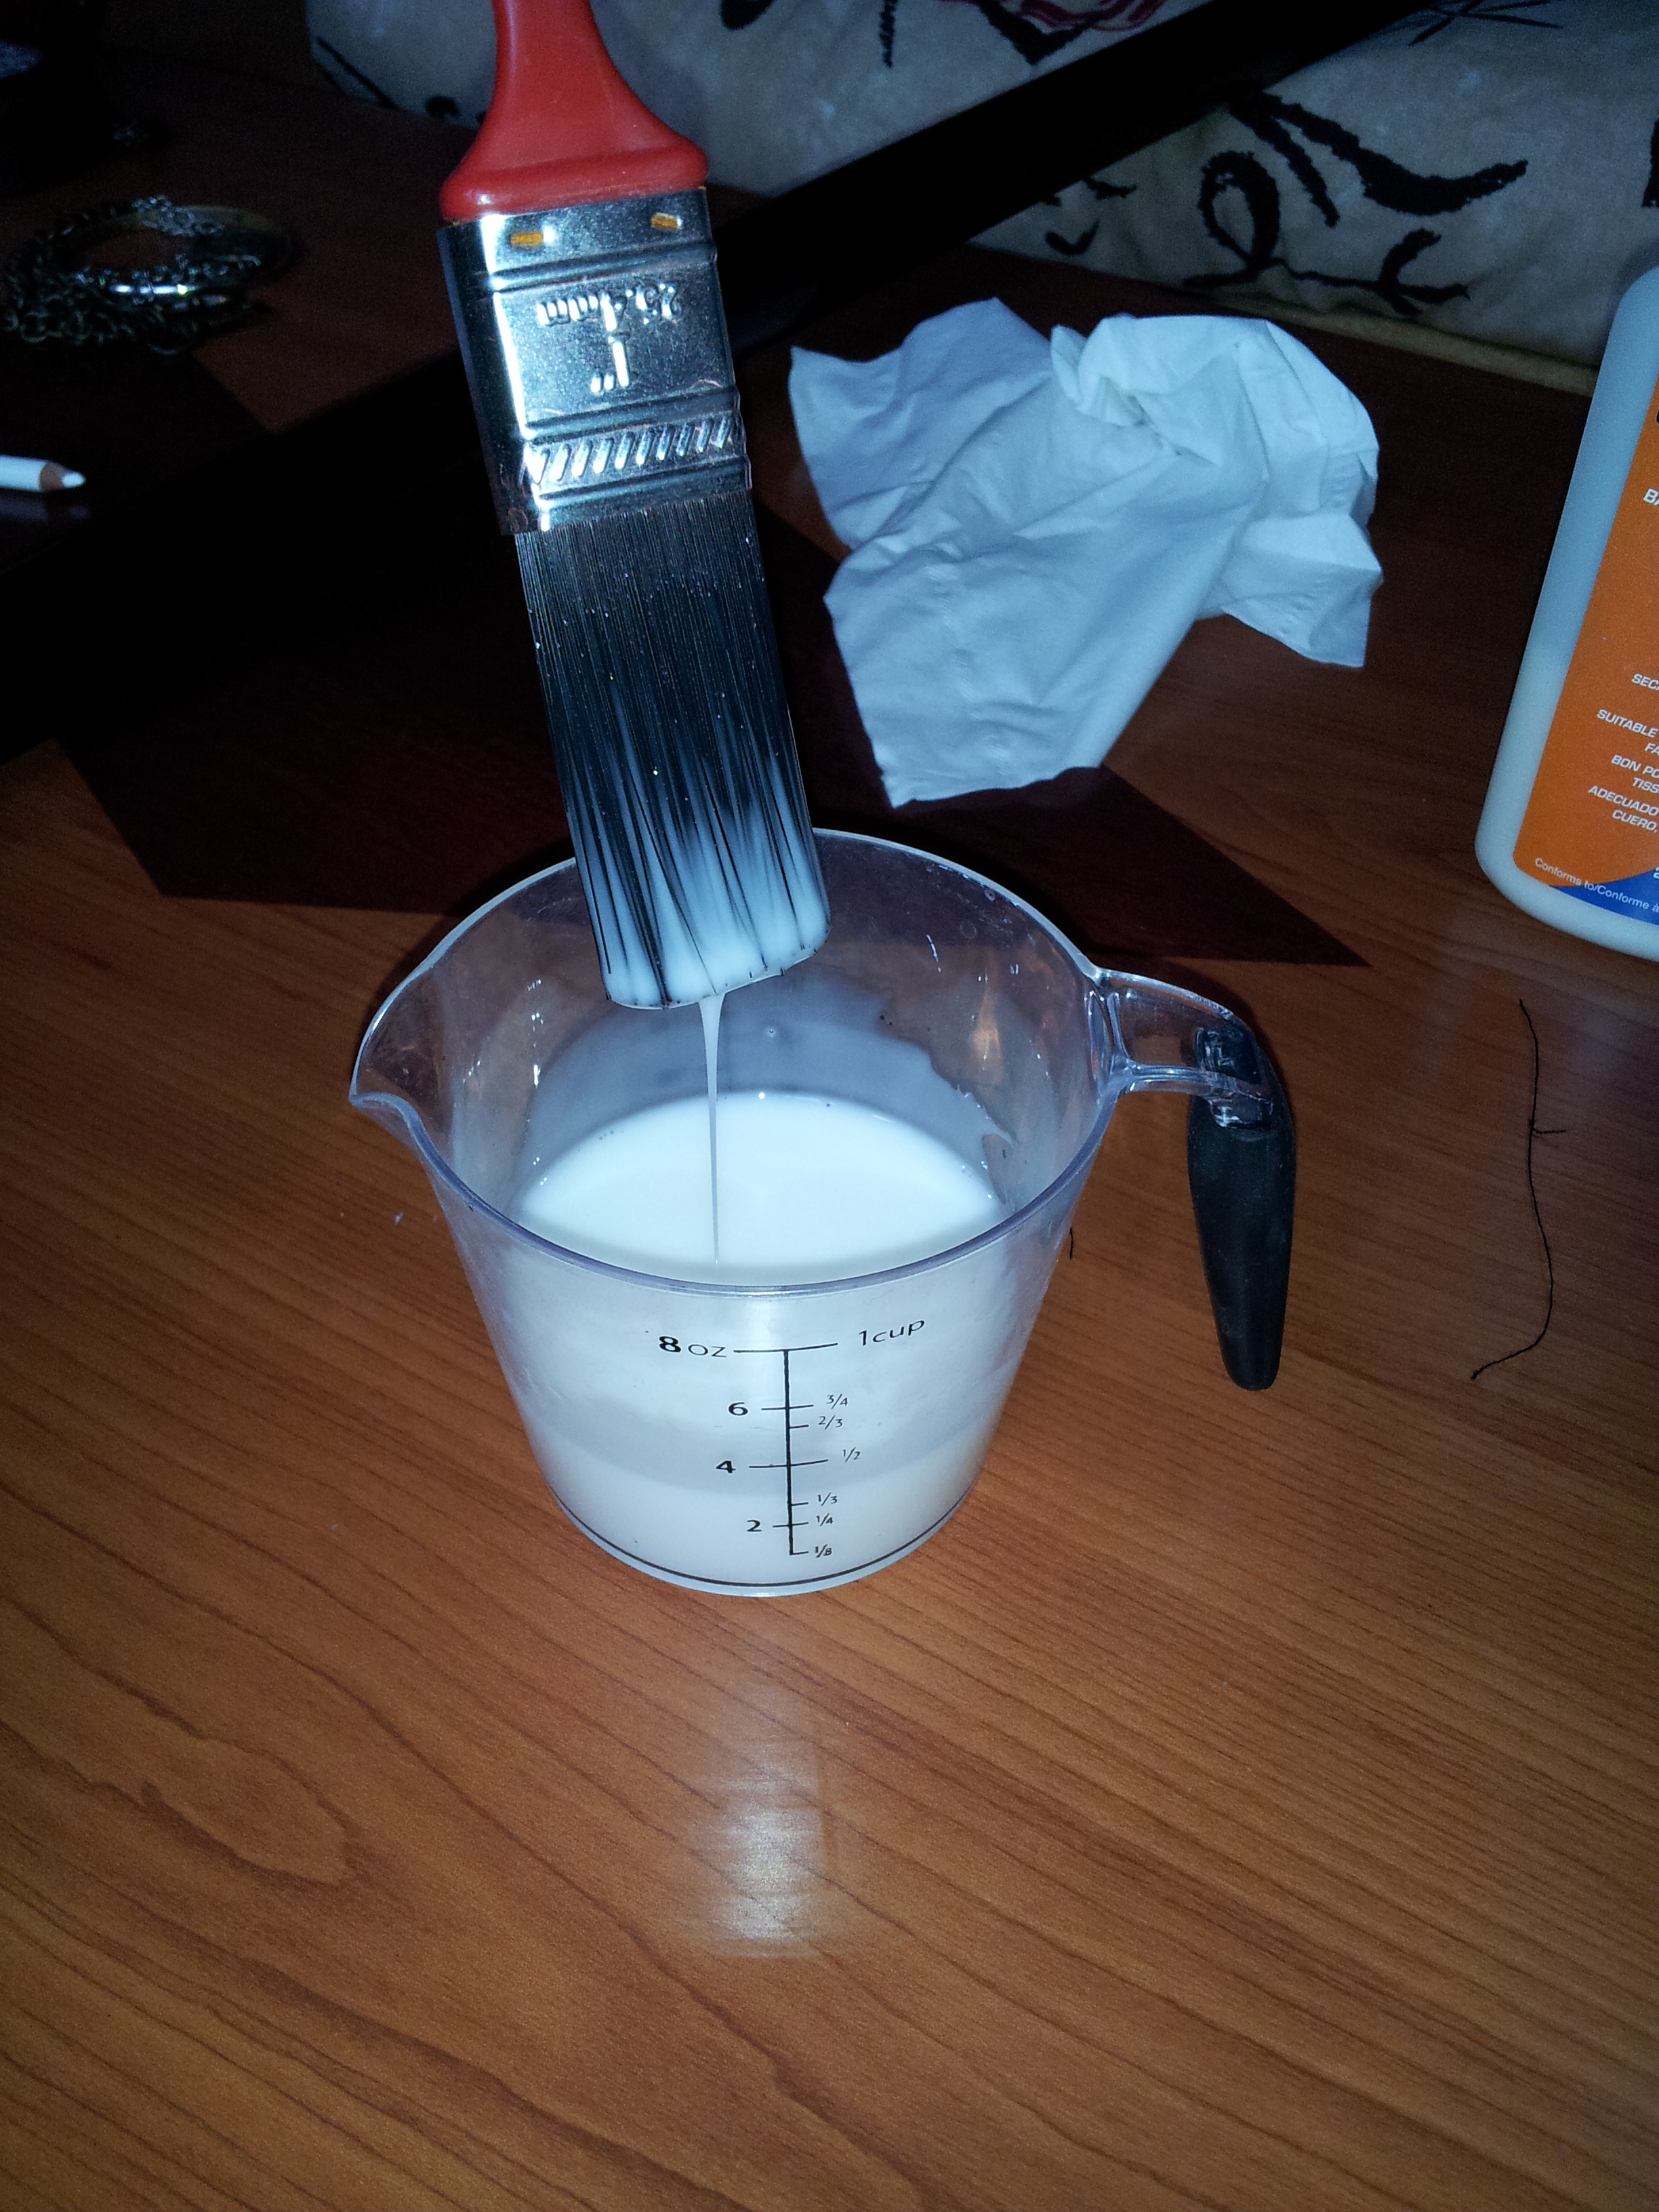
Moar paper mache glue bwahaha!
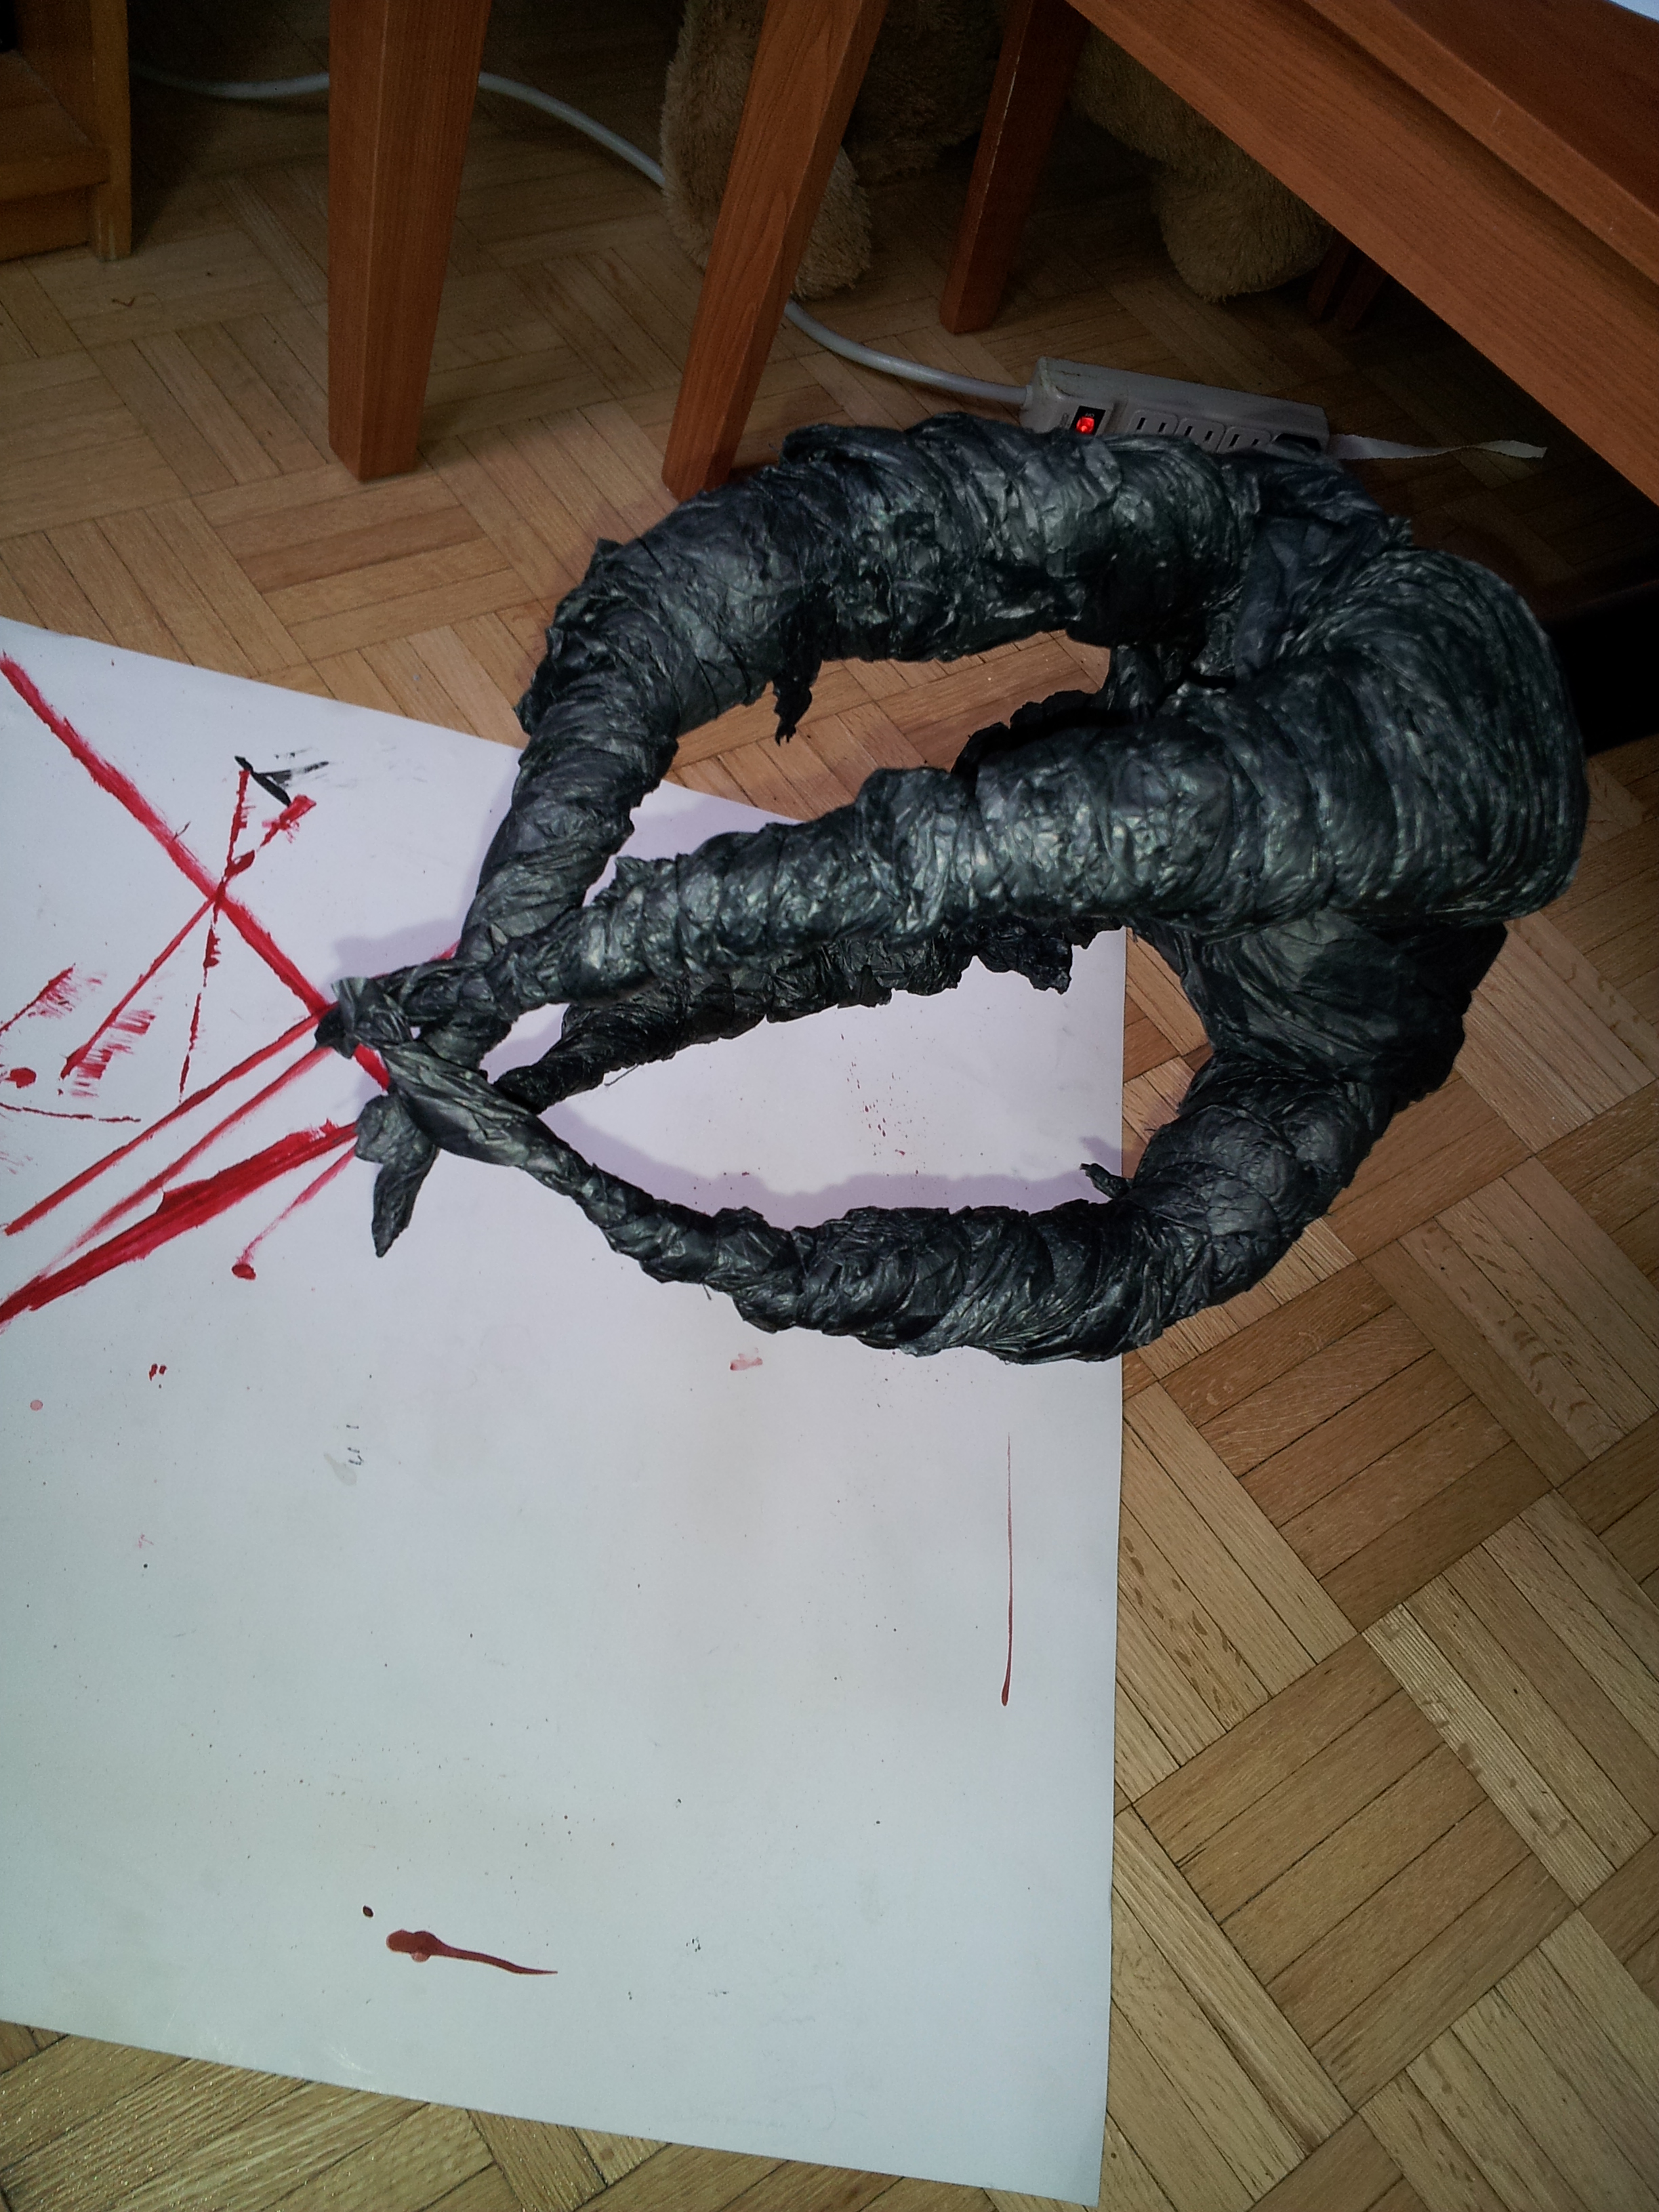
I put on three coats of the glue mix waiting for it to dry in between each coat. In one hand, I applied the glue with my paint brush, while I smoothed the bits of paper and thread down against each horn. When applying the glue, it’s important to make the fingers follow the direction that the paper spirals in. Otherwise you will risk undoing all that twisting you did.
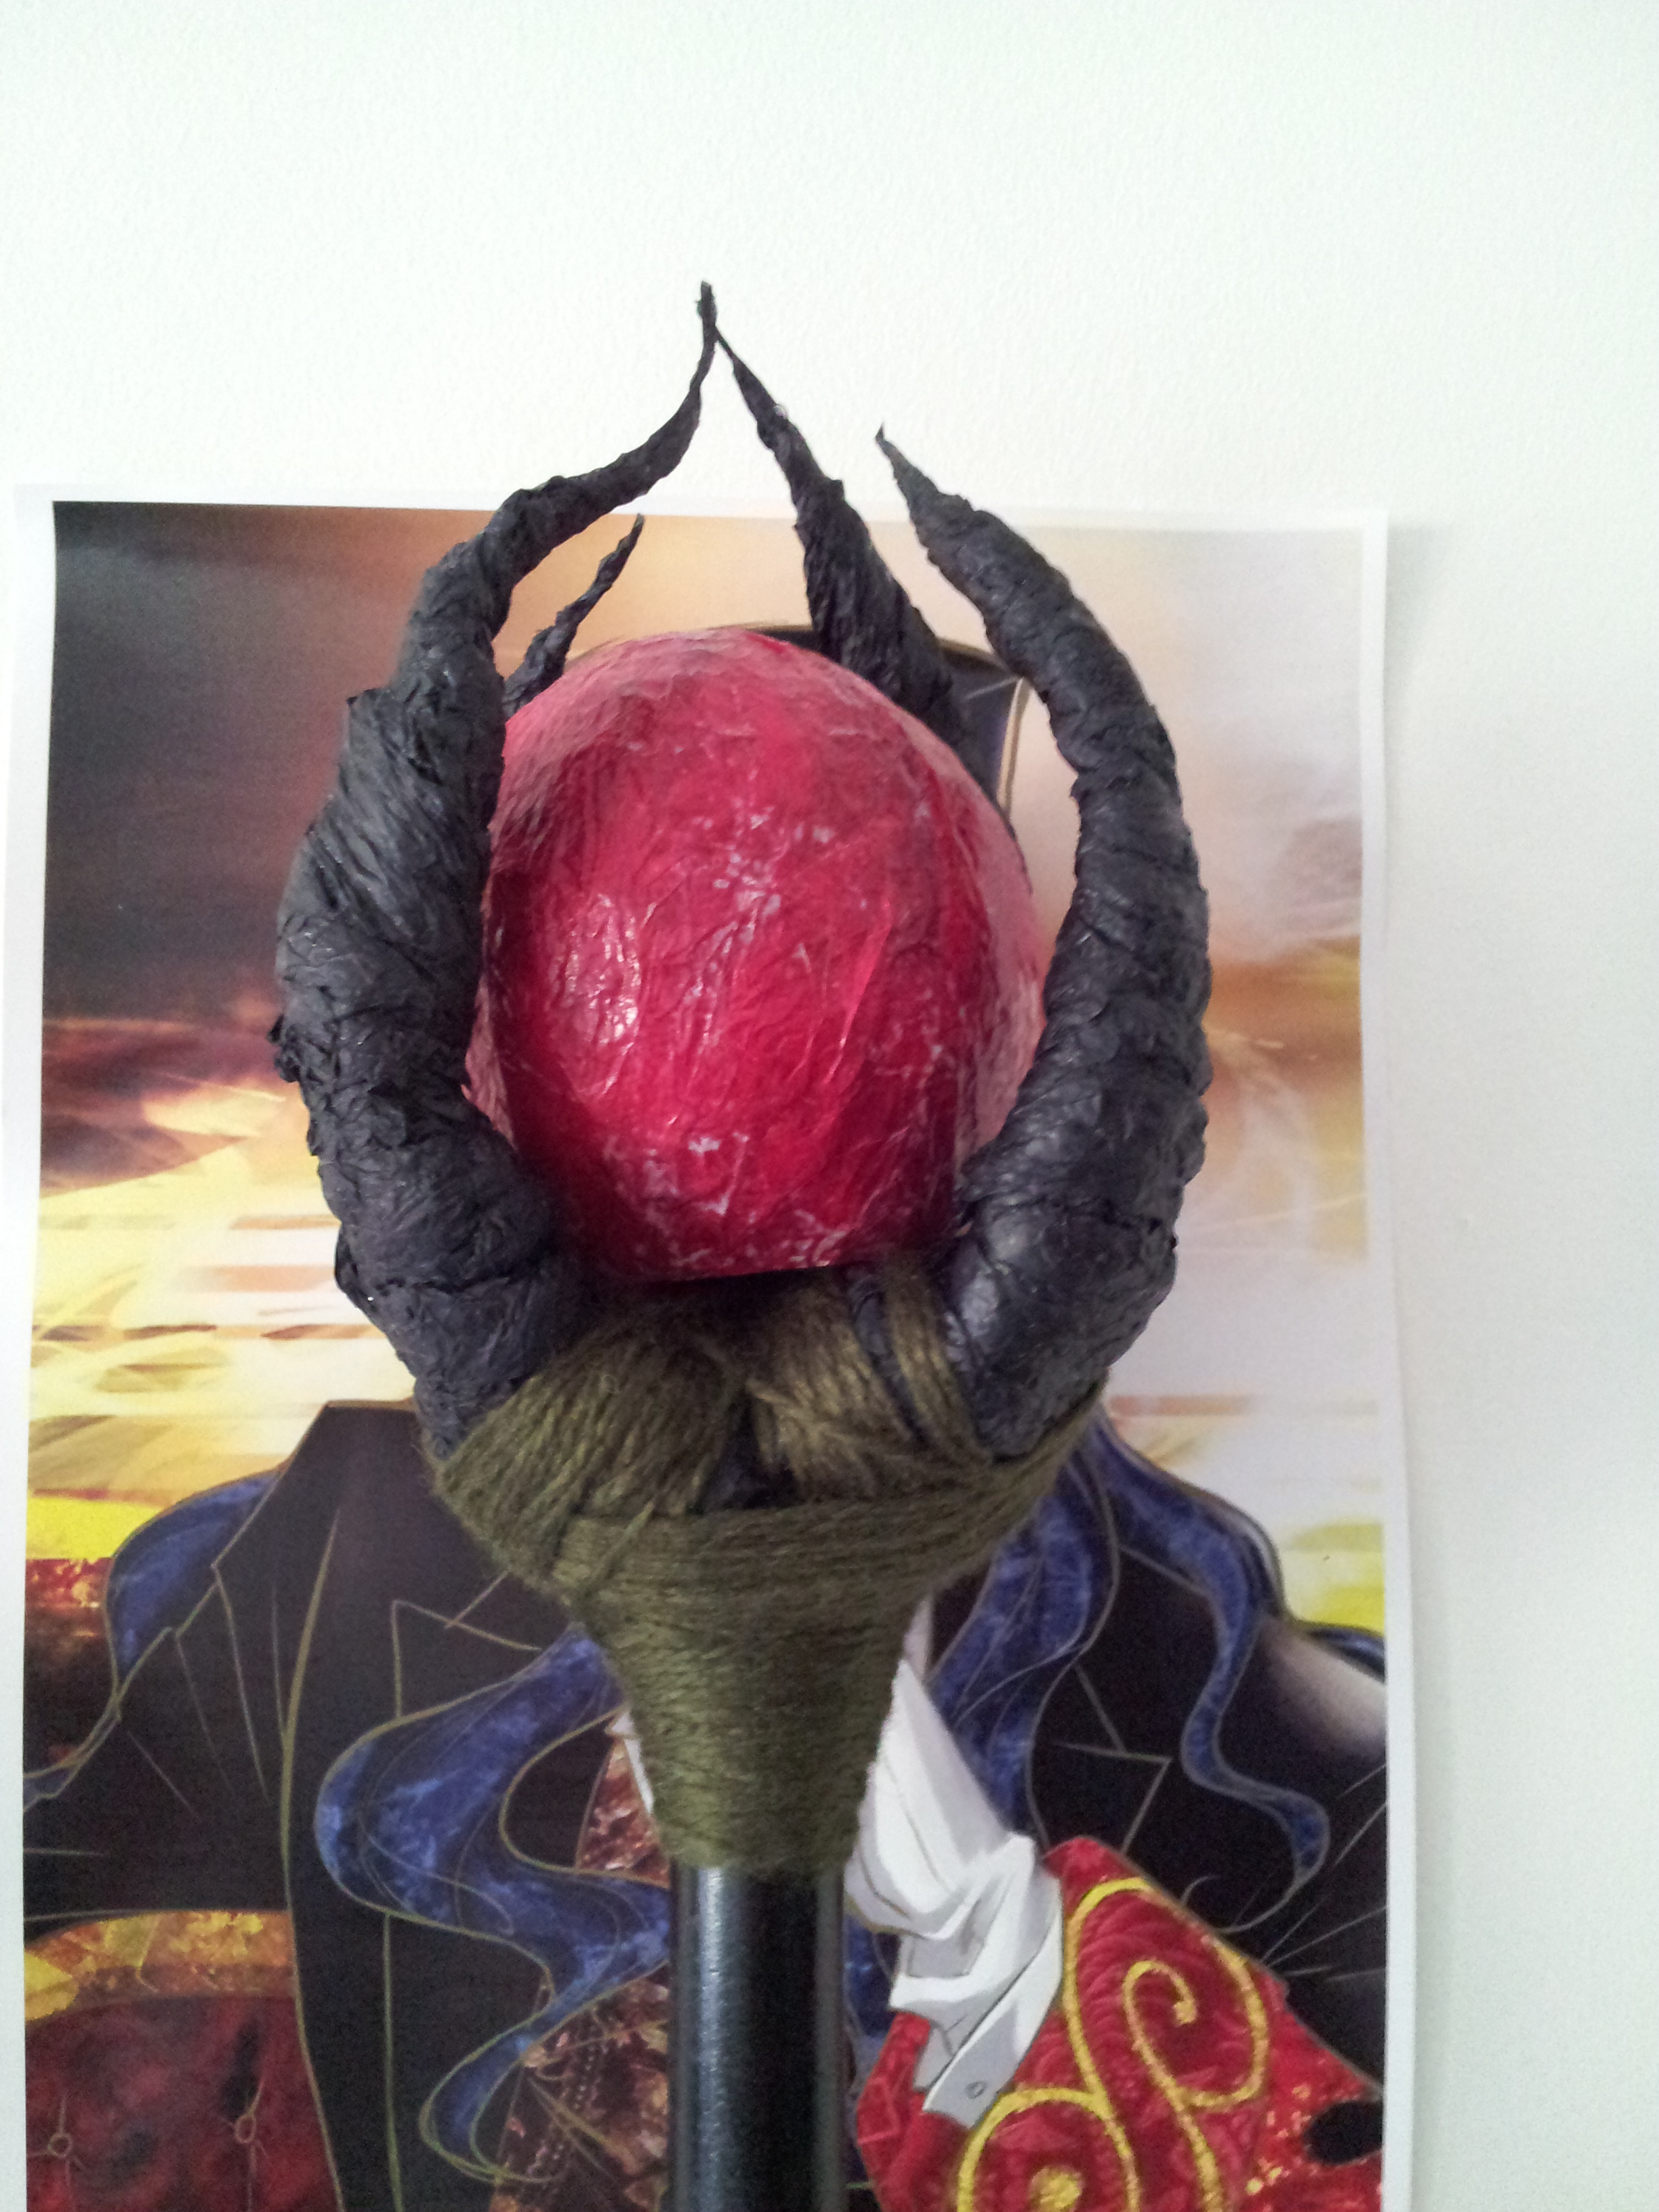
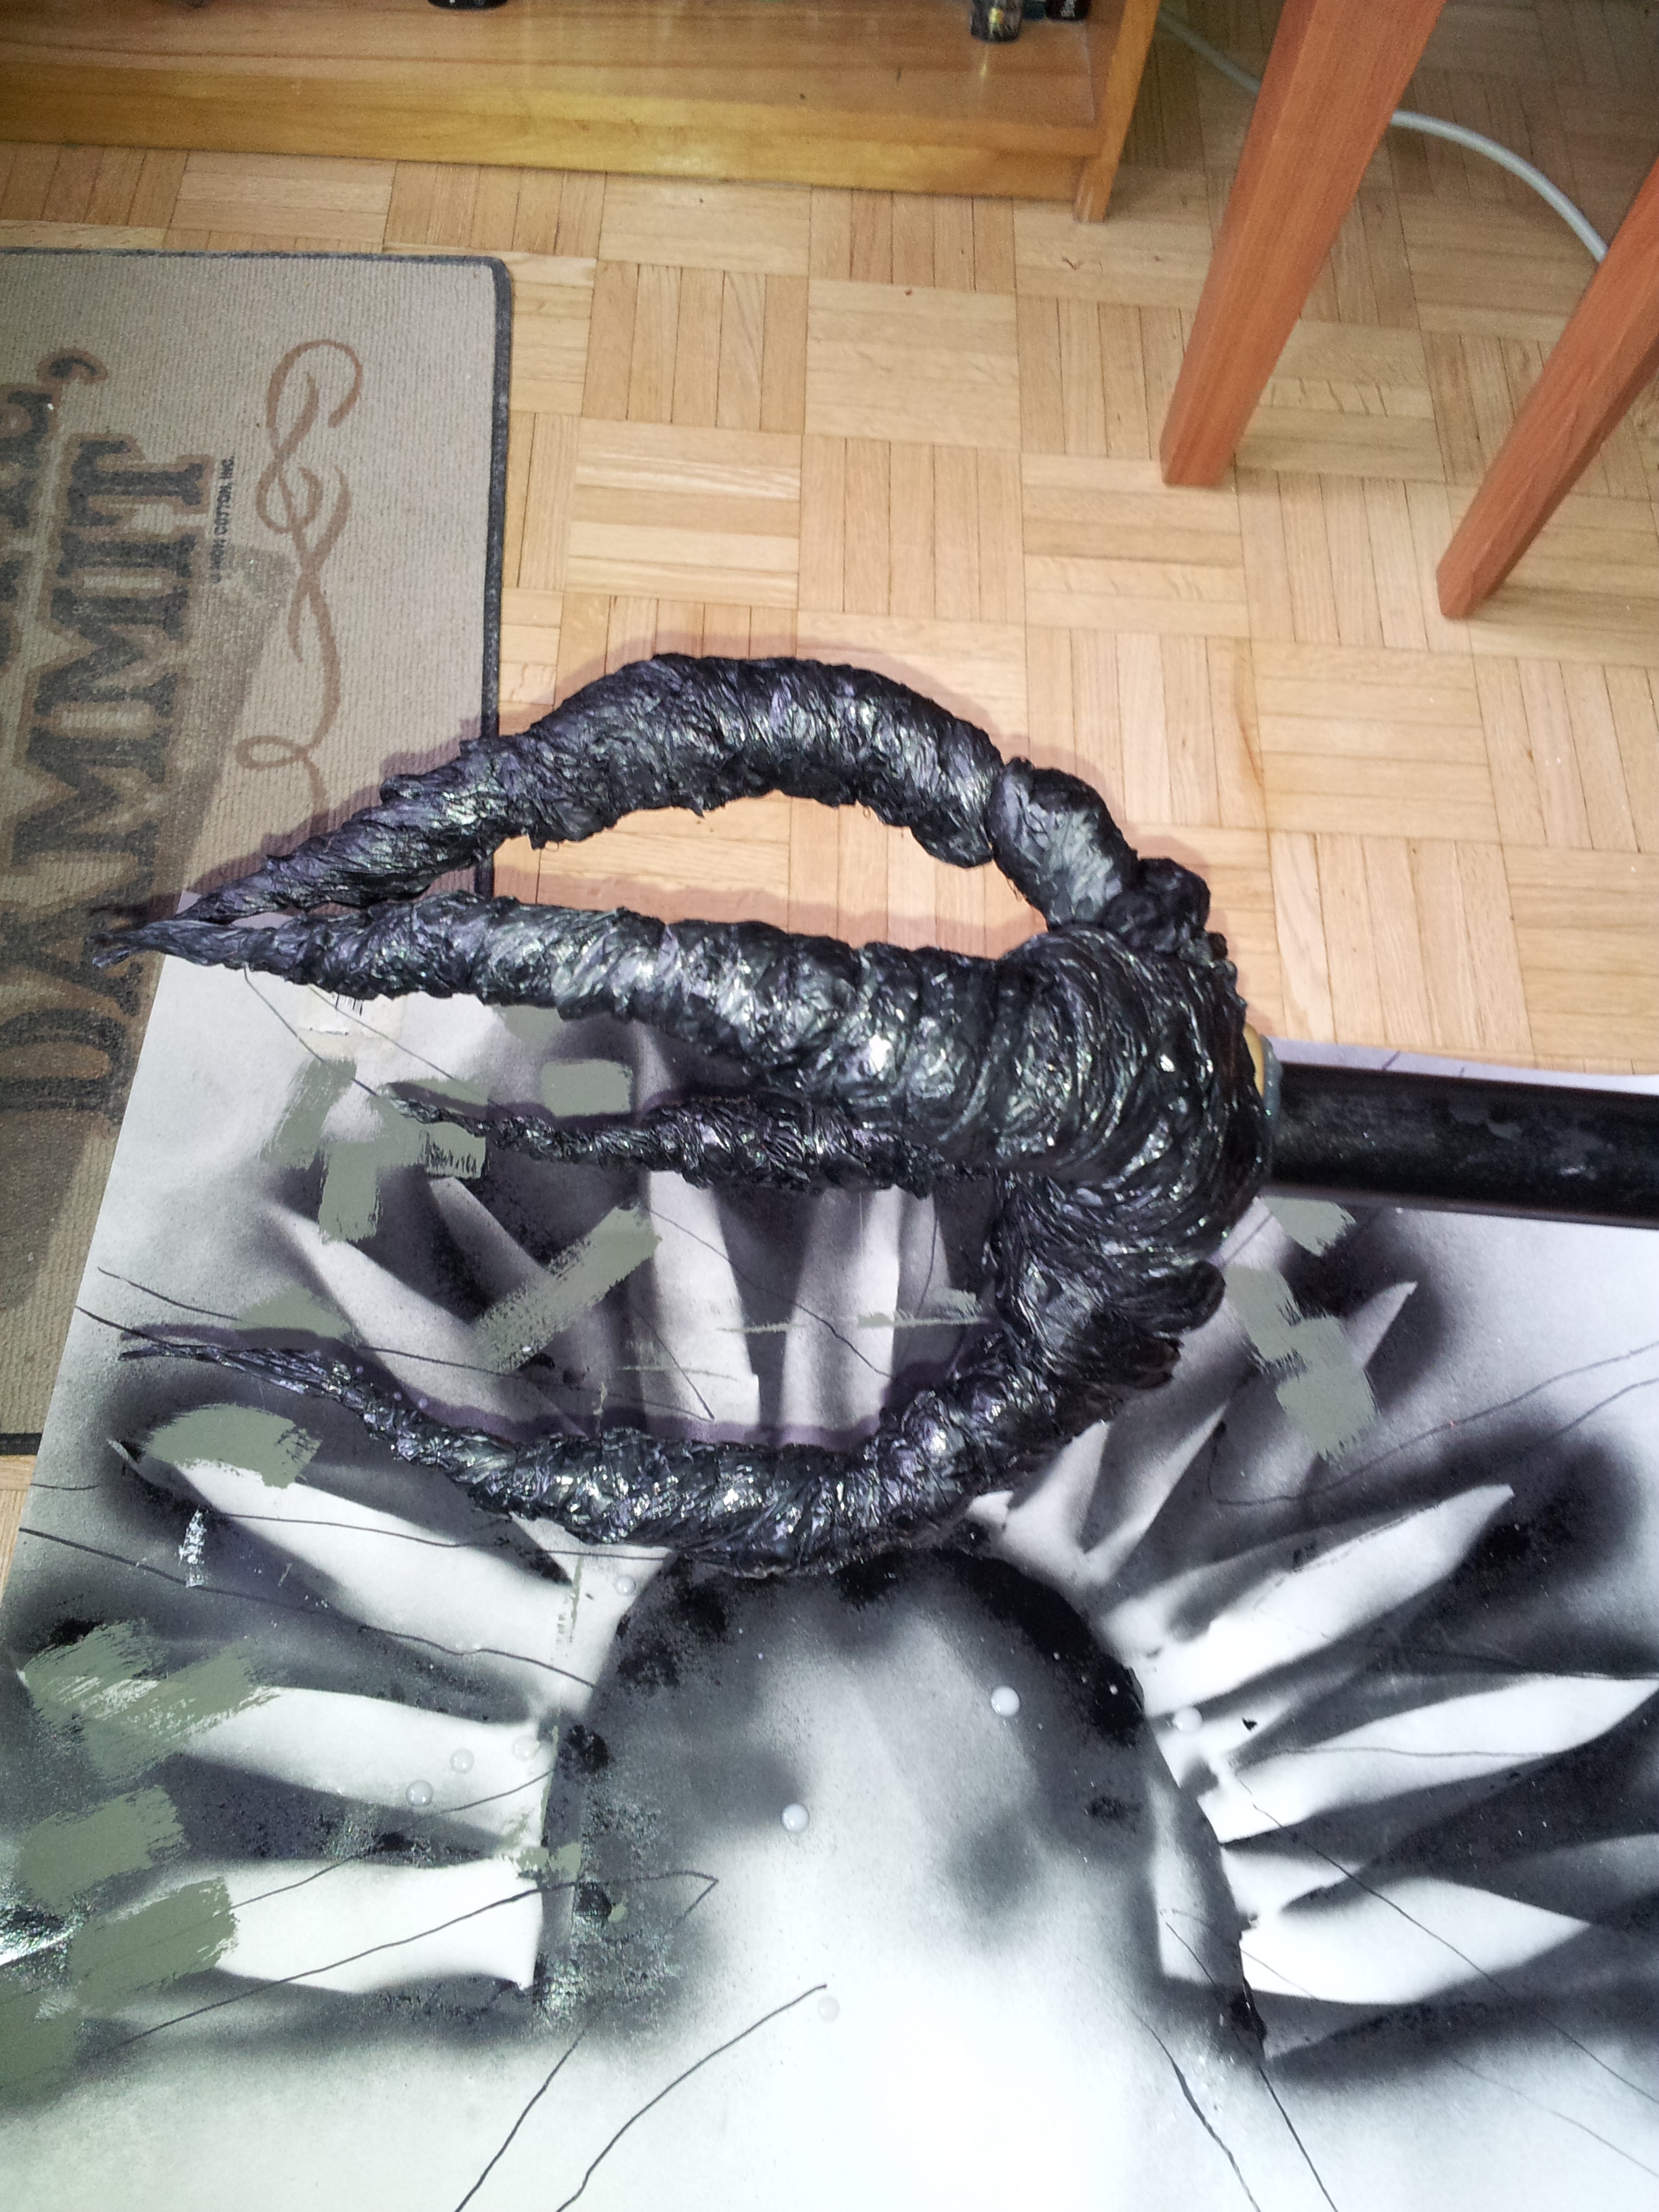
Here I have wrapped yarn around and around and around the base of the topper and around each horn both to add security to the topper and to cover up the base of the topper which wasn’t quite as aesthetically pleasing as I wanted it to be.

I added a simple magnet to the crux of the topper so that the corresponding magnet on the backside of the medallion light would hold it in place. The nice part of holding it on with a magnet is that I can remove the medallion light to change the batteries or to put in a different light source if I wish.
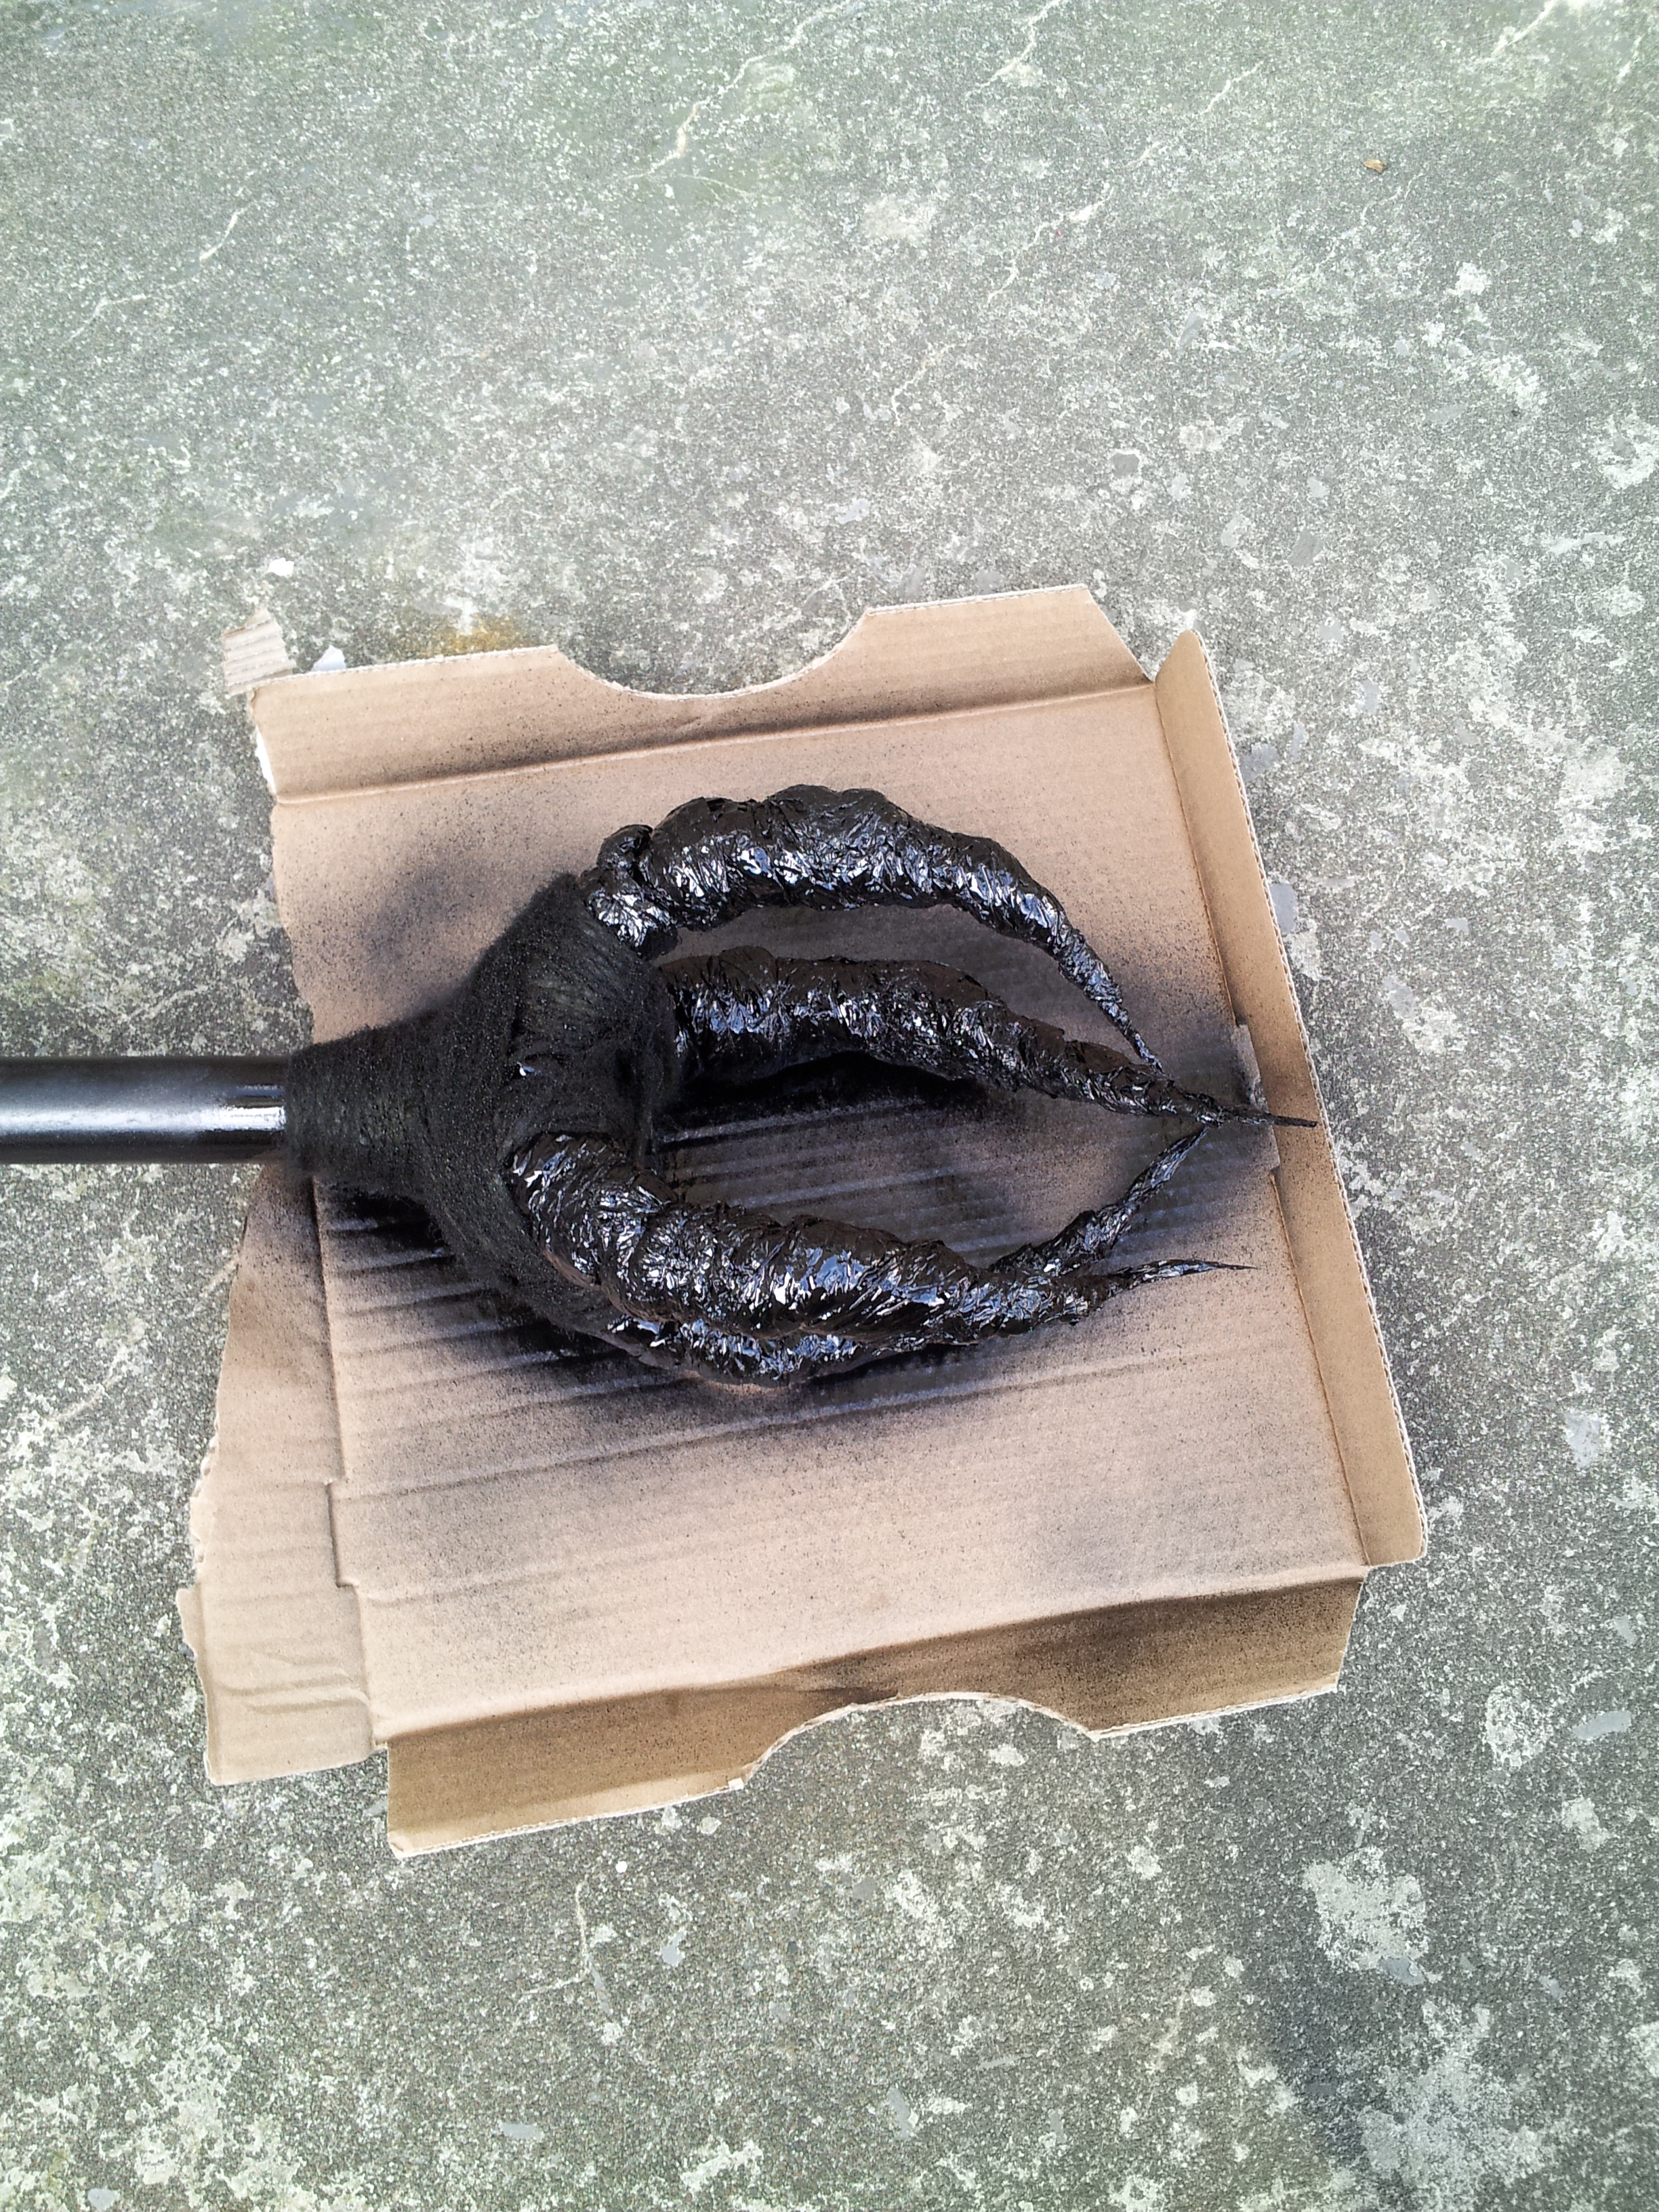
Moar Tremclad! I wanted the topper to be of a uniform colour with the rest of the staff so I spray painted it as well.
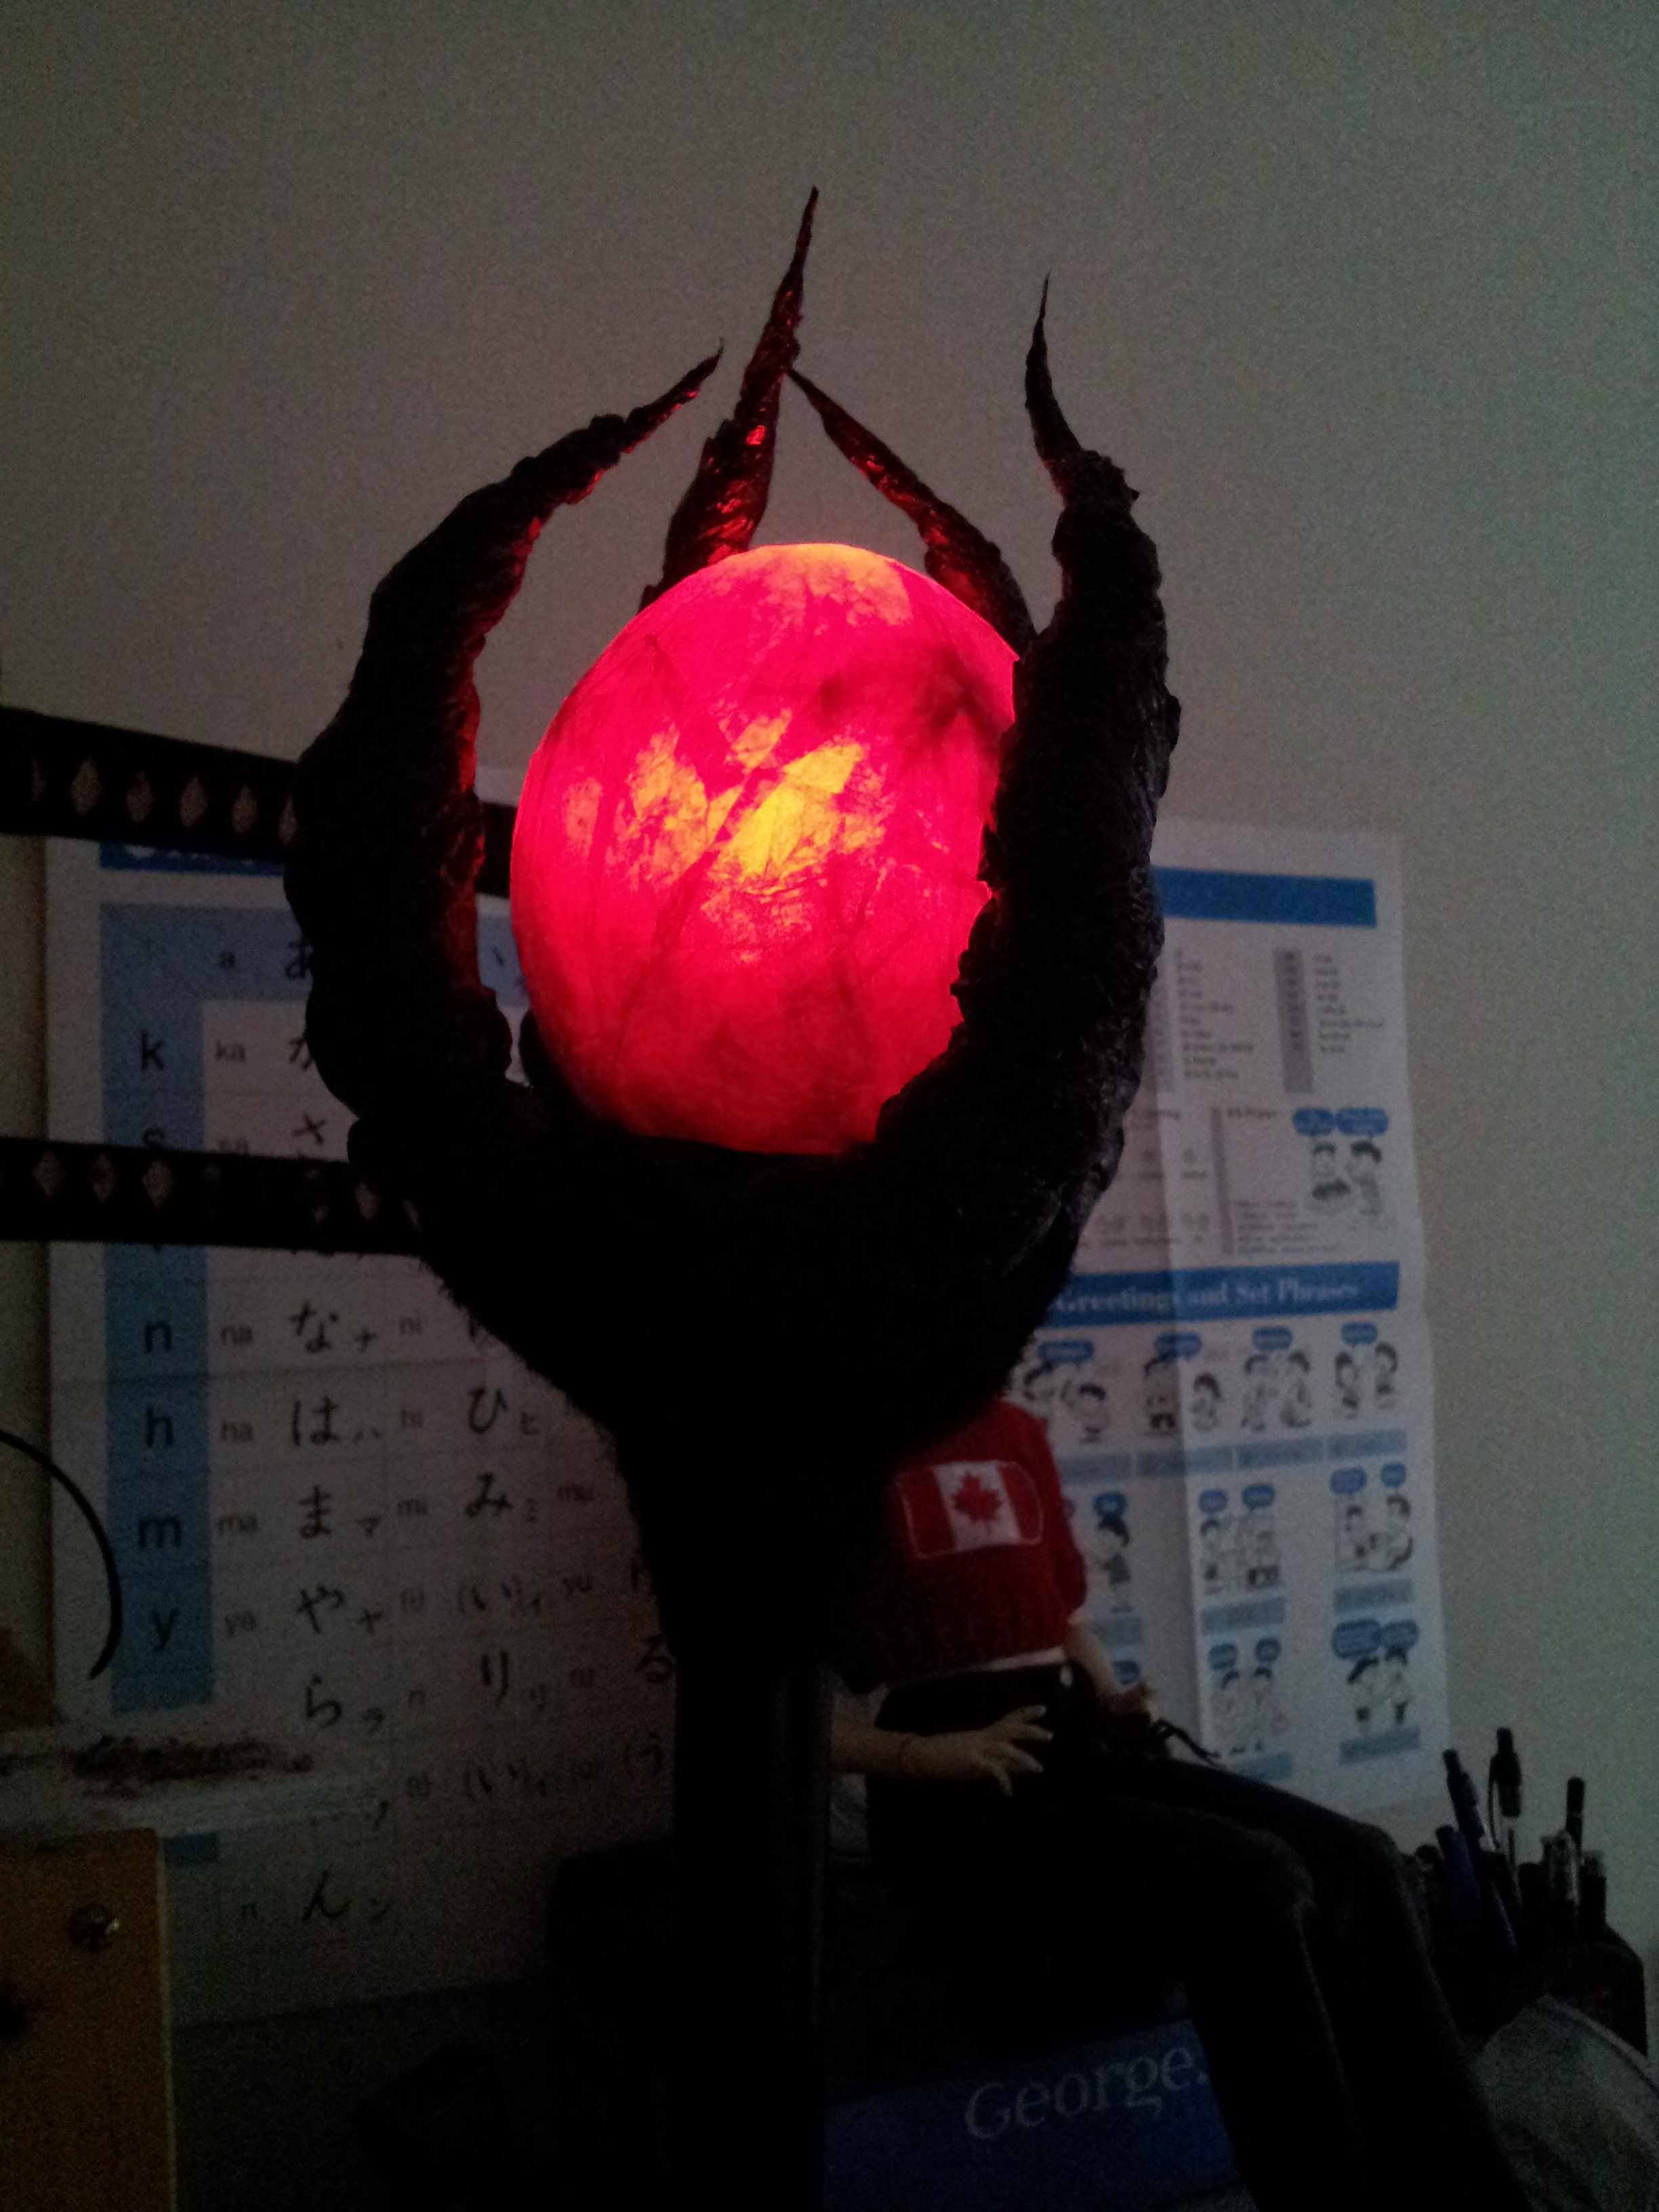
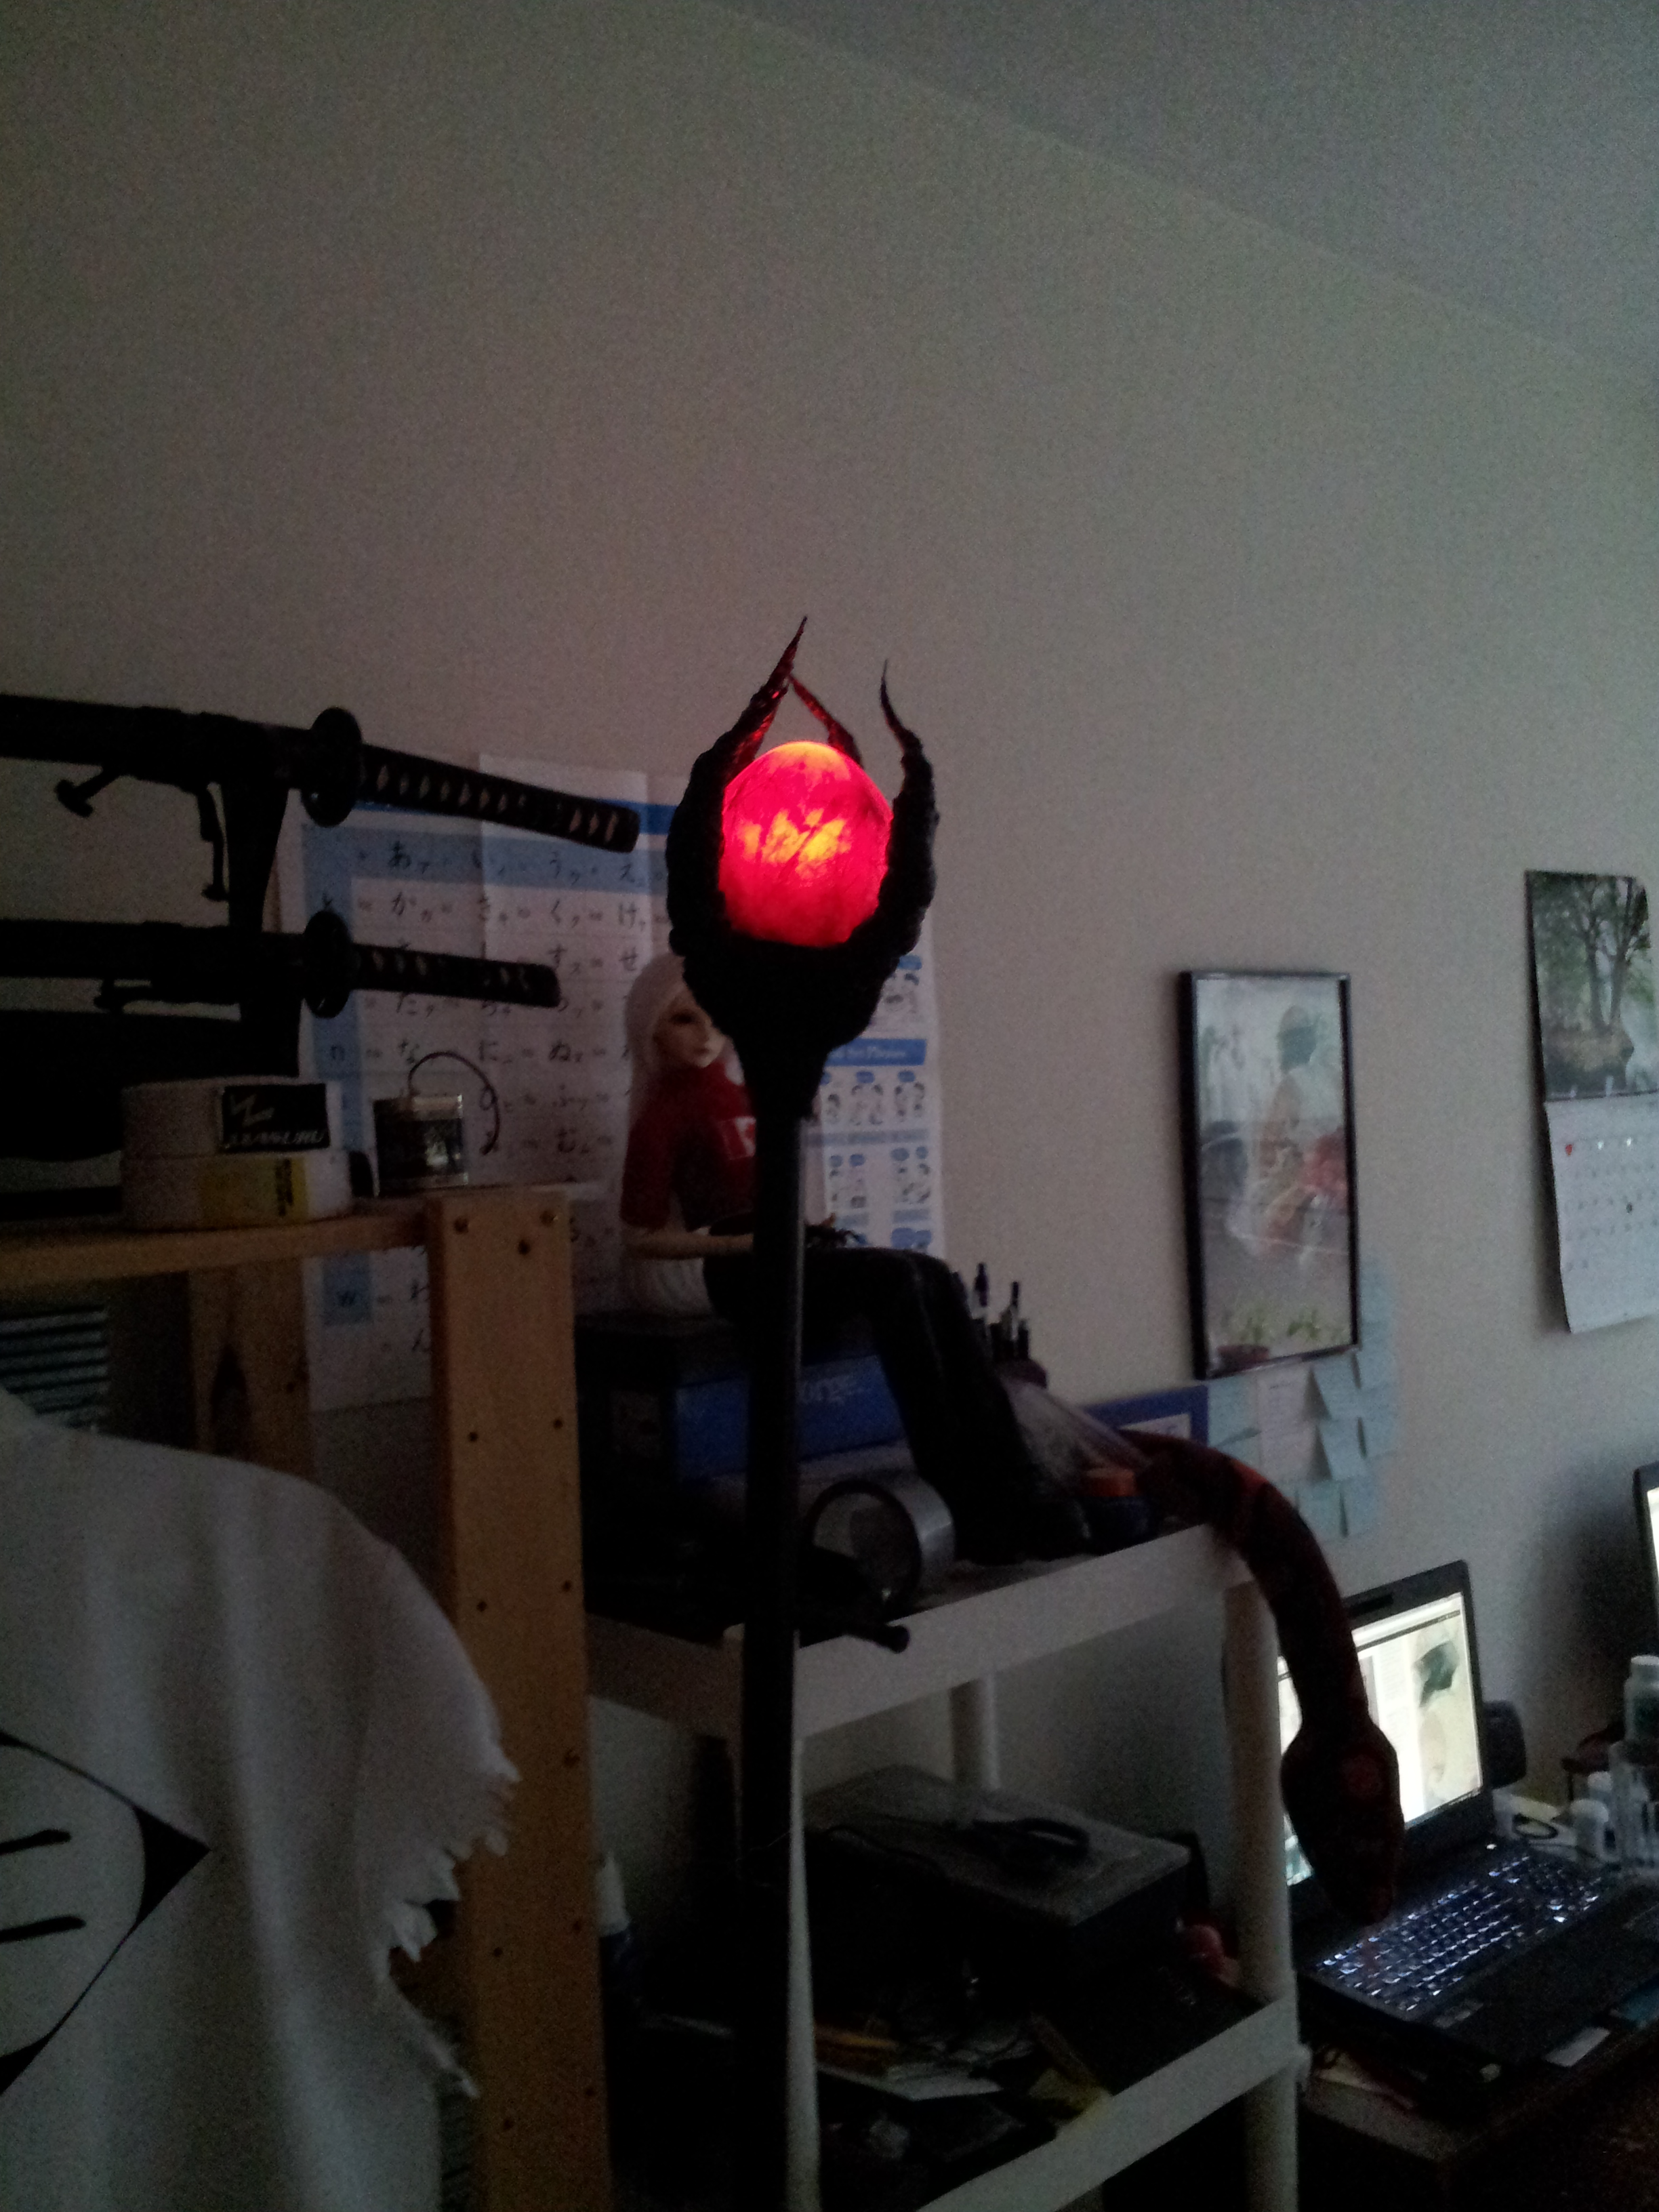
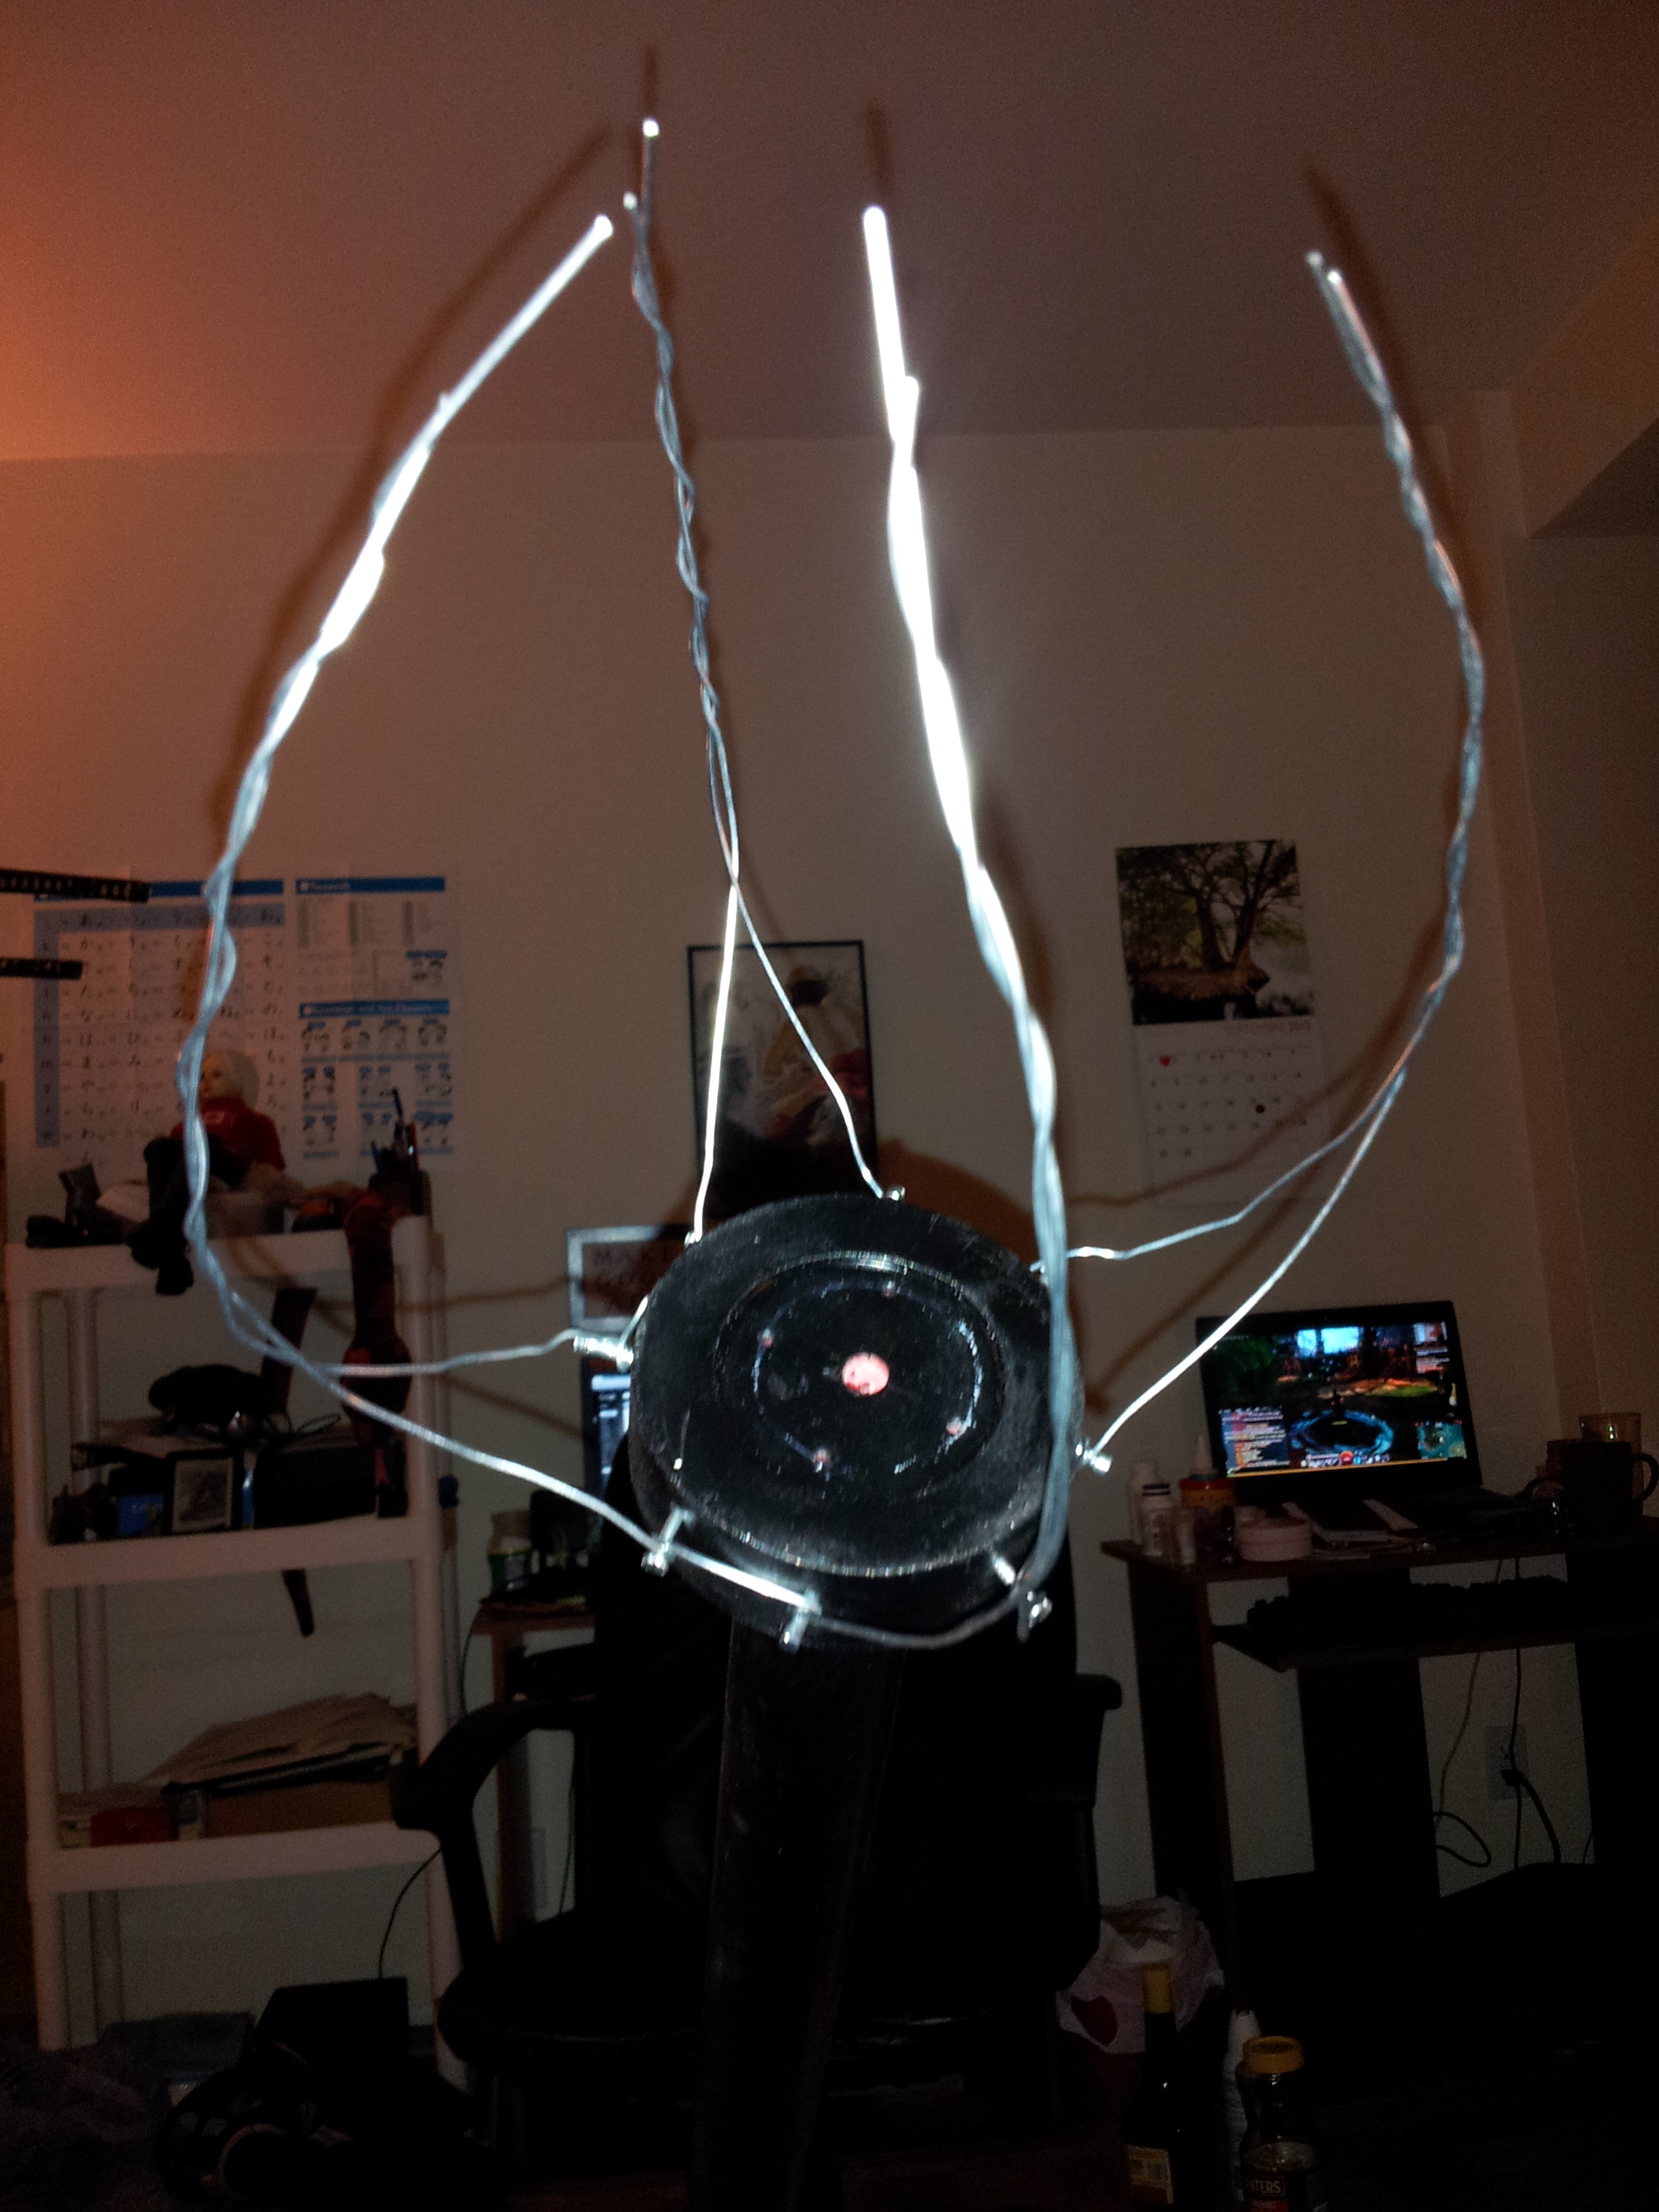
It’s hard to get a nice photo of the lighting effect it gives but the weather was nice enough to provide me with a gloomy day to capture the finished product in all its glorious spookiness.
I’m quite pleased with how it turned out. The lightness of the topper makes it easy to carry around. Since the furniture leg I used for the base is a very dense wood, it ends up being bottom heavy and lends itself well to staying upright. The horns, having a frame of wire, are bendable and allow the lamp shade to be put in and taken out without difficulty.
There are things I would modify in the future such as perhaps securing the lampshade more firmly to the crux of the staff as it does jiggle a bit of the staff is bumped. The horns, however, hold it nicely and do not allow it to fall off even if I turn the staff upside down.
Not bad, I say! As always, thanks for stopping by and have fun with your own creations!


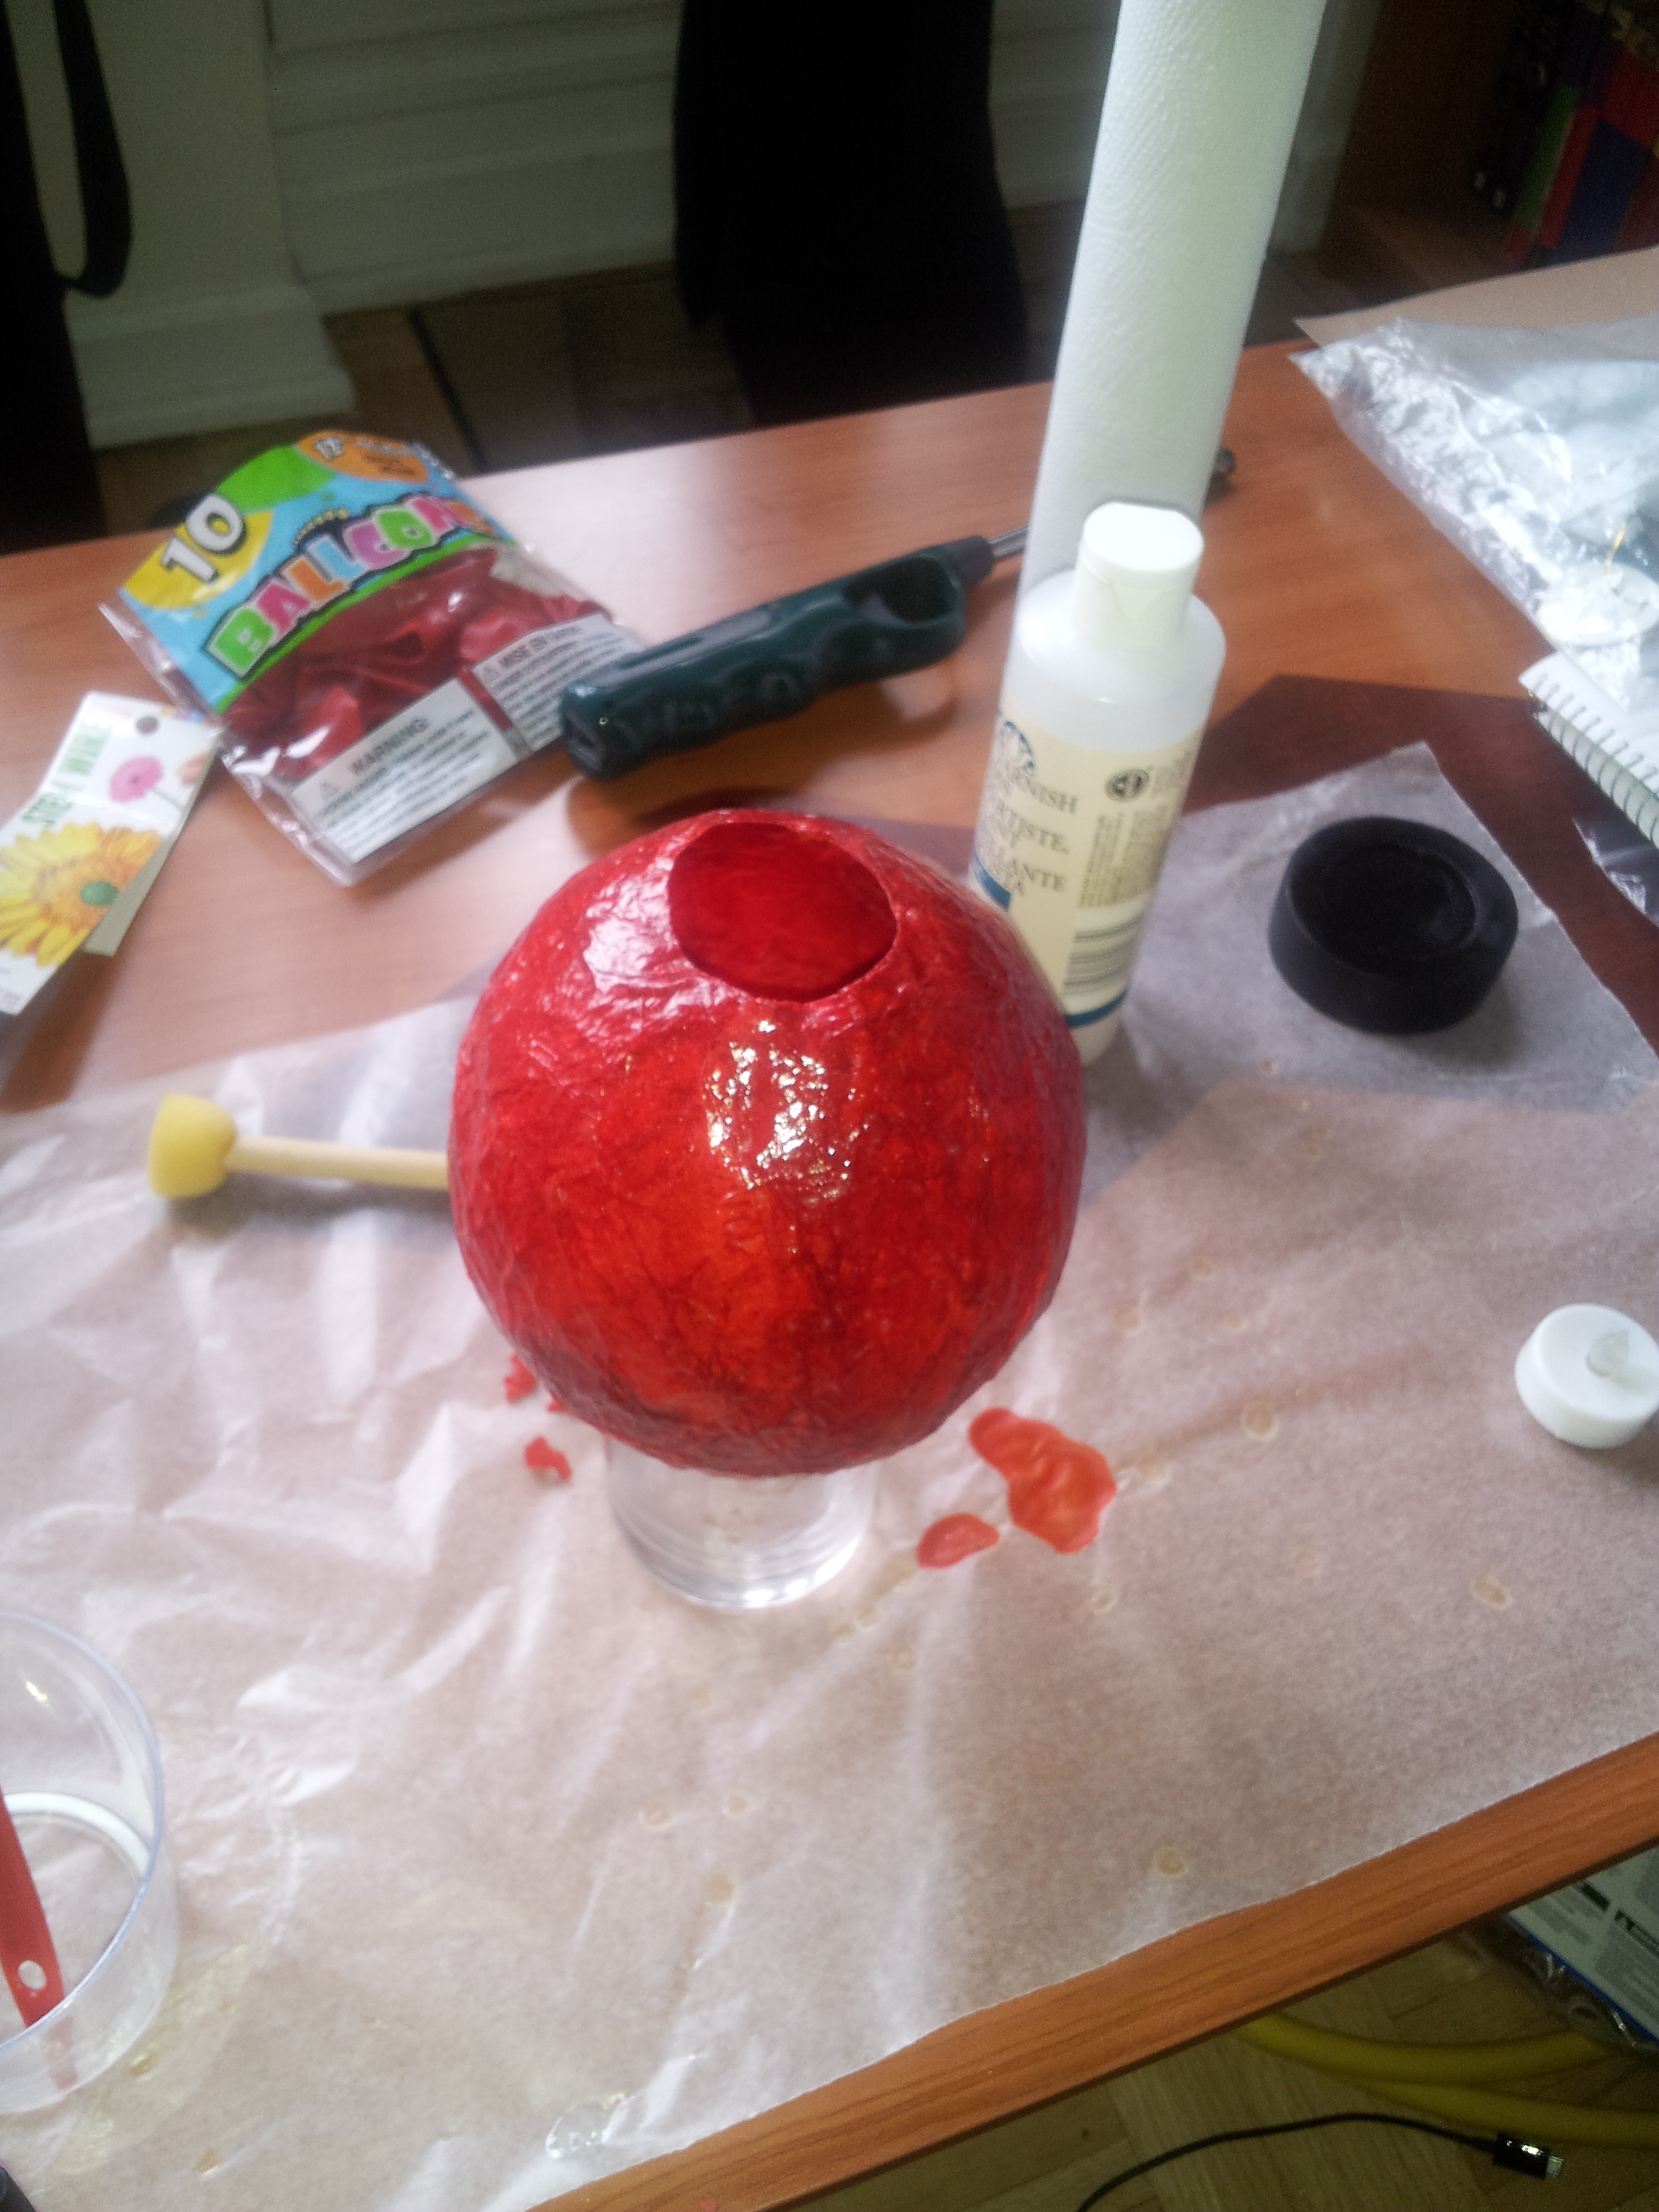
Did you cover your paper mache on the balloon with a varnish after it dried? It seemed shiny again after it was matte in the earlier pic where you said it’d dry matte.
I’m using your tutorial right now so I just want to make sure 🙂
LikeLike
Yes, actually. I used Folk Art Gloss Varnish I can’t believe I didn’t put that detail in there. Sorry ’bout that! When you finish, I hope you’ll post a link so we can see your take on the project?
LikeLike
Excellent! I’ll pick some up tomorrow! Did you apply it before or after you removed the balloon?
I’ll make sure to link you a pic!
LikeLike
After you remove the balloon is best. With the paper mache glue, the “crystal ball” will still be flexible. That’ll be helpful for removing the balloon without damaging the shape of the ball given that you can just push out any indents with your fingers. Once you put on the varnish, though, the varnish will dry stiffer than the paper mache glue. You could put it on whenever you want, really, but I would worry about cracking the veneer while extracting the balloon. The finished product will feel very much like a very lightweight plastic.
LikeLike
yeah i did just that after i asked lol. i didn’t have time to wait for a reply lol. glad i chose wisely.
thank you!
LikeLike
All done! Thank you for the tutorial! https://fbcdn-photos-b-a.akamaihd.net/hphotos-ak-frc3/t1.0-0/10303169_10203204583969498_8535550622803369242_n.jpg
LikeLike
Beautiful! You’re very skilled 🙂
LikeLike
Thanks!
LikeLike
Great tutorial & beautiful result! Thanks for sharing!!
LikeLike
Thanks!
LikeLike
Hi!! Thanks for sharing, I used your staff as a base, but ended up doing something a bit different. I used a PVC tube instead of wood, to make it lighter (I will be a mage on rollerblades for halloween), and painted the horns on different shades of turquoise as it is my favorite colour. Thank you so much for your advice, I used the skeleton of yours to build mine…. and it looks like a sister staff haha
LikeLike
That is awesome! PVC pipe is a great idea. I think I’ll use that for the next time I make one myself 🙂 I gave mine to my little cousins to play with. I hope you share pics when you’re finished! I’d love to see it 😀
LikeLike